


How to Attach a Lighten Up to Walking Poles?
For hikers who find themselves on the trail before sunrise or after sunset, a reliable hands-free light source is not just a convenience—it's a critical safety tool. While headlamps are the standard, they can create tunnel vision and often bounce with every step. The Lighten Up flashlight offers a brilliant alternative, and when mounted directly to your trekking pole, it creates a stable, dynamic light source that moves with your stride, illuminating the precise terrain your poles are navigating. Attaching it is a simple process that unlocks a new level of night-hiking confidence.
Recommended trekking pole purchase link: https://s.click.aliexpress.com/e/_c4M7OWaN
Why Pole-Mounting is a Game-Changer
Mounting a Lighten Up to your pole offers distinct advantages over a traditional headlamp:
- Eliminates "Tunnel Vision": The light is positioned lower, casting longer shadows that reveal the texture and micro-variations of the trail, making roots and rocks far more visible.
- Reduces Neck Strain: It removes the weight and pressure of a headlamp from your forehead.
- Dynamic Illumination: As you swing your poles, the beam naturally scans a wider path, offering a better peripheral view of the trail ahead.
- Versatile Positioning: You can angle the light independently of your head, focusing the beam exactly where you need it most.
Step-by-Step Attachment Guide
Attaching the Lighten Up is designed to be quick and tool-free, typically taking less than a minute.
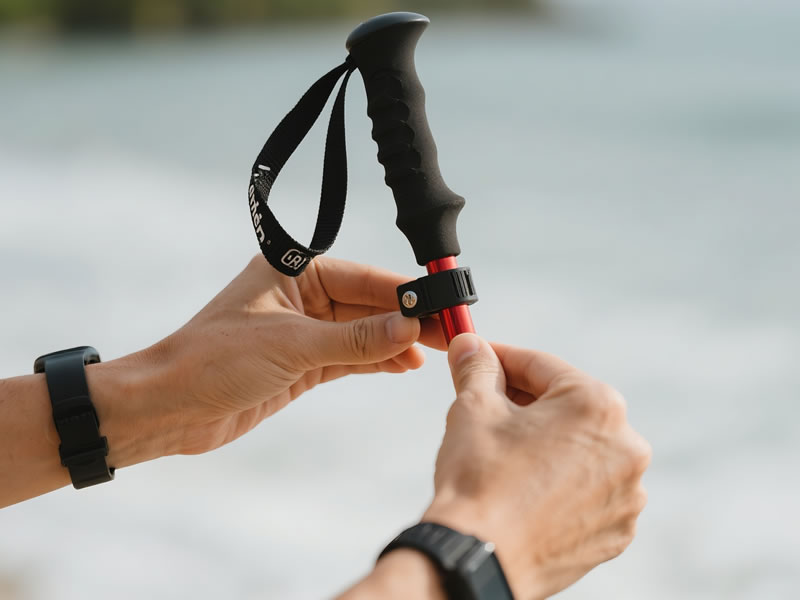
- Gather Your Gear: You will need your Lighten Up flashlight (with its integrated silicone strap) and your trekking pole. Ensure the pole's shaft is clean and dry where you plan to attach the light.
- Choose the Optimal Position: The ideal placement is usually just below the grip. This location keeps the weight balanced and high enough to cast a useful beam without interfering with your hand placement. For probing dark areas close to your feet, a lower position on the shaft may be preferable.
- Secure the Strap:Open the sturdy silicone strap attached to the Lighten Up.Wrap the strap snugly around the pole's shaft at your chosen position.Press the strap's tab firmly into the buckle until it clicks securely into place. The high-friction silicone is designed to grip the pole shaft tightly and prevent any slipping or rotation, even during vigorous use.
- Fine-Tune the Angle: Once secured, you can easily adjust the angle of the flashlight head. Tilt it slightly forward to illuminate the ground 10-15 feet ahead of you. This is the perfect distance for reacting to trail obstacles while maintaining a good pace.
Pro Tips for Maximum Effectiveness and Safety
- Test Before You Go: Always do a quick test in a dark environment before heading out on a night hike. Ensure the strap is secure and the beam angle is perfect for your stride.
- Carry a Backup: The Lighten Up is a primary light source, but it's always wise to carry a backup headlamp in case of equipment failure or if you need both hands free for scrambling.
- Check Battery Life: Start with fresh or fully charged batteries to avoid being left in the dark.
- Avoid Damaging the Shaft: The silicone strap is non-abrasive, but for those concerned about scratches on a carbon fiber shaft, a single wrap of electrical tape at the contact point can offer peace of mind.
By mounting a Lighten Up to your trekking pole, you transform your entire hiking system. You gain a stable, powerful light that works in harmony with your movement, drastically improving depth perception and trail awareness. This simple, effective setup allows you to embrace the unique tranquility and beauty of the trail after dark with unprecedented confidence and control.


