


How to Repair a Torn Lighten Up Hammock: A Comprehensive Guide to Restoring Your Gear
Discovering a tear in your trusted Lighten Up Hammock can be disheartening, but many forms of damage are repairable with the right techniques and materials. Whether your hammock has suffered a small puncture or a significant tear, this comprehensive guide will walk you through assessment, repair methods, and post-repair care to restore your gear to safe, functional condition.
Initial Assessment: Understanding the Damage
Before beginning any repair, carefully evaluate the damage:
- Size and Location: Measure the tear and note its location. Tears under 2 inches in low-stress areas are typically field-repairable, while larger tears or those near seams/end channels may require professional attention.
- Fabric Condition: Check the surrounding fabric for weakness, discoloration, or additional micro-tears that might indicate broader material fatigue.
- Stitch Integrity: If the tear involves or is near stitching, additional reinforcement will be necessary.
- Warranty Considerations: Contact Lighten Up customer service if the damage appears to be a manufacturing defect, as this may be covered under their warranty.
Field Repair: Temporary Solutions for Emergencies
When you're miles from civilization, these temporary fixes can get you through a trip:
- Repair Tape Method: Tenacious Tape or specialized gear repair tape works exceptionally well for small to medium tears. Cut a patch at least 1 inch larger than the tear on all sides, round the corners to prevent peeling, and apply to both sides of the clean, dry fabric for maximum adhesion.
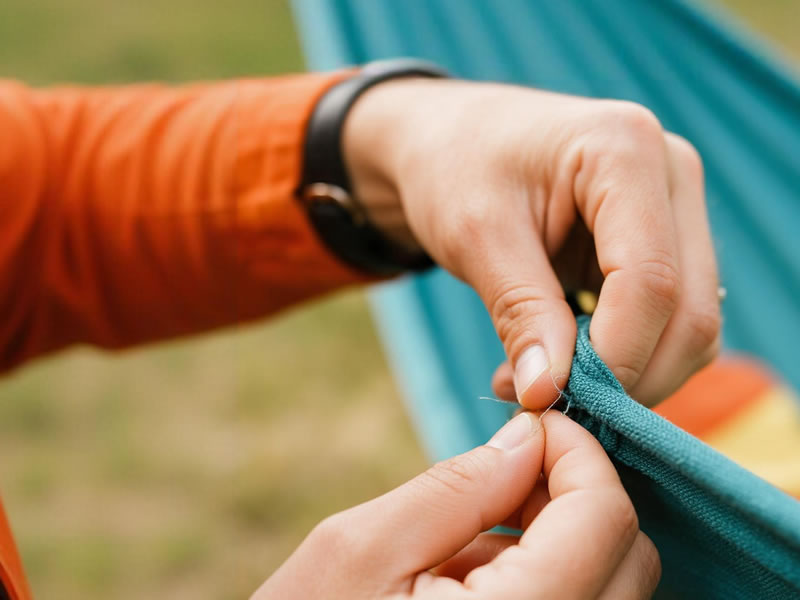
- Dental Floss Stitching: For clean tears, use a needle and dental floss (surprisingly strong) to create a simple running stitch, then seal with tape.
- Safety Pin Reinforcement: As an absolute last resort, safety pins can temporarily contain a tear until proper repair is possible.
Professional-Grade Repair Methods
For permanent repairs at home, consider these approaches:
Fabric Repair Tape (Most Recommended Method):
- Clean the area with isopropyl alcohol and allow to dry completely
- Cut a patch from repair tape with rounded corners
- Apply to one side of the tear, smoothing from center outward
- Repeat on the opposite side for balanced tension
- Allow 24 hours for full adhesion before testing
Sewing and Sealing Method (For Larger Tears):
- Use a sewing machine with a size 12-14 needle and polyester thread
- Create a zigzag stitch pattern that extends beyond the tear
- Set stitch length to 2-3mm for dense coverage
- Apply seam sealant to the stitched area to restore water resistance
- Consider adding a tape layer over the repair for extra security
Reinforcing High-Stress Areas
Repairs near end channels or seams require special attention:
- Additional Bar-Tacking: Use a sewing machine's zigzag function to create dense reinforcement stitching over existing stress points
- Fabric Replacement: For damage too close to end channels, consider having a professional replace the entire end section
- Suspension Redundancy: After repairing suspension area damage, implement a backup safety system during initial post-repair use
Materials and Tools for Proper Repair
Assemble these items for effective hammock repair:
- Repair Tape: Tenacious Tape, Gear Aid, or similar nylon repair tape
- Adhesive: Seam Grip or similar polyurethane adhesive for sealed repairs
- Thread: polyester thread, which offers UV resistance and strength
- Needles: both hand needles and machine needles suitable for nylon
- Alcohol Wipes: for surface preparation
- Scissors: sharp fabric scissors for clean cuts
Step-by-Step Sewn Repair Process
For tears exceeding 2 inches:
- Preparation: Clean the area thoroughly and position the torn edges together
- Stabilization: Apply temporary tape to hold the alignment
- Sewing: Use a tight zigzag stitch perpendicular to the tear
- Sealing: Apply seam sealant to the stitched area
- Reinforcement: Add repair tape over the sealed repair
- Curing: Allow 48 hours for full adhesion and sealant curing
When to Seek Professional Repair
Certain situations warrant professional attention:
- Tears longer than 6 inches
- Multiple tears in close proximity
- Damage to end channels or structural seams
- Suspension system component failure
- Uncertainty about repair integrity
Post-Repair Testing and Care
After completing any repair:
- Gradual Load Testing: Begin with static weight well below capacity
- Visual Inspection: Check for any signs of pulling or adhesive failure
- Flex Test: Gently flex the repaired area to ensure movement doesn't compromise the repair
- Initial Use: Limit initial post-repair use to shorter sessions with frequent inspections
Preventing Future Damage
- Proper Storage: Store loosely stuffed rather than tightly rolled
- Regular Inspection: Check for early signs of wear before each use
- Gentle Cleaning: Avoid harsh brushes and chemicals
- Mindful Setup: Prevent abrasion against rough bark or sharp objects
Warranty and Professional Services
Lighten Up offers warranty coverage for manufacturing defects. Contact their customer service before attempting repairs if:
- The damage appears to result from material failure
- The product is within the warranty period
- You have documentation of the purchase
For out-of-warranty repairs, many outdoor gear repair shops specialize in technical fabric repairs and can often provide nearly invisible mending.
Conclusion: Extending Your Hammock's Lifespan
Successfully repairing your Lighten Up Hammock not only saves money but also preserves a trusted piece of outdoor equipment with which you've shared countless adventures. While major damage may require professional attention, most common tears and punctures are well within the capability of a careful DIY enthusiast armed with the right materials and knowledge.
Remember that a properly executed repair shouldn't significantly compromise your hammock's strength or performance. By addressing damage promptly and using appropriate techniques, you can confidently return to enjoying your Lighten Up Hammock with the assurance that it remains safe, functional, and ready for many more nights under the stars.


