


DIY Carabiner Keychain: A Guide to Crafting Personal, Functional Everyday Carry
Transforming a simple carabiner into a custom keychain is a rewarding DIY project that blends utility with personal expression. More than just a way to hold keys, a handmade carabiner keychain becomes a reliable tool for Everyday Carry (EDC), a unique accessory, and a testament to practical craftsmanship. This guide will walk you through creating a durable, stylish, and highly functional keychain from start to finish.
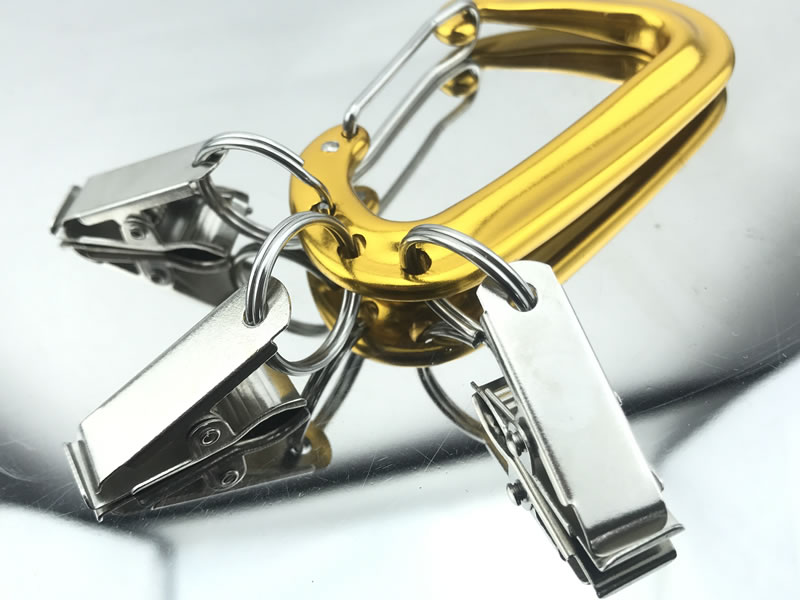
The Foundation: Choosing the Right Carabiner
The carabiner itself is the heart of the project. For a keychain, your priorities shift from climbing-grade strength to compact size, light weight, and smooth operation.
- Material: Opt for a small aluminum carabiner. Aluminum is lightweight, corrosion-resistant, and comes in various anodized colors.
- Size: A mini or small size with an internal length of 40-60mm is ideal. It should be large enough to handle comfortably but small enough not to be bulky in your pocket.
- Gate Type: A non-locking wire or solid gate is perfect. It allows for easy, one-handed operation. While a locking gate adds security, it's often unnecessary for keys and adds complexity.
- Critical Feature: Choose a carabiner with a snag-free or keylock nose. This prevents the hook from catching on clothing and bag linings—a major quality-of-life improvement.
- Recommendations: Excellent base models include the Nite Ize S-Biner Ahhh (for a dual-gate design), the Black Diamond MiniWire, or the Petzl Ange S.
Essential Tools and Materials
Gather these items before you begin:
- Your chosen carabiner.
- Key Rings: Split rings or quick-release clips (like Nite Ize S-Biners) to attach keys without threading them directly onto the carabiner.
- Customization Materials (Optional):Paracord: For wrapping the spine (550 paracord is standard).Decorative Beads: Metal, wood, or silicone beads with holes large enough to fit on the carabiner.Leather Lace or Strips: For a rustic wrap or tag.Engraving Tool or Service: For personalizing the carabiner.Heat-Shrink Tubing: To add color or grip to sections.Small Tools: Scissors, lighter (for sealing paracord ends), needle-nose pliers, and tweezers.
Step-by-Step Assembly: The Basic Build
- Prepare Your Keys: Use a key ring or quick-release clip to group your keys together. This creates a single, manageable unit and allows you to remove individual keys without disassembling the entire carabiner.
- Attach to the Carabiner: Simply clip the key ring onto the carabiner. For maximum security, ensure the keys are clipped onto the spine side (the solid, curved side), not the gate side. This is the strongest point and prevents keys from putting pressure on the gate mechanism.
- Functional Check: Open and close the gate several times with the keys attached. Ensure the action remains smooth and the keys don't obstruct the gate's movement.
Advanced Customization: Adding Personality and Function
This is where your keychain becomes uniquely yours.
- Paracord Wrapping (The "Monkey Fist" or Simple Wrap):Why: Adds a comfortable grip, a splash of color, and emergency cordage (several feet are woven into the wrap).How: Search for tutorials on "carabiner paracord wrap." A simple diagonal weave along the spine is an effective and stylish start. Seal the ends with a lighter.
- Beading and Charms:Thread beads onto a small loop of cord or a thin accessory ring, then attach it to the carabiner. Use beads to add color, a small tool (like a mini wrench bead), or personal significance.
- The Leather Accent:Cut a small strip of leather, punch a hole in one end, and loop it through the carabiner. You can stamp it with initials or leave it plain for a worn-in look. It can also serve as a protective buffer between keys and your phone screen.
- Functional Add-Ons:Attach a small multitool (like a P-38 can opener or a Ti2 Para-Biner), a mini light, or a USB drive to the carabiner using a small accessory ring, creating a truly capable EDC cluster.
- Personalization:Use a vibrant enamel paint pen or nail polish to color-code the gate or add small dots for grip.For a permanent mark, have the carabiner's spine laser engraved with initials, coordinates, or a short word.
Safety and Practical Considerations for Your DIY Creation
- Know Its Limits: Your DIY keychain is for light EDC and organization only. It is NOT for climbing, securing heavy loads, or any life-support application. The forces involved in a fall would destroy it.
- Inspect Regularly: Check the gate spring for weakness and the body for cracks, especially if it's subjected to daily drops and abrasion.
- Mind Your Belongings: A bare metal carabiner can scratch your phone, car paint, or furniture. A paracord or leather wrap can mitigate this.
- Weight Distribution: Attaching too many heavy items can make the keychain uncomfortable in your pocket and put undue stress on the gate over time.
Conclusion: More Than Just Keys
A DIY carabiner keychain is a small but profound project. It takes a mass-produced object and imbues it with personal utility and style. The process encourages you to think about what you carry every day and how to carry it better. Whether you opt for a simple, sleek setup with a colored carabiner or an elaborate paracord-wrapped tool cluster, the result is a functional piece of gear that you genuinely appreciate using. It serves as a daily reminder that the most effective tools are those tailored exactly to your hand and your needs. So gather your materials, choose your favorite carabiner, and start building a keychain that’s uniquely, functionally yours.


