How to Rack Carabiners on a Harness: A Guide to Efficiency, Safety, and Speed
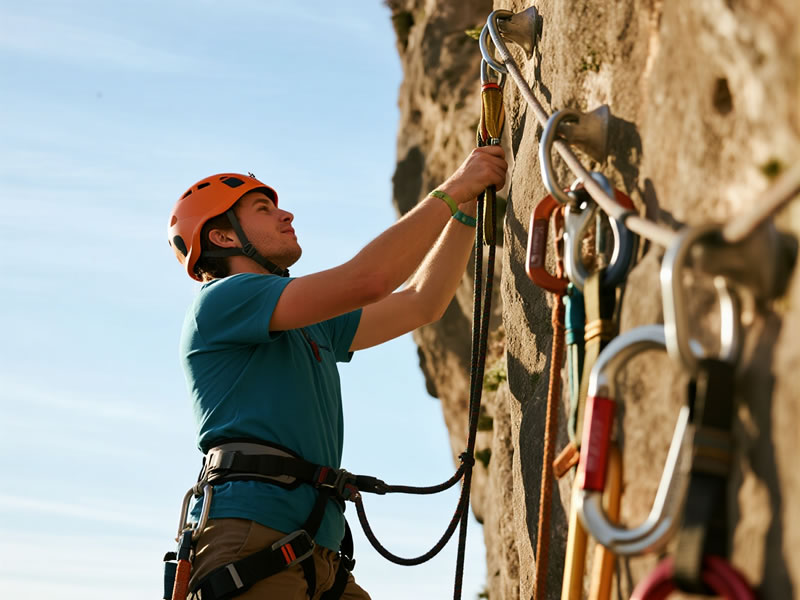
Racking carabiners efficiently on your harness is a fundamental skill that separates organized climbers from those who fumble at critical moments. A well-organized rack allows for instinctive, one-handed clipping, reduces rope drag, and keeps critical gear accessible. This system isn't about aesthetics; it's about creating muscle memory and spatial awareness that function even under stress or fatigue.

Core Principles of Effective Racking
Before loading your gear loops, understand these guiding principles:
- Consistency is King: Develop a system and stick to it. Your rack should feel the same every time you climb.
- Accessibility Dictates Placement: Gear needed most often or most urgently should be easiest to reach.
- Weight Distribution: Balance weight across both sides of your harness to avoid throwing off your balance or causing discomfort.
- Gates Out: Generally, orient carabiners with the gates facing outward (away from your body). This prevents them from snagging on your clothing or other gear and makes them easier to grasp.
Step 1: Preparation and Sorting
Lay out all your gear before putting on your harness. Separate:
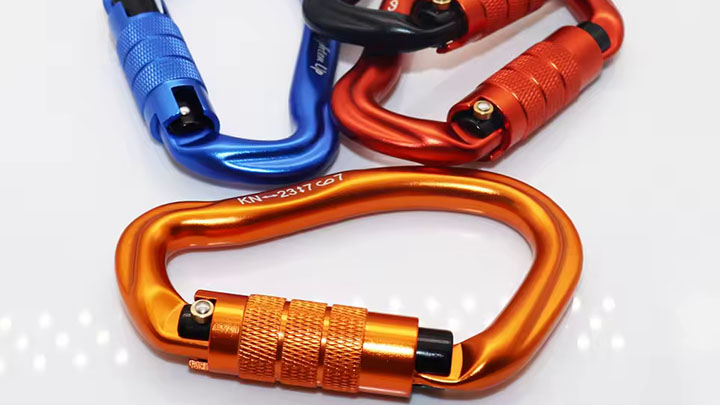
- Locking Carabiners: Your HMS/belay biner, and anchor lockers.
- Non-Locking Carabiners for Quickdraws/Rope Clipping: Typically wire-gate or bent-gate 'biners.
- Non-Locking Carabiners for Gear/Racking: Usually standard D or oval shapes for cams and nuts.
Step 2: Organizing by Harness Gear Loop
Most modern harnesses have 4-6 gear loops. A standard, effective organization is:
- Front/Rear Divide: Use the rear loops (closest to your back) and side loops for the bulk of your climbing gear. The front-most loops (near your belay loop) are prime real estate for critical items.
- Strong-Side Priority: If you are right-handed, your left side (where your rope-hand draws gear) is your "strong side." Mirror this if you're left-handed.
A Practical Racking System:
- Front/Strong-Side Loop (Dominant Hand Access):Item: Your primary locking HMS carabiner (for belaying/rappling).Why: This is your most critical safety tool. It must be instantly accessible without looking.
- Front/Support-Side Loop:Item: 1-2 additional locking D carabiners for anchors.Why: Anchor building often requires multiple lockers. Keeping them together and accessible is key.
- Side & Rear Loops (The "Workhorse" Zones):For Sport Climbing: Rack pre-made quickdraws here. A common method is to "fan" them on the side loops, with the rope-end carabiner facing down for easy grabbing. You can carry 4-6 draws per side loop.For Trad/Alpine Climbing: This is where you rack "alpine draws" (two non-locking carabiners on a sling). Hang them neatly. Your gear-specific 'biners (for cams/nuts) will be attached to that gear on slings and then racked over these same loops.
Step 3: Racking Different Types of Carabiners
- Locking Carabiners: Clip them singly onto a gear loop through the small end of the rope-loop (the "basket"). Don't clip them by their gates. For HMS biners, the large pear shape often sits nicely on a front loop.
- Non-Locking Carabiners (for Draws/Slings): When racking a quickdraw or alpine draw, clip one carabiner of the pair directly to the gear loop. Let the sling and the other carabiner hang free. This prevents tangles.
- Multiple Loose Carabiners: If carrying extras, you can "daisy-chain" them together (clipping each one to the next) and then clip the chain to a rear gear loop. This is tidy but slower to deploy.
Pro-Tips for Advanced Organization
- Color Code: Use carabiner color to signify function (e.g., all blue for draws, black for anchor gear).
- The "Clean Rack" for Crack Climbing: On splitter cracks, use single carabiners on short (10cm) dogbones to minimize bulk and keep gear flush to your body.
- Avoid the "Christmas Tree": Don't overload your rear loops so heavily that gear dangles behind your knees; it will bang against the rock and get in the way.
- Petzl's "Connect Adjust" System: For multi-pitch or alpine, consider a system like this, where carabiners are pre-connected to a daisy chain on your gear loop, allowing extremely fast and tether-secured deployment.
Common Mistakes to Avoid
- Overloading Loops: This strains the harness webbing and makes individual pieces hard to extract.
- Gates Facing Inward: Leads to constant snagging.
- No System: Random racking guarantees fumbling when pumped or scared.
- Belay Device Pre-Threaded: Don't rack your HMS biner with the belay device already attached unless you're literally about to belay. It gets in the way.
- Ignoring Harness Design: Some harnesses have stiff, protruding gear loops; others have soft, droopy ones. Adapt your racking density to what your specific harness handles well.
Conclusion: Your Rack is an Extension of Your Mind
A meticulously racked harness is a tactile map of your climb. It externalizes your mental checklist, allowing your hands to react without conscious thought. By dedicating time to developing a logical, consistent system—prioritizing critical lockers up front, organizing draws on the sides, and keeping weight balanced—you transform your harness from a simple piece of equipment into a high-performance cockpit. The few minutes spent thoughtfully arranging your carabiners at the base of a climb will pay dividends in speed, security, and confidence with every piece you place. Remember, in climbing, efficiency is safety, and it starts with how you rack your gear.


