


How to Choose Hiking Pole Length? The Ultimate Sizing Guide
Selecting the correct hiking pole length is not a mere detail—it is fundamental to reaping the full benefits of stability, propulsion, and joint protection. An ill-fitting pole can cause poor posture, wasted energy, and even increase the risk of strain or injury. This guide will walk you through the standard rules, nuanced adjustments, and key considerations to find your perfect length.
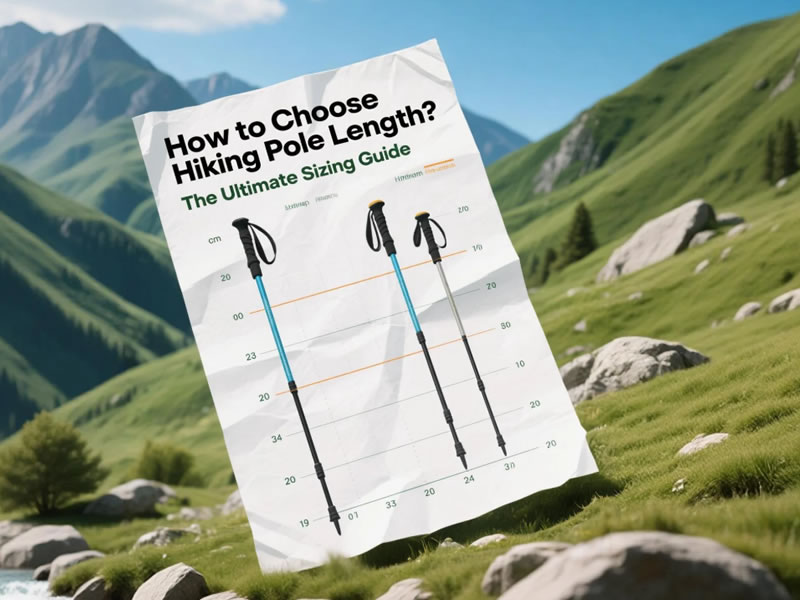
Recommended trekking pole purchase link: https://s.click.aliexpress.com/e/_c4M7OWaN
The Golden Rule: The 90-Degree Elbow Angle
The foundational principle for determining correct pole length on flat terrain is simple:
- Stand upright on a level surface wearing your typical hiking shoes.
- Grip the pole's handle as you would on the trail.
- With the pole tip touching the ground, your elbow should form a 90-degree (or slightly greater) angle, and your forearm should be parallel to the ground.
This position allows for an efficient, biomechanically neutral arm swing and optimal power transfer without causing you to hunch over or overreach.
How to Measure and Calculate
For Adjustable (Telescoping) Poles:
- Loosen the locks and set the pole to an estimated length.
- Use the 90-degree test above to fine-tune.
- Most poles have length indicators. Note this measurement as your "flat terrain baseline."
For Fixed-Length or Non-Adjustable Poles:
Direct measurement is key. The industry-standard conversion is:
- Your Height (in cm) x 0.68 = Starting Pole Length*Example: A 175 cm hiker: 175 x 0.68 = ~119 cm.*
- Use this formula as a starting point, then apply the 90-degree test if trying poles in a shop.
Dynamic Adjustment: The Key for Varied Terrain
The true power of adjustable poles is the ability to modify length on the go, matching the slope of the trail.
- Uphill: Shorten your poles by 5-10 cm (2-4 inches) from your baseline. A shorter pole prevents you from overreaching upward, keeps your torso in an efficient climbing posture, and allows for a powerful push-off behind you.
- Downhill: Lengthen your poles by 5-15 cm (4-6 inches) from your baseline. A longer pole lets you plant the tip comfortably ahead of your body on the slope. This acts as a secure brace, allowing you to lower your weight gently, reducing catastrophic impact on your knees and improving stability.
Special Considerations and Personal Factors
The 90-degree rule is a starting point. Personalize based on these factors:
- Hiking Style & Terrain: If you primarily tackle steep mountain ascents, you may prefer a slightly shorter baseline for climbing efficiency. If your hikes feature long, rolling descents, a slightly longer baseline may feel more secure.
- Pole Design: Poles with angled or "ergonomic" grips are designed to be held with a wrist position that may feel best at a slightly different length. Always test with your hand in the final gripping position.
- Physical Considerations: Individuals with particularly long torsos or arms relative to their height may need to fine-tune outside the standard formula.
Fixed-Length vs. Adjustable Poles: A Length Dilemma
- Adjustable/Telescoping Poles: Offer maximum versatility. They are the clear choice for backpacking and hikes with significant elevation change, as you can adapt to each section of trail. Best for: Most hikers, especially beginners and those on variable terrain.
- Fixed-Length/Folding Z-Poles: Prioritize lightweight simplicity and packability. You must choose a single, optimal length. Many experienced fastpackers and trail runners who know their preferred length opt for these. Best for: Weight-conscious hikers on predictable terrain or as a dedicated pole for a specific activity (e.g., steep uphill racing).
Final Fitting Tips and Checklist
- Try Before You Buy: If possible, visit an outdoor retailer. Grip different models and mimic a walking motion.
- Wear Your Hiking Shoes: The soles' height affects your stance.
- Check the Locking Mechanism: At your chosen length, ensure the pole sections lock securely with no slippage or wobble.
- Consider Future Needs: If you plan to use the poles with heavy winter boots or for snowshoeing, a slightly longer adjustable range is beneficial.
- When in Doubt: For your first pair of adjustable poles, err on the side of slightly shorter rather than longer. A pole that is too long is more difficult and dangerous to use than one that is slightly short.
Conclusion: Length is the Foundation of Function
A properly sized hiking pole feels like a natural extension of your arm, providing seamless support. By establishing your 90-degree baseline and mastering the dynamic adjustments for ascent and descent, you unlock the poles' full potential for power, stability, and joint preservation. Taking the time to get this fundamental aspect right ensures every step on the trail is more secure, efficient, and enjoyable. Your knees—and your future hiking self—will thank you.


