


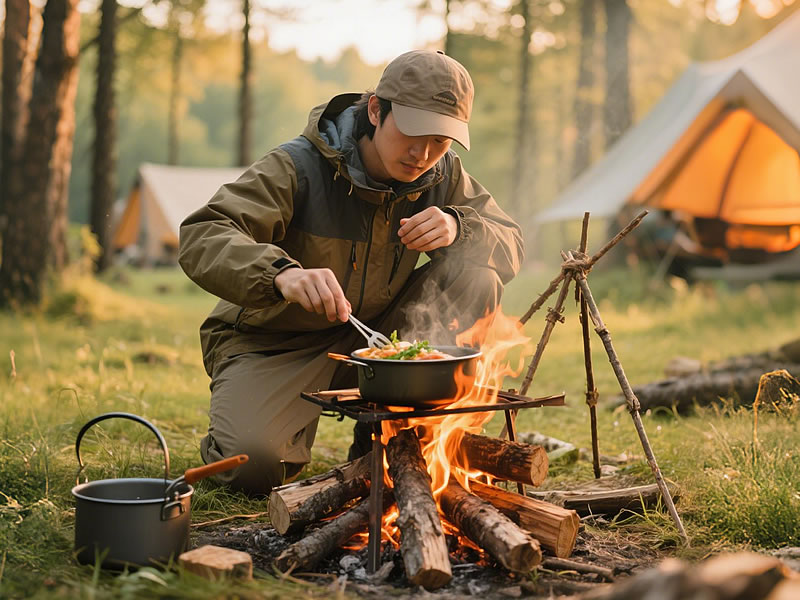
DIY camping stove ideas for emergencies?
When disaster strikes or your gear fails, a DIY camping stove can mean the difference between a hot meal and a dire situation. These improvised stoves use everyday materials to harness fire safely and efficiently—no specialty gear required. From soda cans to soup tins, here’s how to build 7 emergency stoves, along with fuel hacks and safety protocols.
Essential Safety Rules for DIY Stoves
- Outdoor Use Only: Never ignite indoors—carbon monoxide kills.
- Fireproof Base: Use rocks, sand, or metal trays to contain flames.
- Ventilation: Avoid plastic or toxic materials (e.g., PVC pipes).
- Extinguishing: Keep water or sand nearby to douse fires quickly.
1. Soda Can Alcohol Stove (5-Minute Build)
Materials:
- Empty aluminum soda can
- Utility knife
- Paper towels or cotton balls
- Rubbing alcohol (or hand sanitizer)
Steps:
- Cut the can horizontally into two halves.
- Poke 12–16 holes around the top rim of the bottom half.
- Fill the bottom with alcohol-soaked cotton.
- Place the top half upside-down as a pot stand.
Burn Time: 10–15 minutes per 2 oz fuel.
Best For: Boiling water for purification or instant meals.
2. Tuna Can Wax Stove (Long-Lasting Heat)
Materials:
- Empty tuna can
- Cardboard strips
- Candle wax or crayons
- Wicks (optional)
Steps:
- Roll cardboard strips tightly inside the can.
- Melt wax and pour over cardboard until submerged.
- Let cool; add a wick for easier lighting.
Burn Time: 2–4 hours.
Best For: Slow-cooking stews or heating shelters.
3. Tea Light Cluster Stove (Ultra-Simple)
Materials:
- 3–4 tea lights
- Wire cooling rack (from ovens)
- Aluminum foil
Steps:
- Arrange tea lights in a triangle/square on foil.
- Place the rack on top.
- Light all candles simultaneously.
Burn Time: 4–6 hours (replace candles as needed).
Best For: Warming food (not boiling).
4. Buddy Burner (Scout Classic)
Materials:
- Corrugated cardboard
- Wax (old candles, crayons)
- Tin can (coffee can size)
Steps:
- Cut cardboard into 1” wide strips.
- Roll strips tightly into a spiral; fit inside the can.
- Melt wax and pour over cardboard.
- Let solidify; light the edge.
Burn Time: 4–8 hours.
Best For: Group heating or multi-meal cooking.
5. Flowerpot Rocket Stove (High Efficiency)
Materials:
- 2 terra-cotta flowerpots (small inside large)
- Sand or gravel
- Wire mesh
Steps:
- Fill the gap between pots with sand for insulation.
- Place mesh on top as a grill.
- Feed small sticks vertically into the inner pot.
Burn Time: Continuous with added biomass.
Best For: Windy conditions or fuel-scarce areas.
6. Mason Jar Oil Lamp Stove
Materials:
- Mason jar
- Cooking oil (vegetable, olive)
- Cotton string (wick)
- Metal lid
Steps:
- Punch a hole in the lid for the wick.
- Fill the jar ¾ with oil.
- Thread the wick; let it soak for 5 minutes.
- Light the wick and place a pot on the jar’s rim.
Burn Time: 8–12 hours per pint of oil.
Best For: Low-heat simmering (soups, sauces).
7. Penny Can Hobo Stove
Materials:
- Large tin can (coffee or paint)
- Nails/punch tool
- Twigs or charcoal
Steps:
- Punch air holes around the base and top rim.
- Load fuel through the top; light from below.
- Cook directly on the can’s top or add a grill.
Burn Time: 30–60 minutes per load.
Best For: Grilling meat or baking damper bread.
Fuel Alternatives in Emergencies
- Hand Sanitizer: 60%+ alcohol content works in soda can stoves.
- Cooking Oil: Mix with salt to thicken for wick-based burners.
- Dryer Lint: Combine with wax for firestarter cubes.
- Pine Resin: Natural accelerant for biomass stoves.
Pro Survival Tips
- Insulate with Foil: Wrap pots in aluminum foil to retain heat.
- Harvest Rainwater: Use DIY stoves to purify water via boiling.
- Practice First: Test builds at home before relying on them in crises.
FAQs
Q: Can I use a DIY stove in the rain?
A: Shield with an umbrella or tarp; soda can stoves struggle when wet.
Q: How to extinguish a wax stove safely?
A: Smother with a metal lid—never pour water on wax fires.
Q: Are these stoves safe for kids to build?
A: Adult supervision required! Avoid sharp tools; opt for tea light designs.
The Bottom Line
DIY camping stoves turn trash into survival tools—but they’re no substitute for caution. Pair these builds with fire safety knowledge and terrain awareness. Whether you’re stranded on a trail or prepping for the unexpected, mastering these techniques ensures you’ll never face a cold, hungry night.
Build smart, stay safe, and let ingenuity fuel your adventures!


