


How to use trekking poles to reduce knee pain during descent?
For many hikers, the joy of a summit is quickly overshadowed by the agony of a long, steep descent. Each step pounds the knees, and by the time you reach the trailhead, you’re wincing. Trekking poles are the single most effective tool to reduce this pain – but only if you use them correctly. Here’s how to turn your poles into knee‑saving machines on downhills.
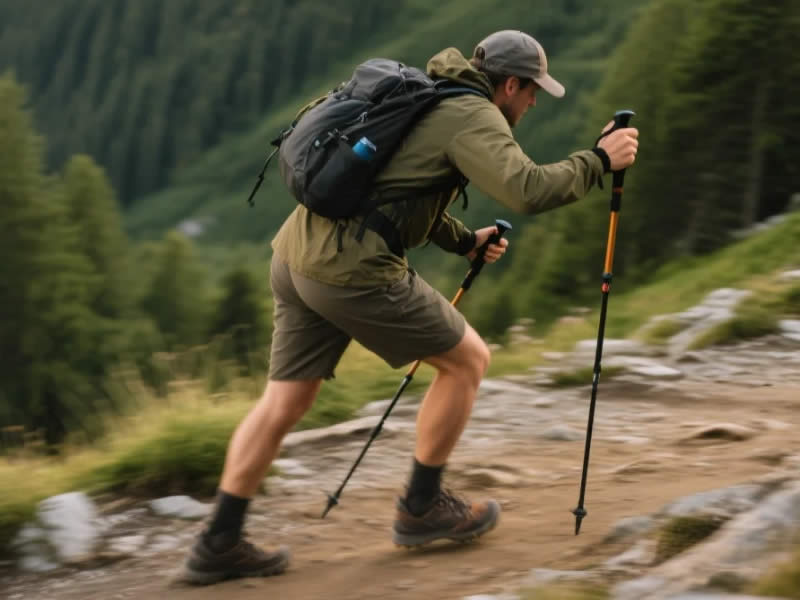
Recommended trekking pole purchase link: https://s.click.aliexpress.com/e/_c4M7OWaN
The biomechanics of knee pain on descents
When you walk downhill, your quadriceps act as brakes, controlling your descent. Each footstrike sends a force of 3–5 times your body weight through your knee joint. Over a 500‑meter descent, that’s thousands of high‑impact loads. Trekking poles reduce this force by transferring a portion of your weight from your legs to your arms – up to a 25% reduction in knee joint loading, according to biomechanical studies. But this reduction only happens when you use proper technique.
Step 1: Lengthen your poles for descent
This is the most common mistake. Many hikers keep their poles at flat‑terrain length, or even shorten them. For downhill, you need longer poles – 5–10 cm longer than your flat length. Why? A longer pole allows you to plant it ahead of your body, creating a braking angle. Your elbow will be slightly straighter than 90°, and that’s correct. If your poles are too short, you’ll lean forward, putting more stress on your quads and knees.
Step 2: Plant ahead, not beside
As you step down, plant each pole firmly on the ground ahead of your forward foot – about 30–50 cm in front of your toe. The pole tip should bite into the trail. Then, as you transfer weight onto that foot, push down on the pole. This creates an opposing force that lifts some weight off your leg. Avoid planting the pole directly beside your foot – that provides little braking and no knee relief.
Step 3: Use your wrist straps correctly
The wrist strap is your secret weapon. Insert your hand up through the strap from below, then grip the handle. The strap should sit between your thumb and index finger. When you push down on the pole, the strap bears the weight – not your fingers. This allows you to relax your grip and still transfer significant force from your arms to the poles. Without proper strap use, you’ll tire quickly and won’t get the full knee‑sparing benefit.
Step 4: Engage your upper body
Don’t just let the poles dangle. Actively push down on each pole as you step. Imagine you’re pushing the trail away from you. Your shoulders, back, and triceps should engage. This active push is what offloads your knees. Many hikers simply touch the pole to the ground – that does almost nothing for joint protection.
Step 5: Use both poles together on steep sections
On very steep or loose descents, plant both poles simultaneously ahead of your body. Then step down with both feet together (a “two‑point” descent). This gives you maximum stability and load transfer. For moderate slopes, an alternating rhythm (opposite pole to forward foot) works well.
Additional techniques for knee pain relief
- Shorten your stride – Smaller steps reduce impact force. Poles help you control step length.
- Keep your chest up – Leaning forward shifts weight onto your knees. Use poles to help you stay upright.
- Soften your knees – Avoid locking your knees on impact. Poles encourage a more fluid, controlled motion.
- Use trekking pole tips with good bite – Carbide tips are essential. Worn tips slip and reduce braking.
What to avoid
- Planting poles too far ahead – Over‑reaching pulls you forward and stresses shoulders.
- Gripping too tightly – Let the strap do the work. A death grip tires your hands and reduces control.
- Using poles that are too short – This is the #1 error. Always lengthen for descent.
- Skipping poles altogether – If you have knee pain, poles are not optional.
Practice on a gentle slope first
Find a moderate downhill (10–15% grade). Walk down with poles at flat length – notice the strain. Then lengthen them by 5–10 cm and practice the ahead‑plant, push‑down technique. You should feel an immediate difference in knee pressure.
Final verdict
To reduce knee pain during descent, you must lengthen your poles, plant them ahead of your feet, push down actively, and use your wrist straps correctly. This technique transfers up to a quarter of your body weight from your knees to your arms. Practice on every downhill – within a few hikes, the motion will become automatic. Your knees will thank you, and you’ll finish descents feeling strong instead of sore.


