


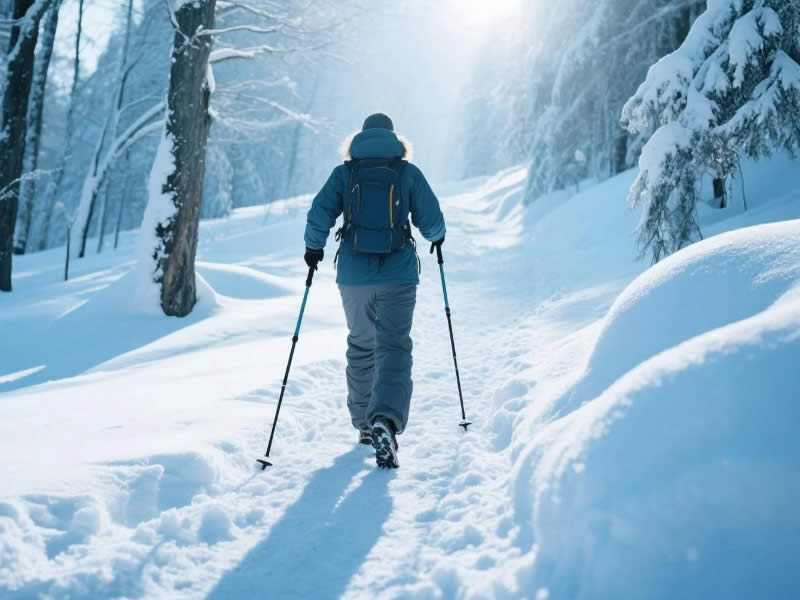
How to use trekking poles for winter hiking in snow?
Winter hiking on snow – whether a gentle forest trail or a steep Alpine slope – requires adjustments to your trekking pole technique. The same poles you use in summer need different accessories and a modified planting rhythm to work efficiently in snow. Here’s how to adapt.
Recommended trekking pole purchase link: https://s.click.aliexpress.com/e/_c4M7OWaN
Essential winter modifications
- Large snow baskets (7–10 cm diameter) – replace your small summer baskets. These prevent the pole from sinking deep into powder, saving your arms from constant deep planting.
- Ice grips (spiked rubber covers) – for solid ice or hardpack. Carbide tips alone can skid on polished ice; ice grips add metal spikes for traction.
- Lengthen your poles – add 5–10 cm to your flat‑terrain length. The snow surface may be lower than the trail, and longer poles help you plant firmly.
Technique on soft, deep snow
- Plant vertically – angled plants cause the pole to slice through snow rather than float. Keep the shaft as upright as possible.
- Use double planting – on deep snow, plant both poles together in front of you, then step. This creates a stable platform and prevents one pole from sinking while the other stays high.
- Shorten your stride – smaller steps keep your weight centered and reduce the chance of post‑holing (leg punching through).
- Probe ahead – use one pole to test snow depth before committing your weight.
Technique on hardpack or icy snow
- Use ice grips – if the surface is solid ice or very hard snow, add the spiked rubber covers. They provide exceptional grip.
- Plant with force – the carbide tip or ice grip needs a firm plant to bite. A light tap may skid.
- Alternate planting – on moderately hard snow, you can return to an opposite arm‑leg rhythm. But keep poles longer than summer.
Adjusting for slope
- Uphill in snow: Shorten poles by 5–10 cm from your winter flat length. Plant both poles together and pull yourself up.
- Downhill in snow: Lengthen poles further (10–15 cm longer than flat). Plant both poles ahead, lean back slightly, and use them as brakes. The large baskets will help you float rather than plunge.
Avoiding common mistakes
- Using small baskets – your arms will tire in minutes as poles sink to the grip.
- Planting at an angle – the pole slices through snow, providing no support.
- Keeping summer length – too short, and you’ll lean forward; too long, and you’ll strain shoulders.
- Forgetting to remove rubber tips – rubber on snow is deadly slippery.
Additional winter tips
- Keep locks clean – snow and ice can jam lever locks. Knock off snow before collapsing poles.
- Wear gloves – foam or cork grips are cold; insulated gloves help. Adjust straps with gloves on.
- Carry spare baskets – cold plastic can crack.
- Practice self‑arrest – if you fall on a slope, holding both poles across your chest may help slow a slide (but an ice axe is safer).
Final verdict
Winter hiking in snow is far more enjoyable with properly equipped and correctly used trekking poles. Swap to large snow baskets, lengthen your poles, and use a vertical, double‑planting technique on soft snow. Add ice grips for hard ice. Adjust length for uphill and downhill. With these adaptations, your poles will keep you stable, save your arms, and allow you to explore snowy landscapes safely. Practice at lower elevations before heading into deep powder or steep terrain.


