


How to replace worn out trekking pole baskets?
Trekking pole baskets – those small plastic discs just above the tip – are often overlooked until they crack, break, or simply wear out. A damaged basket can ruin a hike: without it, your pole plunges deep into mud or snow, throws off your rhythm, and fails to provide the stability you need. The good news is that replacing baskets is one of the easiest and cheapest maintenance tasks you can perform. This guide covers everything from identifying your basket type to installing new ones in minutes.
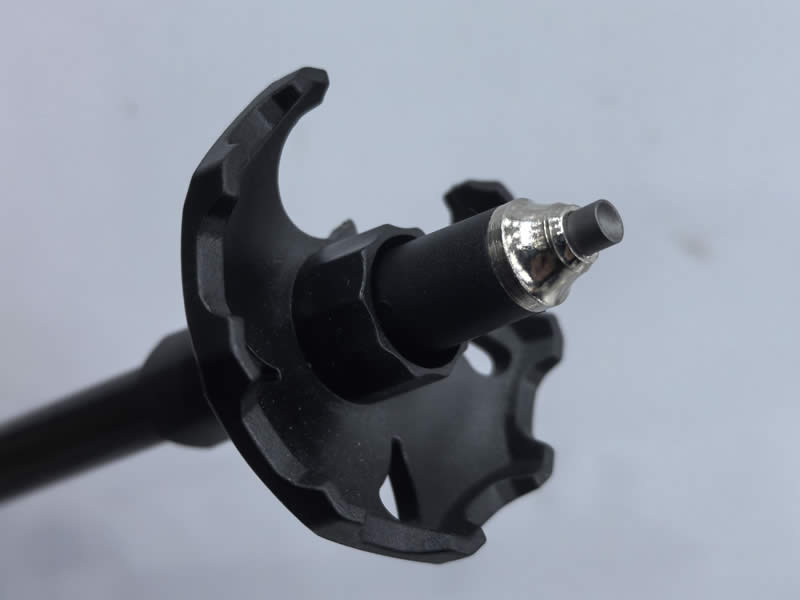
Recommended trekking pole purchase link: https://s.click.aliexpress.com/e/_c4M7OWaN
Why baskets matter
Baskets (also called snow or mud baskets) serve two critical purposes:
- Prevent over-penetration – On soft ground, snow, or mud, the basket stops the pole from sinking too deep.
- Protect the tip – The basket absorbs lateral forces, reducing stress on the carbide tip.
Worn baskets develop cracks, become loose, or lose their shape. A missing basket on a muddy trail means your pole will plunge 6–12 inches with every step, destroying your rhythm and exhausting your arms.
Step 1: Identify your basket attachment type
Not all baskets are the same. There are three common systems:
- Snap‑on / press‑fit – The most common. The basket has a flexible collar that snaps over ridges or a groove on the pole shaft. No tools required.
- Threaded / screw‑on – The basket screws onto threads just above the tip. Found on some LEKI and Komperdell models.
- Locking with set screw – Rare. A small screw holds the basket in place. Requires a tiny allen key.
Check your pole manufacturer’s website. If you have the original baskets, examine them for any threads or locking tabs.
Step 2: Remove the old basket
For snap‑on baskets:
- Grasp the basket firmly and twist it back and forth while pulling downward toward the tip. Most will pop off with moderate force.
- If stuck, soak the basket in warm water for 5 minutes to soften the plastic, then try again.
- Avoid using pliers – they can crush the basket and damage the shaft. Use a rubber jar opener for grip.
For threaded baskets:
- Simply unscrew counter‑clockwise (lefty‑loosey). Use your fingers; pliers may crack the plastic.
For set‑screw baskets:
- Loosen the tiny screw with the appropriate hex key (usually 1.5mm or 2mm). Then pull the basket off.
Step 3: Clean the shaft and inspect
Once the basket is off, clean the area above the tip with a damp cloth. Remove any dirt, old glue, or debris. Inspect the ridges or grooves where the new basket will snap. If the shaft is damaged (deep scratches or burrs), smooth them with fine sandpaper.
Also check the carbide tip. This is a good opportunity to see if the tip needs replacement (worn flat or missing).
Step 4: Choose the correct replacement basket
Baskets come in different sizes (diameter) and designs. Measure the diameter of your pole shaft just above the tip. Common sizes:
- Small – 35–40 mm (for summer hiking on packed trails)
- Medium – 50–60 mm (standard all‑around)
- Large – 70–100 mm (for deep snow, often called “powder baskets”)
Buy baskets specifically designed for your brand when possible (e.g., Black Diamond, LEKI, Komperdell, Cascade Mountain Tech). Universal baskets exist but may not fit as securely.
Pro tip: Carry spare baskets in your repair kit. They weigh almost nothing and can save a trip if a basket fails miles from the trailhead.
Step 5: Install the new basket
For snap‑on baskets:
- Align the basket with the pole tip. Slide it over the tip and push upward toward the handle.
- You will feel resistance as the basket passes over the locking ridge(s). Press firmly until you hear a distinct click or feel it seat into the groove.
- Twist the basket slightly to ensure it locks. It should not spin freely or slide down.
For threaded baskets:
- Screw the basket on clockwise (righty‑tighty). Hand‑tight is sufficient. Do not over‑tighten – plastic threads can strip.
For set‑screw baskets:
- Slide the basket into position, then tighten the small screw. Use a tiny drop of threadlocker (e.g., Loctite 222) for security.
Step 6: Test the fit
After installation, try to pull the basket off by hand. It should resist firmly. Then plant the pole into soft ground or snow and push down. The basket should stop the pole at the correct depth. If the basket spins loosely or slides down the shaft, it’s either the wrong size or defective. Remove and try a different basket.
When to replace baskets
- Visible cracks or missing chunks – Replace immediately.
- Basket wobbles or slides – The plastic collar has stretched. Replace.
- After every 500–1000 miles (800–1600 km) of heavy use – Plastic becomes brittle from UV exposure.
- At the start of each winter season – Snow baskets large enough? Switch to powder baskets.
Common mistakes
- Forcing a basket that’s too small – You’ll crack it. Measure first.
- Using pliers to snap on a basket – Pliers can crush the basket or dent your pole. Use hand pressure or a rubber mallet with a wood block.
- Ignoring a loose basket – It will eventually fall off miles from the trailhead. Replace it.
- Buying universal baskets without checking compatibility – Some “universal” baskets only fit certain shaft diameters (e.g., 10mm, 12mm). Check before buying.
Where to buy replacement baskets
- REI, MEC, Decathlon – Large selection of brand‑specific baskets.
- Amazon – Many third‑party options; read reviews for fit.
- Manufacturer websites – LEKI, Black Diamond, Komperdell, etc. Offer exact matches.
- Local outdoor gear shops – Often have bins of spare baskets.
Final thoughts
Replacing worn trekking pole baskets is a simple 2‑minute job that costs $5–15. Yet it dramatically improves pole performance in soft terrain. Don’t wait until your basket shatters on a remote trail. Inspect your baskets before every season, keep spares in your gear closet, and swap them out as soon as you notice cracks or looseness. Your poles – and your arms – will thank you.


