


How to use trekking poles on icy trails in winter?
Winter hiking on icy trails can be treacherous. Your trekking poles are not just for balance – they become critical safety tools. However, using them incorrectly on ice can lead to slips, falls, even injury. This guide explains how to adapt your technique and equipment for icy conditions.
Recommended trekking pole purchase link: https://s.click.aliexpress.com/e/_c4M7OWaN
1. Swap to carbide tips – never rubber
The most important change: remove rubber tip covers. Carbide tips are made of tungsten carbide, a material hard enough to bite into solid ice. Rubber tips are for pavement or rock; on ice they will slide like skates. If your poles have removable carbide tips, ensure they are sharp. Worn, rounded tips should be replaced before winter.
For extreme ice, consider ice grippers – add‑on spikes that fit over the carbide tip (e.g., Leki Ice Gripper, Black Diamond Ultralight Ice Tip). These have small, aggressive teeth that penetrate the ice surface, providing exceptional traction.
2. Adjust pole length for stability
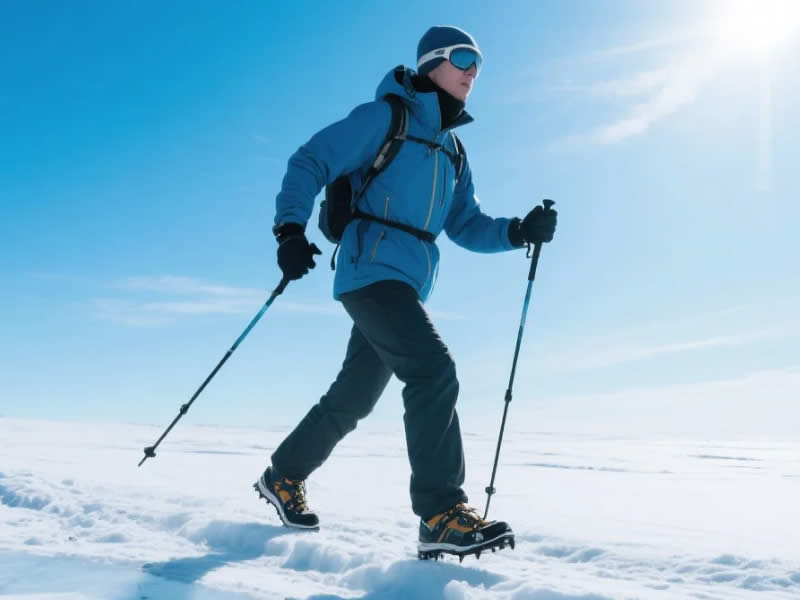
On flat or gently sloping ice, keep your poles at the same length as for summer hiking (elbow at 90° when the tip is on the ground). On steep icy descents, lengthen poles by 5‑10 cm so you can plant further downslope without leaning forward. On icy ascents, shorten poles slightly to keep your torso upright and weight directly over the tips.
3. Planting technique: firm, vertical, and below your body
The key to ice is vertical planting. Avoid planting the pole at a forward angle – it will skid. Bring the pole tip directly down, as close to your foot as possible, and push firmly. Imagine driving a nail into the ice. The pole should be perpendicular to the ice surface.
- On icy traverses (side‑hilling) : Shorten the uphill pole and lengthen the downhill pole. Plant both poles vertically, slightly downhill, to create a three‑point anchor.
- On frozen streams or smooth ice : Use a “two‑pole plant” – plant both poles simultaneously before moving each foot. This quadruples your contact points.
4. Body position: keep weight centered
Do not lean heavily on your poles – they can slip. Instead, keep your center of gravity over your feet, using the poles as secondary stabilisers. Slightly bend your knees and walk with a flat‑footed, shuffling gait. The poles should be used to probe ahead for hidden ice patches or thin snow cover.
5. Baskets: small or large?
In icy conditions, small baskets (summer style) are actually better. Large powder baskets are designed for deep snow, but on hard ice they can lift the tip off the surface, reducing bite. Remove large baskets and use the smallest baskets available, or none at all (if the tip securely penetrates ice).
6. Rhythm and foot placement
Move poles and opposite feet in a natural walking rhythm. On very slick sections, adopt a “pole‑pole‑foot‑foot” sequence: plant both poles, then move both feet, keeping the poles anchored. This is slower but safer.
7. What to avoid
- Do not twist or drag poles on ice – this grinds down the carbide tip and reduces grip.
- Do not use rubber tips – they are dangerously slippery.
- Do not plant poles far ahead – this creates a lever that can pull you off balance.
- Do not rely solely on poles – use microspikes or crampons on your boots for steep ice.
8. Maintenance after icy hikes
Ice and road salt are corrosive. After walking on salted paths (common in German towns), rinse your poles with fresh water, especially the tip and lock mechanisms. Dry thoroughly and apply dry silicone spray to flick‑lock pivots.
Final advice
Using trekking poles on icy trails requires the right equipment (carbide tips, possibly ice grippers) and a deliberate, vertical planting technique. Practice on a safe, low‑angle icy slope before attempting steep terrain. When in doubt, attach microspikes to your boots and use poles as a supplementary brace. With proper technique, your poles will transform icy trails from a slip‑hazard to a confident winter walkway.


