


How to use trekking poles on flat vs rolling terrain?
Many hikers assume that once you’ve learned to use trekking poles, the technique is the same everywhere. But flat, level ground and rolling, hilly terrain demand different approaches. Using the wrong rhythm or length on either can waste energy, cause fatigue, and even lead to injury. Here’s how to adapt your pole technique to flat and rolling terrain.
Recommended trekking pole purchase link: https://s.click.aliexpress.com/e/_c4M7OWaN
Flat terrain: efficiency and rhythm
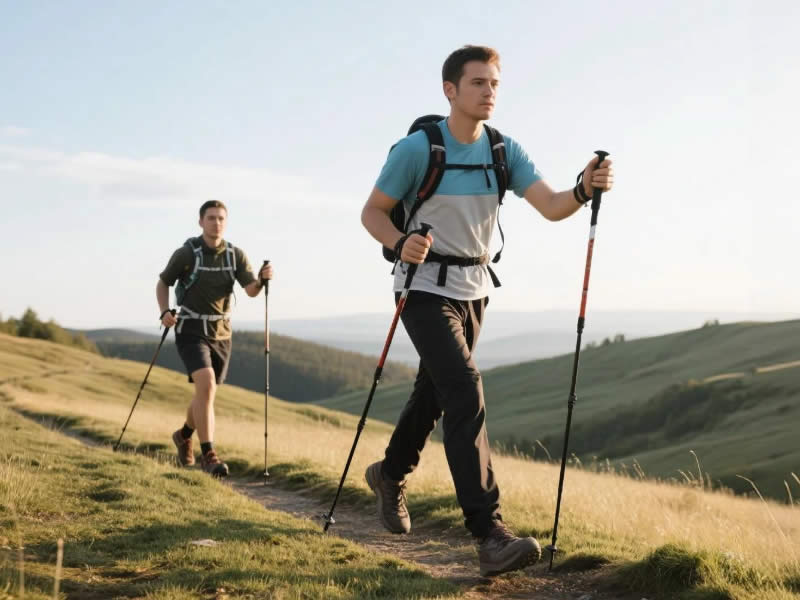
On flat, hard‑packed trails (e.g., a canal towpath or a gravel forest road), the goal is to maintain a natural, relaxed walking motion with minimal extra effort.
- Pole length: Set your poles so that when you stand upright, your elbow is at a 90° angle when the tip is on the ground. This neutral length allows a comfortable arm swing.
- Planting rhythm: Use alternate planting – opposite pole to forward foot (right foot steps, left pole plants). This mimics your natural gait and conserves energy.
- Arm swing: Swing from the shoulder, keeping your elbow slightly bent. Plant the pole when your hand is level with the heel of your forward foot – not too far ahead.
- Push: Lightly push back after each plant. Do not stab or over‑push; a gentle propulsion is enough.
- Wrist straps: Use them correctly (hand up from below, strap between thumb and index finger) so the strap bears weight and your fingers stay relaxed.
Rolling terrain: constant adjustment is key
Rolling terrain – a series of short, alternating uphills and downhills – is where many hikers get lazy. They keep their poles at one length and use the same rhythm throughout, missing the benefits. The key is to continuously adjust length and rhythm for each hill.
On each uphill (even short ones):
- Shorten poles by 5–10 cm from your flat length. You don’t need to stop – just reach down and adjust one section while walking (lever locks make this easy).
- Switch to double planting on steeper sections. Plant both poles together ahead, then pull yourself up. This uses your arms and saves your quads.
- Take shorter, quicker steps. Keep your torso upright.
On each downhill:
- Lengthen poles by 5–10 cm from flat length. Again, adjust while moving if possible.
- Plant both poles together ahead of your feet to brake and transfer weight from knees to arms.
- Lean slightly back from your ankles to resist the forward pull of gravity.
On the flat sections between hills:
- Return to flat length and alternate planting. Reset your poles to the marked “flat” setting.
Energy‑saving tip for rolling terrain
Mark your “flat”, “shortened”, and “lengthened” lengths on the inner shaft with a permanent marker or tape. Then you can adjust to the correct setting without measuring each time. With practice, you can change pole length in 2–3 seconds per pole while walking.
Common mistakes on rolling terrain
- Keeping flat length for the whole day – the most common error. You’ll suffer on uphills (arms too high) and downhills (inadequate braking).
- Using alternate planting on steep hills – provides too little power or braking. Switch to double planting.
- Over‑adjusting – you don’t need to change length for every tiny undulation. Only for hills that last more than 10–20 steps.
- Ignoring wrist straps – heavy reliance on grip alone wears out your hands.
Drill for rolling terrain
Find a section of trail with a short, steep hill followed by a flat. Walk it twice: first without adjusting length or rhythm, noting how your legs and arms feel. Then walk it again, shortening poles for the uphill (double plant), lengthening for the downhill (double plant), and resetting to flat for the flat section. You’ll immediately feel the difference in leg fatigue and knee comfort.
Final verdict
On flat terrain, use alternate planting with poles at neutral length (elbow 90°). On rolling terrain, constantly adjust: shorten poles and use double planting for each uphill, lengthen poles and use double planting for each downhill, and return to flat/alternate on the flats. This active adaptation saves energy, protects your knees, and makes rolling hills far more enjoyable. With a little practice, the adjustments become automatic, and you’ll glide over undulating ground with less effort and more speed.


