


What is the correct trekking pole height for a 170cm person?
For a person of 170 cm (about 5’7″), the recommended starting trekking pole length is approximately 115 cm (1150 mm) on flat terrain. This is based on the common formula: height in cm × 0.68. However, the ideal length is not just a number; it depends on your arm length, footwear, and the terrain you are walking on. Here is a complete guide to finding and adjusting the correct height for a 170 cm individual.
Recommended trekking pole purchase link: https://lightenup.aliexpress.com/store/1101521655
The basic formula and why 115 cm works
Multiply your height (170 cm) by 0.68:
170 × 0.68 = 115.6 cm, so 115 cm is the practical rounded length. This formula assumes an average arm‑to‑height proportion. For most 170 cm people, a 115 cm pole will allow the elbow to bend at roughly 90° when the tip is on the ground and the arm is relaxed. This neutral angle is the most efficient and comfortable for walking on flat, hard surfaces.
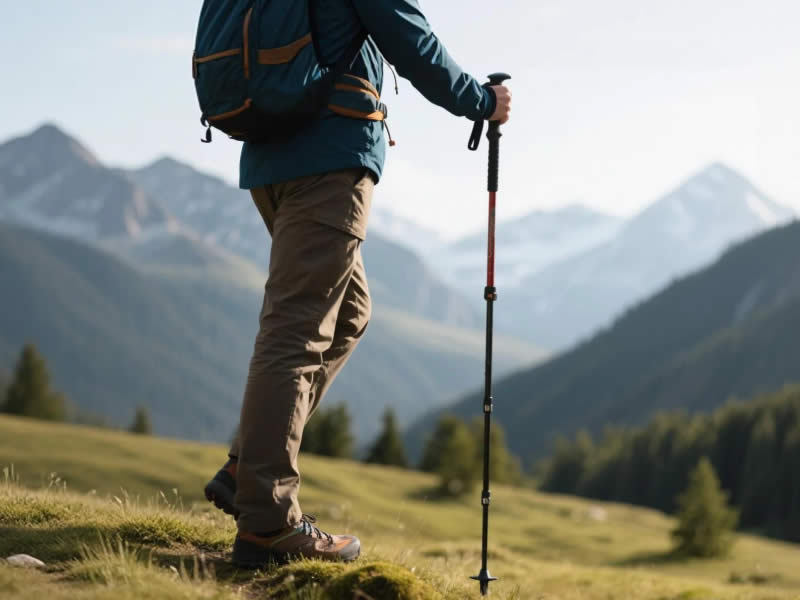
How to verify the fit – the 90° elbow test
- Stand upright with your hiking boots on (important – different sole thicknesses affect length).
- Hold the trekking pole upside down? No – hold it normally, with the tip on the ground beside your foot.
- Keep your upper arm hanging naturally, bend your elbow so your forearm is parallel to the ground.
- The grip should fall comfortably into your hand without you having to reach up or down.
At 115 cm, a 170 cm person will typically find their elbow at exactly 90°. If the elbow is less than 90° (arm bent more sharply), the pole is too long. If the elbow is more than 90° (arm straighter), the pole is too short. Adjust accordingly.
Adjustment for different terrains
Once you have your flat‑terrain length, you must adapt for hills:
- Uphill: Shorten the poles by 5–10 cm (so to about 105–110 cm). A shorter pole keeps your arms low, allowing you to push down effectively without raising your shoulders.
- Downhill: Lengthen the poles by 5–10 cm (to about 120–125 cm). This lets you plant the pole ahead of your body, creating a braking effect that transfers weight from your knees to your arms.
- Side‑hilling: Adjust each pole individually – shorten the uphill pole, lengthen the downhill pole, so your torso stays level.
Why individual factors matter
The formula is a starting point. A 170 cm person with especially long arms may need a slightly longer pole (e.g., 117 cm); someone with short arms may need 113 cm. Also, if you wear thick‑soled boots (e.g., winter boots), add 1–2 cm. If you use snowshoes, add even more.
The wrist strap factor – often overlooked
Even with the correct length, you must use the wrist strap properly to transfer weight. Insert your hand up through the strap from below so the strap sits between your thumb and index finger. Adjust the strap snugly. When you push down, the strap bears the weight, not your grip. This technique makes the pole length feel more natural and reduces hand fatigue.
How to test your length on the trail
After setting your poles to the calculated length, walk a few hundred metres on flat ground. Pay attention to:
- Shoulder tension: If you find yourself shrugging, the poles are too long.
- Lower back ache: If you feel hunched, poles are too short.
- Arm swing: Your arms should swing naturally, opposite to your legs.
Make small adjustments (1–2 cm) until it feels right.
Common mistakes for a 170 cm person
- Using the factory recommendation (often 120 cm for 170 cm) – too long for most people. Always do the 90° test.
- Never adjusting for uphill/downhill – leaving poles at 115 cm on steep terrain can cause shoulder strain (uphill) or insufficient braking (downhill).
- Forgetting to re‑check after changing footwear – swapping from summer hiking shoes to winter boots changes the effective height.
Final recommendation for a 170 cm hiker
Start with 115 cm as your flat‑ground setting. Mark this length on the pole shaft with a permanent marker or a piece of tape. Then learn to adjust up or down by 5–10 cm for hills. Most importantly, verify the 90° elbow angle while wearing your usual hiking boots. With the correct height and proper wrist strap technique, you will walk more efficiently, reduce joint strain, and enjoy your hikes more – whether you are on the South Downs Way or the West Highland Way.


