


What length trekking poles do I need for my height (hikers of any height)?
Finding the correct trekking pole length is essential for comfort, efficiency, and injury prevention. The good news: a simple formula works for almost any height, and modern adjustable poles let you fine‑tune for different terrain. Here is a complete guide to setting your pole length correctly, regardless of your height – from 150 cm to 200 cm and beyond.
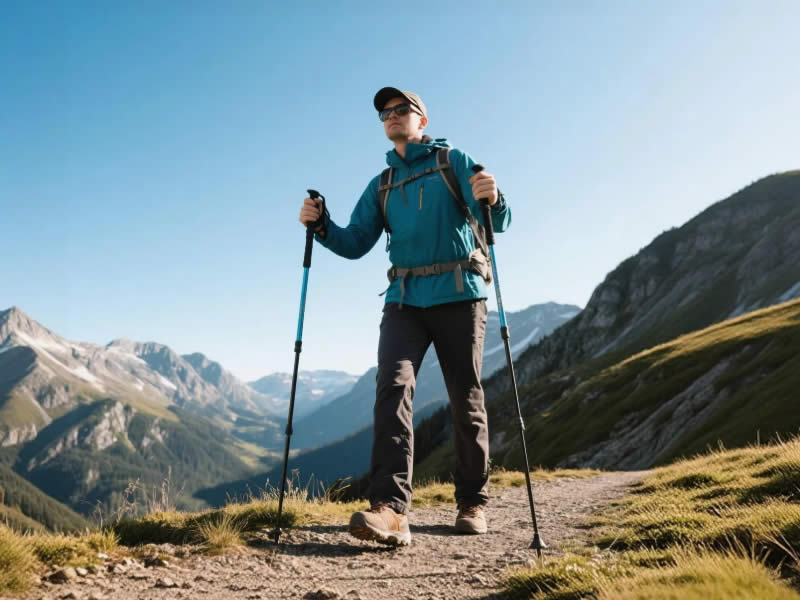
Recommended trekking pole purchase link: https://lightenup.aliexpress.com/store/1101521655
The basic formula: height × 0.68
For flat terrain, a reliable starting length is:
Pole length (cm) = your height (cm) × 0.68
For example:
- 160 cm tall → 109 cm (round to 110 cm)
- 170 cm tall → 115.6 cm (round to 115–116 cm)
- 180 cm tall → 122.4 cm (round to 122–123 cm)
- 190 cm tall → 129.2 cm (round to 129–130 cm)
- 200 cm tall → 136 cm (round to 135–136 cm)
This formula assumes average arm and leg proportions. It brings your elbow to roughly a 90° angle when the tip is on flat ground – the most efficient position for walking.
The 90° elbow test – more accurate than any formula
After setting the pole to the calculated length, stand upright in your hiking boots (sole thickness matters!). Place the tip on the ground beside your foot. Bend your elbow so your forearm is parallel to the ground. The grip should fall comfortably into your hand without you having to reach up or down. Adjust the pole length by 1–2 cm until your elbow is exactly at 90°. Mark this length on the shaft with tape or a marker.
Why your boots matter
If you switch between thin summer hiking shoes and thick winter boots, your pole length will change by 1–2 cm. Always set the length while wearing the footwear you plan to hike in.
Adjusting for terrain – the critical next step
Your flat‑ground length is just the baseline. You must adjust for hills:
- Uphill: Shorten poles by 5–10 cm (2–4 inches). This keeps your arms low, allowing you to push down effectively without raising your shoulders. A common mistake is keeping poles at flat length, leading to shoulder strain.
- Downhill: Lengthen poles by 5–10 cm. This lets you plant the pole ahead of your body, creating a braking effect that transfers weight from your knees to your arms.
- Side‑hilling (traversing a slope): Adjust each pole individually – shorten the uphill pole, lengthen the downhill pole, so your torso stays level.
- Deep snow or soft ground: Lengthen poles by an additional 5–10 cm to reach the firm layer below.
How to test your length on the trail
After setting your poles, walk a few hundred metres on flat ground. Pay attention to:
- Shoulder tension: If you feel you are shrugging, the poles are too long.
- Lower back ache: If you feel hunched, the poles are too short.
- Arm swing: Your arms should swing naturally, opposite to your legs.
Make small adjustments (1–2 cm) until it feels right. Then mark that length.
Common mistakes by height range
- Short hikers (under 160 cm): Many standard poles start at 100 cm, which may still be too long. Look for poles that adjust down to 95 cm or consider children’s models (e.g., Leki Junior). A too‑long pole forces you to hike with elevated shoulders.
- Average hikers (160–185 cm): The formula works well. Don’t forget to adjust for hills – many people ignore this.
- Tall hikers (over 190 cm): Standard poles may only extend to 135 cm, which could be short for you. Check maximum length before buying. Brands like Leki Makalu (140 cm), Black Diamond Trail Pro (140 cm), or Komperdell C4 (145 cm) are suitable.
Wrist straps – a hidden factor affecting effective length
Even with perfect pole length, incorrect strap use changes the effective length. Insert your hand up through the strap from below and grip lightly. The strap should sit between your thumb and index finger. When you push down, the strap bears the weight – not your grip. If you use the strap incorrectly (hand from above), the pole will feel shorter because your hand is forced higher on the grip. Always use the correct strap technique.
Special cases
- People with very long or short arms: The formula may be off by a few cm. Use the 90° elbow test as the final arbiter.
- People with back or shoulder issues: You may prefer a slightly shorter pole to reduce reach. Experiment.
- Trail runners: Often use poles 2–5 cm shorter than the formula to allow a faster cadence.
Recording your settings
Most adjustable poles have length markings. Use a permanent marker to colour the notch at your flat, uphill, and downhill settings. This allows you to reset quickly without measuring each time.
Final checklist for any hiker
- Set flat length using height × 0.68, then refine with 90° elbow test.
- Mark the flat length on the pole.
- Learn to shorten by 5–10 cm for uphills and lengthen by 5–10 cm for downhills.
- Always wear your hiking boots when setting length.
- Use wrist straps correctly (hand up from below).
- Re‑check length if you change footwear or after a long break.
With the right length, your poles will feel like natural extensions of your arms – reducing fatigue, protecting your knees, and making every hike more enjoyable, whatever your height.


