




How to Refurbish Old Rusted Trekking Poles for Continued Use?
Finding rust or stubborn corrosion on your trekking poles doesn't have to mean the end of the trail. While aluminum poles don't rust in the classic sense, steel components like locking cams, springs, and screws are susceptible, and aluminum can suffer from unsightly oxidation-2. With patience and the right approach, you can restore your old, corroded poles to safe, functional condition. This guide provides a comprehensive step-by-step process to refurbish your poles, ensuring they're ready for many more adventures.
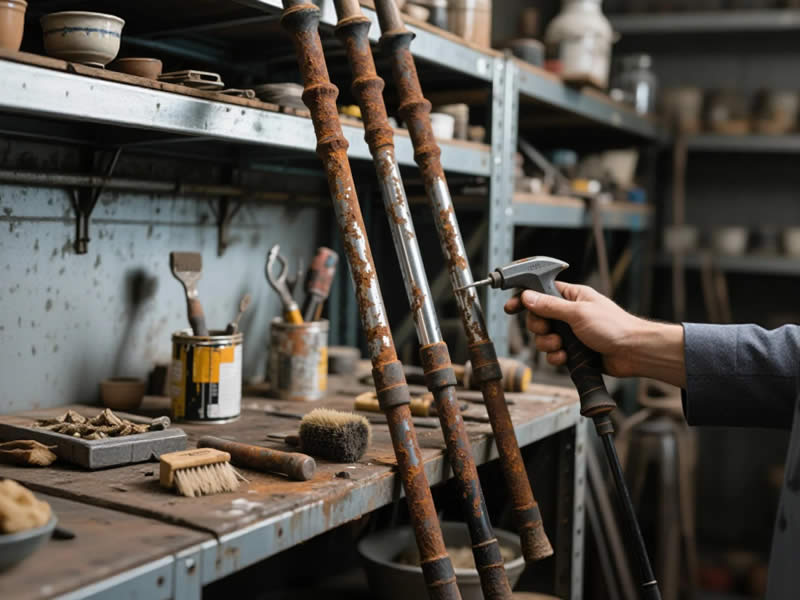
Recommended trekking pole purchase link: https://lightenup.aliexpress.com/store/1101521655
🛠️ Step 1: Assess the Damage and Gather Your Tools
Before starting, fully disassemble your poles. Separate all sections and remove baskets. This allows you to identify exactly where the corrosion or rust is and to treat each part effectively-4.
You'll Need:
- Cleaning: Warm water, mild dish soap, soft-bristled brush (old toothbrush), soft cloths.
- Rust Removal: White vinegar, baking soda, fine steel wool (grade 0000), aluminum foil.
- Lubrication: Dry silicone spray or PTFE lubricant, light machine oil.
- Replacement Parts: New carbide tips, baskets, and possibly grip tape or replacement straps.
A critical note on carbon fibre: If your poles are made of carbon fibre, exercise extreme caution. Carbon can be damaged by harsh chemicals and abrasive scrubbing. The methods below are generally safe for cleaning carbon shafts, but testing any solution on a small, inconspicuous area first is always wise-1.
🧼 Step 2: The Deep Clean – Removing Grime and Corrosion
Surface dirt and salt residue must be removed before you can address any rust or oxidation. This step is crucial for restoring smooth operation.
- Scrub Away Grime: Submerge the pole sections in warm, soapy water for 15-20 minutes to loosen caked-on mud. Use your soft brush to scrub all surfaces, paying extra attention to the threaded sections and any moving parts of the locks-4.
- Rinse Thoroughly: Rinse every component with clean, fresh water to remove all soap residue and loosened grit. For twist-lock poles, extend the sections halfway and flush water through the mechanism-4.
💨 Step 3: Eliminating Rust and Oxidation
After cleaning, you can tackle the visible corrosion. The method depends on whether you're dealing with surface rust on steel or oxidation on aluminum.
- For White Oxidation on Aluminum (the chalky powder): Make a paste of baking soda and water. Gently rub it onto the affected area with a soft cloth. For stubborn spots, wrap a vinegar-soaked cloth around the area for 5-10 minutes. The mild acid will dissolve the oxidation-2.
- For Rust on Steel Parts (reddish-brown flakes): Soak a cloth in white vinegar and wrap it around the rusty component for 10-15 minutes. The vinegar will dissolve the rust, making it easy to scrub off with a brush-. For heavier rust, fine steel wool (#0000) can be used very gently, but avoid steel wool on aluminum as it can embed particles and cause future issues-2.
🔧 Step 4: Reviving Mechanical Components
The locking mechanisms and threaded connections are often the first to suffer from corrosion. Proper care here is vital for safety.
- Clean Lock Mechanisms: Thoroughly scrub the cams and pivots of lever locks, and the expanding collets of twist locks. Remove all dirt and old lubricant.
- Lubricate the Correct Parts: Apply a dry silicone spray or PTFE lubricant to the moving parts of the lock. This type of lubricant won't attract dirt. Do not use standard WD-40 for this purpose. It leaves a sticky residue that will trap grit, leading to future failures-1. For twist locks, apply a tiny amount of silicone grease to the threads only, never to the friction surfaces.
- Replace Worn Components: Examine the carbide tips. If they are rounded or worn down, unscrew them counterclockwise (using pliers if needed) and replace them with new ones-40. Inspect baskets for cracks and replace any that are damaged-37.
🔩 Step 5: Final Checks and Long-Term Care
Once everything is clean, dry, and lubricated, reassemble your poles. Before hitting the trail, perform these final checks:
- Full Functionality Test: Extend the poles to your desired length and lock them. Collapse and extend them several times to ensure they move and lock smoothly.
- Weight Test: Place the poles on a stable surface and push down firmly with your body weight. They should not slip or collapse.
- Preventative Routine: To keep rust from returning, get into the habit of rinsing your poles with fresh water after every hike, especially after coastal walks or muddy treks. Always dry them completely and store them extended, never collapsed in a damp place-1.
With these steps, you can often bring old, neglected trekking poles back from the brink. The process is not just about saving money; it's about maintaining reliable, safe gear and minimizing waste. A few hours of work can breathe new life into your trusty trail companions.




