


How to use trekking poles on icy trails in Pico da Bandeira during winter?
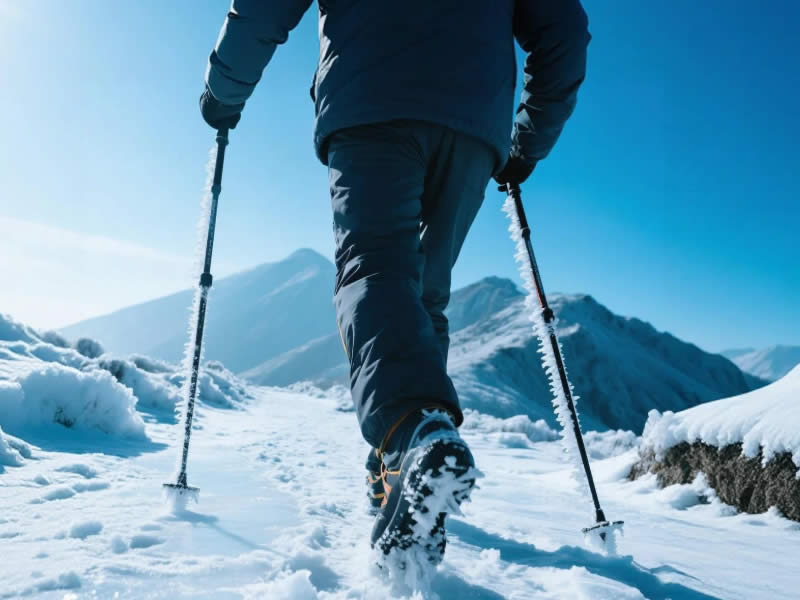
Pico da Bandeira (2,891 m), Brazil’s third highest peak, is a popular destination for winter mountaineering. Between June and August, the trails above the treeline can become treacherously icy. Frost, frozen snow, and black ice on granite slabs are common. Walking without proper technique – and the right equipment – can lead to dangerous falls. Trekking poles are essential, but you must adapt them for icy conditions. This guide explains how to use your poles safely and effectively on the icy trails of Pico da Bandeira during winter.
Recommended trekking pole purchase link: https://lightenup.aliexpress.com/store/1101521655
1. Prepare your poles for ice
Before you even start the climb, modify your poles:
- Fit ice grips (spiked rubber covers) – Standard carbide tips can skid on polished ice. Ice grips (e.g., Leki Ice Grips, Black Diamond Ice Tip) are rubber covers with small metal spikes. They snap over your carbide tip and provide outstanding traction on hard ice. Always carry them in winter. Fit them at the trailhead if you expect ice.
- Use aluminium poles (7075) – not carbon – Carbon becomes brittle in sub‑zero temperatures and can snap when jammed between frozen rocks. Aluminium bends – you can often straighten it and continue. For Pico da Bandeira’s icy, rocky terrain, aluminium is safer.
- Lever locks, not twist locks – Twist locks can freeze and become impossible to adjust. Lever locks (Leki SpeedLock, Black Diamond FlickLock) work reliably in cold, wet conditions.
- Remove baskets – Small summer baskets are fine; large snow baskets are unnecessary on ice and can tilt the tip. Remove them for better tip contact.
2. Lengthen your poles for descents, shorten for climbs
- On flat or moderate slopes – Set poles so your elbow is at 90° when the tip (with ice grip) touches the ground. Mark this length.
- On icy descents (most critical) – Lengthen poles by 5‑10 cm beyond your flat length. This allows you to plant the pole ahead of your body, creating a braking angle. The longer pole also helps you maintain an upright posture, reducing the risk of sliding.
- On icy climbs – Shorten poles by 5‑10 cm. This keeps your arms low, allowing you to push down and pull up efficiently.
3. Descending technique – the most dangerous part
Descending icy trails on Pico da Bandeira (e.g., from the summit to the Terço de Montes shelter) requires maximum care.
- Plant both poles together ahead – Plant them about 30‑50 cm in front of your feet, shoulder‑width apart. The ice grips will bite into the ice.
- Push down firmly – Apply steady pressure. You should feel the spikes engage. Do not just tap.
- Lean back slightly – Keep your chest up, shoulders back. Lean from your ankles, not your waist. This shifts your centre of gravity uphill, reducing the chance of a forward slide.
- Take short, flat‑footed steps – Shuffle or place your whole foot down at once. Avoid lifting your feet high.
- Keep three points of contact – Move one pole, then one foot, then the other foot, then the other pole. Always have at least one pole planted.
- Use a “step‑plant‑step” rhythm – Plant both poles, step down with one foot, then bring the other foot alongside. Reposition poles and repeat.
4. Ascending technique
Climbing icy slopes is less risky than descending but still challenging.
- Shorten poles as above.
- Use double planting – Plant both poles together ahead, then pull yourself up as you step. This transfers weight to your arms and reduces strain on your legs.
- Keep your body close to the slope – Do not lean outwards.
- Test each plant – Before committing weight, press down to ensure the ice grips have caught.
5. Additional safety tips for Pico da Bandeira in winter
- Wear microspikes or crampons on your boots – Poles alone cannot compensate for lack of foot traction. Microspikes (e.g., Kahtoola) are essential for icy sections.
- Carry an ice axe – For steep, exposed icy slopes, a single ice axe is safer than poles. Stow your poles and use the axe.
- Check the weather – Avoid climbing after fresh snow or rain, which can hide ice. Morning frost is more manageable.
- Keep your poles warm – When resting, put your poles inside your jacket or pack to prevent locks from freezing.
- Use wrist straps loosely or remove them – If you fall, a strapped pole can twist your arm. For very icy sections, consider removing the straps.
6. After the hike
- Remove ice grips and dry them.
- Rinse poles with fresh water to remove grit and salt (from sweat).
- Dry poles fully extended – store in a warm, dry place.
- Inspect ice grips – replace if spikes are worn or rubber cracked.
Conclusion
Using trekking poles on icy trails of Pico da Bandeira during winter requires preparation and technique. Fit ice grips over your carbide tips, use aluminium poles with lever locks, lengthen for descents, and master the double‑planting, push‑down technique. Pair your poles with microspikes on your boots. With the right equipment and careful movement, you can safely navigate the icy slopes and enjoy the spectacular views from Brazil’s highest summit. Stay safe, stay upright, and embrace the winter challenge.


