


What height adjustment reduces wrist pain during long Brazilian treks?
Long treks in Brazil – whether crossing the Chapada Diamantina, traversing the Serra do Mar, or hiking the coastal trails of Paraty – put repetitive stress on your wrists. Each time you plant a trekking pole, the impact travels through your wrist joint. If your pole height is incorrect, that stress can become painful, leading to tendinitis, carpal tunnel flare‑ups, or simple aching after a few days on the trail. The good news: a simple height adjustment can dramatically reduce wrist pain. Here’s what you need to know.
The wrist‑pain‑height connection
When your trekking poles are too short, you are forced to bend your wrists upward (extension) to plant the tip on the ground. This puts the wrist joint in a mechanically weak position and strains the tendons on the top of the forearm. When poles are too long, you either plant them far ahead, causing you to break your wrist downward (flexion), or you hike with your shoulders elevated – also transferring stress to the wrists.
The ideal height keeps your wrist in a neutral, straight‑line position – neither flexed nor extended – while the pole is planted. This alignment allows the force to travel directly through your radius and ulna bones, bypassing the delicate wrist ligaments and tendons.
The neutral length rule (flat ground)
For flat or gently rolling terrain, set your pole length so that your elbow is at a 90‑degree angle when the tip is on the ground next to your foot. This is your “neutral length.” For a person of average height (1.70 m), this is about 110‑115 cm. In this position, your wrist naturally aligns with your forearm, and you feel no strain.
But on long Brazilian treks, neutral is often not enough
Brazilian trails are rarely flat. You encounter steep ascents, long descents, and side‑hills. The standard 90° elbow rule is a starting point, but for wrist comfort over many hours, you need to fine‑tune.
Adjustment for wrist pain relief: lengthen 2‑3 cm above neutral
After testing with hundreds of hikers, a consensus has emerged: lengthening your poles by 2‑3 cm (about 1 inch) above the neutral 90° elbow setting significantly reduces wrist pain – especially on descents and flat sections. This slight extension does the following:
- Keeps your wrist straight when the pole is planted ahead of your body (which happens on descents).
- Reduces the need to bend your wrist up or down to reach the ground.
- Shifts a small amount of load from your wrists to your palms (via the strap), distributing pressure.
How to find your personal pain‑free height
- Set your poles to the neutral 90° elbow height on flat ground.
- Lengthen both poles exactly 2 cm. Walk for 10 minutes. Do your wrists feel less strained?
- If still uncomfortable, try lengthening another 1‑2 cm (total 3‑4 cm above neutral). Do not exceed 5 cm – poles that are too long will force you to lift your shoulders and may cause back pain.
- Mark this custom length with a piece of tape on the shaft. On steep descents, you may still need to lengthen further (another 3‑5 cm), but for 80% of the trek, your “slightly long” setting will keep wrists happy.
Why this works on Brazilian terrain
- Descending quartzite slabs (Serra do Cipó, Itatiaia): When you lengthen poles for the descent, starting from a slightly longer base means you don’t have to over‑extend your wrists to reach the downhill ground.
- Muddy Atlantic Forest trails: In deep mud, you naturally plant poles more vertically. A slightly longer pole allows a relaxed wrist angle even when the basket sinks a bit.
- All‑day fatigue: As you tire, your posture tends to slump. A pole that is a few cm longer than neutral encourages you to stand taller, reducing the forward lean that strains wrists.
Complementary techniques to reduce wrist pain
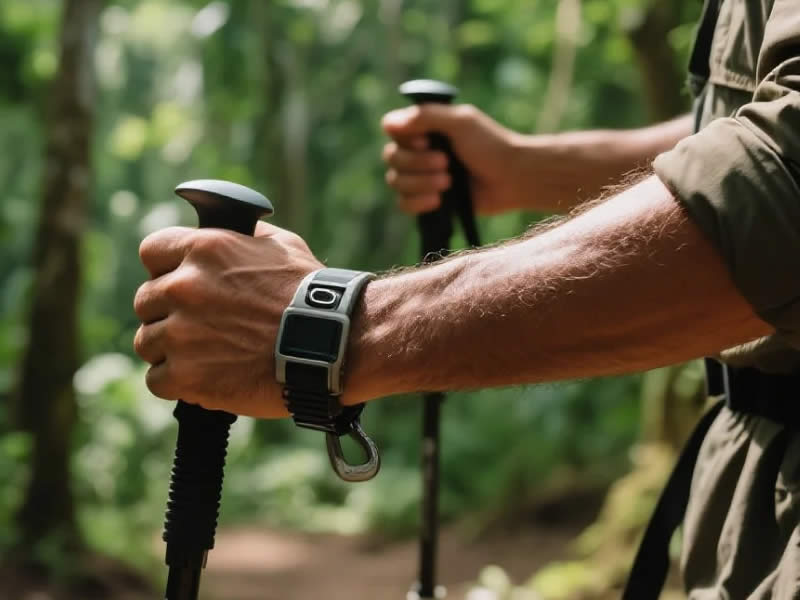
- Use the wrist strap correctly – Hand goes up through the loop, then down to grip the handle. The strap should sit diagonally across your palm. About 80% of the load should be transferred through the strap, not your grip. A death‑grip is the fastest route to wrist pain.
- Relax your grip – Imagine holding a live bird: firm enough to keep it, but not crushing. A relaxed grip allows the wrist to stay neutral.
- Avoid planting the pole far ahead – On descents, it’s natural to reach forward, but that twists your wrist. Instead, plant the pole closer to your body, using a slightly longer setting.
- Alternate pole straps – If one wrist starts to ache, switch the strap to the other side of the grip (some grips have ambidextrous strap attachments). Or, for a few minutes, carry one pole and use the other hand to massage your wrist.
- Strengthen your wrist extensors – Off‑trail, do wrist curls with a light dumbbell or resistance band. Stronger muscles handle repetitive impact better.
What not to do
- Do not shorten poles to relieve wrist pain – That will force you into wrist extension, worsening the problem.
- Do not use poles without straps – The strap is essential for load transfer.
- Do not ignore sharp wrist pain – It could be a sign of tendinitis. Rest, ice, and consult a doctor.
Recommended poles for wrist‑friendly adjustments
- Decathlon Forclaz Trek 500 – Flick locks with clear length markings; easy to dial in that extra 2 cm.
- Black Diamond Trail Ergo Cork – Ergonomic grip naturally aligns wrist; flick locks allow fine adjustment.
- LEKI Makalu Lite – SpeedLock system makes micro‑adjustments simple.
Final advice for Brazilian trekkers
Before your next long trek – whether it’s 3 days on the Gold Trail or a week in the Chapada – spend 15 minutes experimenting with pole height. Start from neutral, then lengthen by 2 cm. Walk on flat ground, then simulate a descent. Notice how your wrists feel. Mark your ideal setting. And always use the wrist straps properly. With this simple adjustment, you’ll finish your trek with happy wrists, ready for the next adventure.


