


How to use trekking poles to avoid overstriding and hip pain?
Overstriding—taking steps that are too long—is a common walking and hiking mistake. It forces your hip flexors to overwork, the ilium to rotate excessively, and the gluteal muscles to absorb shock inefficiently. The result? Anterior hip pain, trochanteric bursitis, or simply a deep ache after a few kilometers. Trekking poles, when used correctly, are one of the most effective tools to break the overstriding habit and protect your hips. But how exactly do you use them for this purpose?
Let’s walk through the mechanics, step by step.
Why overstriding hurts your hips
When you reach your front foot too far forward, your heel strikes the ground ahead of your center of mass. This creates a braking force that travels up the leg and into the hip joint. Your hip abductors and deep rotators must work overtime to stabilize the pelvis. Over thousands of steps, this leads to inflammation and pain. Shortening your stride is the cure, but consciously “thinking small steps” is hard to maintain. That’s where poles become your external coach.
The fundamental technique: opposite arm – opposite leg
First, understand natural gait: your right arm swings forward with your left leg. Trekking poles should mirror this. If you plant the right pole at the same time as your left foot steps forward, you create a rhythmic pattern that automatically regulates stride length.
Step‑by‑step to avoid overstriding and hip pain
- Set your pole height correctlyWith elbows at 90°, the tip should reach the ground. For hip pain, slightly shorter poles (elbows just below 90°) encourage a faster, shorter stride.
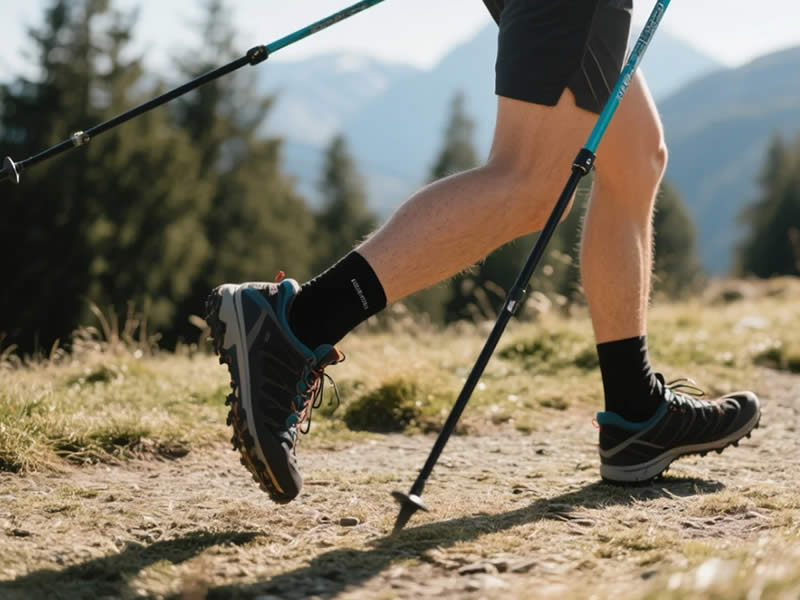
- Plant the pole alongside your rear foot, not aheadThe most common mistake is reaching too far forward with the pole. Instead, plant the tip near your back foot as you begin to step forward with the opposite leg. This keeps your stride compact.
- Push down through the strap – not the gripInsert your hand upward through the strap and rest your weight on the strap itself. When you push down, use your triceps and lats. This action creates a subtle “pull yourself forward” sensation, reducing the need to overreach with your legs.
- Focus on a quick, light foot landingWith each pole plant, let the pole take some body weight. You’ll notice your front foot naturally lands closer to your body, directly under your hips. That’s the anti‑overstriding sweet spot.
- Practice a “shuffle” cadenceOn flat terrain, try taking very short, quick steps (180 steps per minute). The poles will click rhythmically. If you feel hip tension, shorten your reach with the poles.
Bonus: how poles reduce hip pain beyond stride length
- Load sharing: Poles transfer 15–20% of your body weight from your hips to your arms and shoulders.
- Pelvic stabilization: The diagonal tension from a planted pole engages your core and contralateral glute, reducing lateral hip sway.
- Downhill protection: On descents, plant poles well before your foot lands to absorb shock that would otherwise hammer your hip joints.
Common errors that worsen hip pain
- Planting poles too far forward (creates the same braking effect as overstriding)
- Gripping poles tightly (transfers vibration to shoulder and hip)
- Using poles that are too long (forces a wider, more stressful gait)
A quick drill to retrain yourself
Walk on a flat, soft surface (grass or dirt) for 10 minutes without poles, focusing on landing with your foot directly under your knee. Then add poles. Within minutes, your brain will associate the pole plant with a shorter, pain‑free stride. Over several sessions, this becomes automatic.
Final takeaway
Overstriding is a hidden cause of hip pain that many hikers and walkers ignore. Trekking poles, used with deliberate technique, act as a physical metronome to shorten your steps, align your gait, and offload your hips. Master the “plant alongside your rear foot” rule, and you’ll walk farther with less pain. Give it two weeks of consistent practice—your hips will thank you.


