


How to lock trekking poles for use as a camera tripod in waterfalls?
Brazil’s waterfalls—from the famous Cachoeira da Fumaça in Chapada Diamantina to the hidden cascades of Serra do Mar—offer stunning photo opportunities. But carrying a full‑size tripod on a wet, slippery trail is impractical. Your trekking poles, however, can double as a surprisingly effective camera support. With the right locking technique and a few inexpensive accessories, you can turn a single pole into a sturdy monopod or even lash two poles into a makeshift tripod. This guide focuses on how to lock your poles securely for use near waterfalls, where moisture, mist, and uneven rock demand extra care.
Why use a trekking pole as a camera support?
- Weight saving – A typical aluminium pole weighs 250‑300 g; a carbon tripod can be 1.5 kg or more. By using what you already carry, you reduce pack weight.
- Height adjustability – Most telescoping poles extend to 135‑145 cm, which is taller than many compact tripods. Perfect for eye‑level shots.
- Immediate availability – No need to unpack a separate tripod; your pole is already in your hand.
- Cost – A universal camera adapter costs as little as R$30‑50 on Mercado Livre, far less than a dedicated travel tripod.
The right pole for the job
Not every trekking pole works well as a camera support. The ideal pole has:
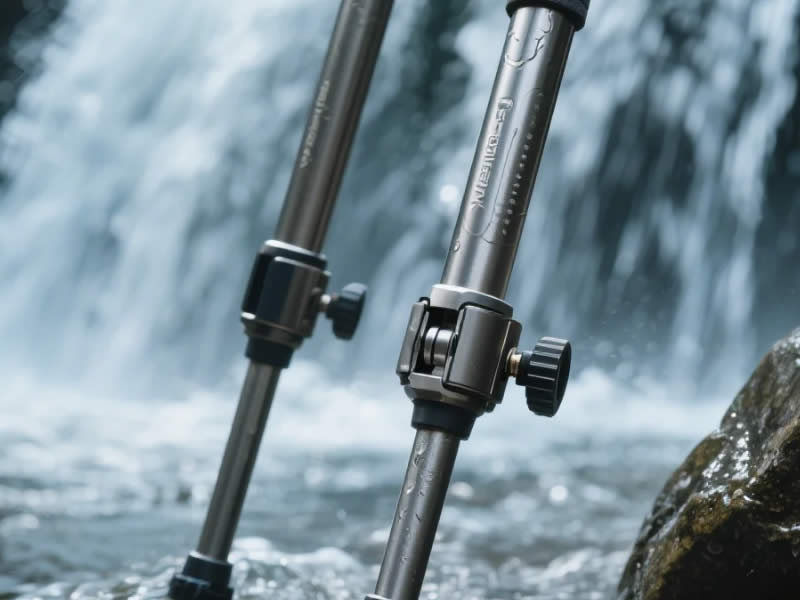
- Lever locks (cam locks) – These provide a more secure, more repeatable lock than twist locks, especially when wet.
- A removable grip – Some poles (e.g., Leki, Black Diamond, Decathlon Forclaz) have grips that can be unscrewed or pulled off, revealing a solid shaft that can accept a 1/4″‑20 camera screw adapter.
- A carbide tip – For planting into rock crevices or soft ground.
- Aluminium construction – Carbon fibre poles can transmit vibrations and may crack if the adapter is over‑tightened.
If your pole’s grip is fixed (glued on), you can still use a clamp‑type adapter that attaches around the shaft just below the grip. This is less stable but workable for phone cameras.
Locking technique for maximum stability
Before attaching any camera, you must lock the pole sections rigidly. A loose lock will cause the pole to sag, ruining your shot or dropping your camera.
- Extend the pole to the desired height – For most waterfall shots, a monopod held vertically works well. Extend the lower sections fully, then adjust the upper section for fine tuning.
- Tighten lever locks firmly – Close each lever with enough force that the pole does not compress when you push down on the handle. On Black Diamond FlickLocks, the screw can be adjusted for tension. On Decathlon’s cam locks, ensure the cam is fully over‑centre.
- Check for slippage – Place the tip on the ground and push down with your full body weight. If any section slides, tighten the lock further or clean the inside of the shaft (moisture can reduce friction).
- Lock the twist mechanism (if applicable) – Twist‑lock poles are not recommended, but if you must use one, twist firmly until no movement is felt. However, twist locks often slip when wet – test thoroughly.
Attaching the camera
You need a 1/4″‑20 threaded adapter that mounts to the top of the pole. Options:
- Universal trekking pole camera adapter – A small metal or plastic piece that clamps around the pole shaft (or screws into the handle’s threads) and provides a standard camera screw. Search for “adaptador para bastão de trilha câmera” on Brazilian marketplaces.
- DIY method – If your pole’s grip has a screw hole (some Leki models do), you can buy a 1/4″ to 3/8″ step‑down screw and attach a ball head.
- Phone clip adapters – For smartphones, a spring‑loaded clamp with a 1/4″ thread can be screwed onto the pole adapter.
Step‑by‑step setup at the waterfall
- Remove the wrist strap (optional) – It may get in the way.
- Attach the camera adapter to the pole – Follow the adapter’s instructions. Most clamp around the pole’s upper section or replace the grip.
- Screw your camera or phone holder onto the adapter – Do not over‑tighten; use a rubber washer to prevent scratching.
- Extend and lock the pole – Set the height so the camera is at eye level.
- Plant the tip securely – On wet rock, find a small crevice or a flat area where the carbide tip will not slide. On muddy ground, push the tip in until stable.
- Use the pole as a monopod – Hold the pole shaft (not the camera) with one hand while composing and triggering the shutter. For long exposures, use a remote shutter release or the camera’s self‑timer to avoid vibration.
- For extra stability: two poles as a bipod – If you have a second pole, extend it to the same length, attach a second adapter, and connect the two poles with a small tripod head (or simply hold both poles apart). Alternatively, lash the two poles together at the top with a rubber band or strap to form an A‑frame – less stable but useful for video.
Waterfall‑specific precautions
- Mist and splashes – Water will get on your poles and locks. After each use, dry the locking mechanisms thoroughly. Salt or mineral deposits (common in limestone areas) can corrode aluminium and jam locks.
- Slippery rocks – Do not trust the pole as a walking aid while also using it as a tripod. Set up on a stable, dry area away from the main spray zone.
- Waterproof your camera – Even with a good lock, your camera is exposed. Use a rain cover or a waterproof action camera.
- Avoid submerging locks – Never immerse the pole’s locking joints in water. Water trapped inside can cause internal corrosion and lock failure later on the trail.
After the shoot: maintenance
- Rinse the pole with fresh water – If you were near saltwater or mineral‑rich waterfall spray, rinse all sections.
- Open and dry the locks – Extend the pole fully and leave it in a ventilated area to dry. Lever locks should be opened to let moisture escape.
- Lubricate sparingly – A drop of silicone spray on the locking cams (not on the shaft) prevents sticking.
- Inspect the adapter – Ensure the 1/4″ screw is not cross‑threaded. Apply a tiny amount of anti‑seize grease if used frequently.
Alternative: using two poles as a full tripod
With a small tripod head (ball head) and a pair of adapters, you can use two poles as the front legs and a third leg improvised (a stick, or use your body). However, for most hikers, a monopod is sufficient for waterfall photography. The two‑pole method is advanced and adds complexity.
Final tips for Brazilian waterfall photographers
- Practice at home – Lock and unlock your poles, attach the camera, and test stability before you are standing on wet rock.
- Carry a spare rubber band – To secure the camera to the pole if the adapter loosens.
- Use a remote shutter – A Bluetooth remote (R$30‑50) eliminates hand‑induced shake.
- Consider a mini ball head – Attaching a small ball head between the pole and the camera gives you angle adjustment.
Conclusion
Locking trekking poles for use as a camera tripod in waterfalls is not only possible – it’s a practical, lightweight solution for Brazilian hikers who want to capture stunning cascades without carrying extra gear. The keys are: use aluminium poles with lever locks, secure a 1/4″ adapter, lock the sections firmly, and protect your equipment from moisture. With a little practice, you can turn your essential walking aid into a reliable camera support, all while keeping your pack light and your memories sharp. Now go find that waterfall, lock your poles, and shoot.


