


How to use one trekking pole effectively when carrying a child on the shoulders?
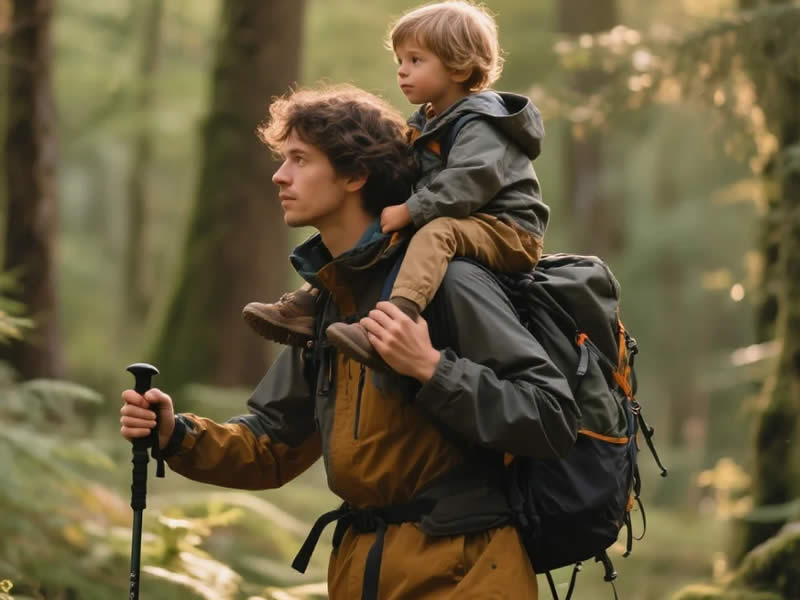
Carrying a child on your shoulders while hiking is a wonderful way to share the love of nature. However, it dramatically changes your centre of gravity, balance, and fatigue levels. A single trekking pole, used correctly, can be the difference between a wobbly, exhausting trek and a stable, enjoyable family adventure. Here’s how Brazilian parents (and savvy hikers worldwide) make one pole work effectively when carrying a child.
Why a single pole and not two?
With a child perched on your shoulders, both hands are not free. One arm must constantly secure the child—holding their legs or keeping a hand on their back. The other hand is free to use a pole. Trying to manage two poles would be dangerous; you would have to constantly let go of the child. One pole provides the essential third point of contact (two feet + one pole) while leaving your dominant arm free to stabilise the child.
Step 1: Adjust pole length for the new load
Your normal flat‑ground pole length is designed for your unaided body. With extra weight (10‑25 kg) high on your shoulders, your walking posture changes: you lean slightly forward to counterbalance, and your arm swing shortens. Therefore, shorten your pole by 5‑10 cm from your usual flat setting. For an average‑height adult (170‑180 cm), a length of 110‑115 cm works well.
Why shorter? A shorter pole allows you to plant it closer to your body, generating a more vertical push that directly supports your weight and the child’s. A longer pole would force you to reach forward, unbalancing the load.
Step 2: Choose the correct hand
If you are right‑handed, carry the child slightly favouring your left side? Actually, the best practice is to use the pole in the hand opposite to the side where you need most balance. However, a simpler rule: hold the pole in your non‑dominant hand if you need your dominant hand to adjust the child frequently. Most parents prefer to hold the child with their stronger arm, so the pole goes in the weaker arm. That is fine – the pole provides stability, not fine motor control.
Alternatively, switch hands periodically to distribute fatigue. The pole technique is symmetrical; it works equally well in either hand.
Step 3: The modified rhythm – plant on every other step
With two poles, you alternate left‑right. With one pole, you cannot maintain that alternating rhythm because the pole would be on the same side as your forward foot half the time. Instead, use a single‑sided rhythm: plant the pole on the same side as your forward foot every time? No, that would cause a limp. The efficient method is:
- Plant the pole simultaneously with the opposite foot (e.g., pole in right hand planted as left foot steps forward).
- Then, take a step with the right foot without planting.
- Then plant again with left foot, etc.
In practice, this feels like a regular alternating stride but with the pole only on one side. The key is to avoid planting the pole on the same side as your forward foot, which would twist your torso. Keep the pole on the opposite side of the leading foot.
Step 4: Plant close and push vertically
When carrying a child, your stability is most threatened by lateral (side‑to‑side) wobbles. Plant the pole close to your body, almost directly below your shoulder, and push down vertically. Do not reach far ahead. This vertical push helps unload the leg on that side and provides a strong anti‑roll moment. Imagine the pole is a shock absorber keeping your upper body level.
Step 5: Use the wrist strap correctly
Insert your hand upward through the strap so the strap rests across the base of your palm. Then grip the handle lightly. When you plant, the strap should take the downward force, not your fingers. This saves grip strength and allows you to keep your hand relaxed – important because the other hand is busy holding the child.
Step 6: Adapt to terrain
- Uphill – Shorten the pole another 2‑3 cm. Plant it close and push hard with each step. The child’s weight on your shoulders makes climbing more strenuous; the pole transfers some effort to your arms and back.
- Downhill – Lengthen the pole back to normal (or even 2 cm longer) to act as a brake. Plant the pole well ahead of your foot, and lean back slightly. The pole will absorb impact that would otherwise jar the child.
- Side slopes – If the trail tilts to one side (e.g., a trilha on a hillside), keep the pole on the downhill side. This prevents a sideways fall. If you must use the pole on the uphill side, it is less effective.
Step 7: Tap to test footing
With a child on your shoulders, you cannot see the ground directly in front of your feet. Your field of vision is blocked by the child’s legs. Therefore, use the pole as a tactile cane: tap the ground ahead before committing your weight. Feel for loose rocks, roots, or mud. This tapping also alerts snakes and other animals, giving them time to move away.
Additional safety tips
- Keep the child secure – Use a child carrier (e.g., backpack carrier) rather than just shoulder sitting. A proper carrier has a waist belt and shoulder straps, distributing weight and keeping the child stable. Never carry a child on bare shoulders without a harness on uneven terrain.
- Avoid steep, exposed sections – Even with a pole, a slip could be catastrophic. Turn around or find an alternative route if the trail becomes dangerously steep or narrow.
- Take breaks – Every 20‑30 minutes, lower the child, rest, and stretch your shoulders. The asymmetrical load of a single pole can strain one side.
- Pole material – Aluminium is preferred over carbon because carbon can snap if you accidentally jam the pole while off‑balance. The extra weight of aluminium is negligible compared to the child’s weight.
Practising before the trail
Before heading into the backcountry, practice on a flat, soft surface (like a grassy park) with the child in the carrier. Walk slowly, focus on the pole rhythm, and have a spotter watch your balance. After 15 minutes, you will feel the technique become natural.
When not to use a single pole
If the trail is very rocky, requires scrambling, or has narrow ledges, it may be safer to use no poles at all and use both hands for balance (with the child in a front carrier or not carried at all). Also, if you have any shoulder or wrist injury, the repetitive planting can aggravate it. Listen to your body.
Conclusion
One trekking pole can be a game‑changer when carrying a child on your shoulders. By shortening the pole, planting close to your body, using the wrist strap, and tapping ahead, you regain the stability lost to the higher centre of gravity. The right technique reduces fatigue, prevents falls, and allows you to share the joy of Brazilian trails with your little one. Practice on easy ground first, invest in a good child carrier, and always prioritise safety over distance. With a single pole and a steady stride, you and your child can explore the wonders of the Atlantic Forest, the gentle hills of Chapada, or any family‑friendly trail together.


