




Can I use trekking poles as a monopod for photography in the Lake District?
Yes – your trekking pole can double as a monopod for photography in the Lake District (or any other UK national park), saving you from carrying a separate tripod. By fitting a universal 1/4″‑20 camera adapter that clamps onto the shaft, you can use your existing pole for stable shots of dramatic mountain light, waterfalls, or wildlife. This is ideal for the Lake District's steep, rocky terrain where minimising pack weight is a priority. Here's a detailed guide on how to do it, what gear you need, and tips for successful Lake District photography using your trekking pole as a monopod.
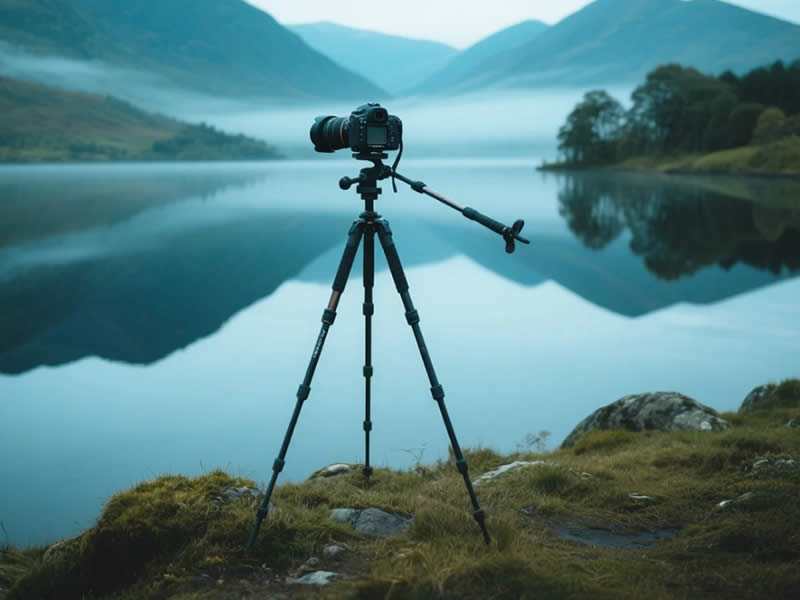
1. Why use a trekking pole as a monopod in the Lake District?
- Weight saving – A full‑size tripod can weigh 1.5–2 kg. A trekking pole is already in your hand and weighs 250–300 g. By adding a small adapter (under 50 g), you gain a stable camera support without adding significant weight.
- Height – Most trekking poles extend to 135–145 cm, which is taller than many compact tripods. This allows you to shoot at eye level or even above head height for creative compositions.
- Quick deployment – No need to unpack and set up a tripod. Extend your pole, attach the camera, and shoot within seconds – crucial for capturing fleeting light in the mountains.
- Versatility – The same pole that supports you on the descent can become your camera support at a viewpoint.
2. What you need
- Universal trekking pole camera adapter – A small clamp that attaches to the pole shaft (just below the grip) and provides a standard 1/4″‑20 screw for your camera. Available from Decathlon, Amazon, or specialist camera shops. Cost: around £5–15.
- Your camera or smartphone – The adapter is compatible with compact cameras, mirrorless systems, action cams, and smartphones (with a 1/4″‑20 thread or universal clamp).
- Remote shutter or self‑timer – To minimise vibration when pressing the shutter. Use a Bluetooth remote, a cable release, or your camera's self‑timer.
3. How to use your pole as a monopod
- Attach the adapter – Clamp it securely to the pole shaft, about 10–15 cm below the grip. Ensure the screw aligns with your camera's tripod socket.
- Extend the pole – Set the pole to your desired height. For a low‑angle shot, collapse it; for a high‑angle shot, extend fully.
- Plant the tip firmly – Place the carbide tip on a stable surface (rock, grass, or firm ground). On soft ground, push the tip in slightly for extra stability.
- Use the wrist strap – Keep the strap around your wrist to prevent the pole from falling if you lose grip.
- Shoot – Use a remote shutter or self‑timer to avoid camera shake.
4. Tips for Lake District photography
- Waterfalls – For long exposures at waterfalls (e.g., Aira Force, Stock Ghyll Force), plant the pole on a rock or in the stream. Use a small rubber band to hold the pole steady if it is in moving water.
- Sunrise/sunset – The Lake District's morning light can be fleeting. Your pole‑monopod allows you to set up quickly and capture the golden light.
- Wind – On exposed ridges (e.g., Helvellyn, Blencathra), the wind can shake your camera. Brace the pole against a rock or your backpack for extra stability.
- Low‑light conditions – In the woods of Borrowdale or the damp shade of valleys, the monopod helps you achieve sharp images without a flash.
5. Limitations to be aware of
- Not a full tripod – A monopod reduces up‑and‑down shake but does not prevent sideways motion. For very long exposures (over a few seconds), you may still need a tripod.
- Heavy lenses – A heavy telephoto lens may strain the adapter and pole. Keep the total weight under 1 kg for stability.
- Steep terrain – On scrambles, detach the camera and stow the adapter; using your pole as a monopod on steep ground is unsafe.
6. Recommended adapters
- Decathlon Forclaz adapter – Clamps onto 10–16 mm shafts, £5–8.
- Generic aluminium clamp – Available on Amazon, under £10.
- GoPro‑compatible – Some adapters come with a 3‑prong mount for action cameras.
7. Safety first
- Detach the camera before any steep scrambling – On routes like Striding Edge or Sharp Edge, keep your camera in a secure pack pocket.
- Watch your footing – When using the pole as a monopod, you lose your walking support. Plant the pole and take your shot, then immediately return it to walking mode.
- Protect the tip – Use a rubber tip cover to protect the carbide tip when shooting on flat rock.
8. Final verdict
Yes, using your trekking pole as a monopod is a practical, lightweight solution for photography in the Lake District. With a small adapter, you can capture stable images of the stunning lakes, fells, and waterfalls while keeping your pack light and your hands free for the walk. It's a simple, cost‑effective technique that many Lake District photographers use. Just remember to prioritise safety on the hills, and you'll come away with sharp images and a lighter load.




