


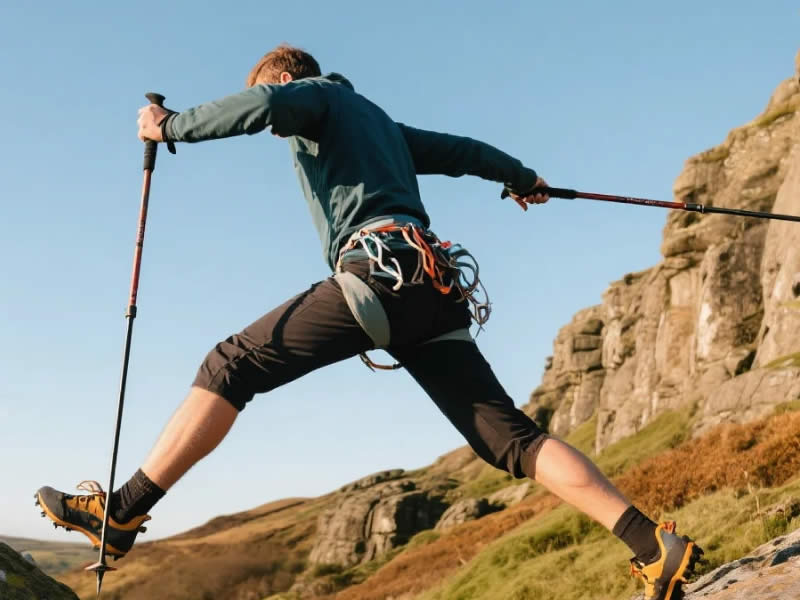
How to use trekking poles for boulder hopping in the Peak District?
Boulder hopping is a common challenge on Peak District trails, especially on the gritstone edges of Kinder Scout, Stanage Edge, and the rocky paths of Bleaklow. Unlike walking on a firm trail, boulder hopping involves moving across large, irregular, and often unstable rocks—requiring balance, agility, and careful foot placement. Trekking poles can be a valuable aid, but they must be used differently than on a standard path. The key is to use your poles as balance aids, not as levers, and to prioritise stability over speed. Here is a detailed guide to using trekking poles effectively on boulder fields.
1. The challenge of boulder hopping
Boulder fields in the Peak District are formed by gritstone and shale, creating a jumble of rocks ranging from fist‑sized to car‑sized. Key challenges include:
- Unstable rocks – Many rocks wobble or shift when you step on them.
- Irregular surfaces – There is no smooth, predictable path.
- Gaps and crevices – Spaces between boulders can trap a foot or pole tip.
- Slippery surfaces – Gritstone can be abrasive, but wet rock is slippery.
2. How poles help – and when they don't
- Balance – Poles provide a third and fourth point of contact, improving stability on uneven ground.
- Testing – You can use a pole to test whether a rock is stable before stepping on it.
- Limitation – Poles are not effective on very steep boulder fields where you need both hands to scramble. In such sections, it is often better to stow your poles.
3. Adjusting pole length for boulder hopping
- Shorten by 5 cm – On boulder fields, a slightly shorter pole (about 5 cm less than your flat‑ground length) keeps your centre of gravity lower, improving balance. A lower stance makes it easier to react to sudden shifts.
- You may need to adjust frequently – As the terrain changes from boulders to grass to rocky paths, adjust your pole length accordingly.
4. Planting technique – where and how to plant
- Plant on flat, stable rock – Look for a flat, stable part of a rock, not a crevice or a sloping surface. Avoid planting between boulders, where the tip can get wedged.
- Use the carbide tip – On wet or abrasive gritstone, the carbide tip provides grip. Rubber tips should be removed.
- Plant at a slight angle – On sloping rock, plant the pole at a slight angle to increase the surface area of the tip in contact with the rock.
- Do not plant in crevices – A tip jammed between rocks can snap or bend the pole when you try to pull it out.
5. Using one pole vs. two poles
- Two poles – On moderate boulder fields (small to medium rocks), two poles provide a stable, four‑point contact with the ground.
- One pole – On more challenging sections, use one pole, leaving your other hand free to touch a rock for balance. This is often more stable than holding two poles when you need to scramble.
- Stow poles – On very steep or loose boulder fields (e.g., the descent from some edges), stow both poles on your pack and use your hands. It is safer to scramble hands‑free than to rely on poles that may slip.
6. Moving across boulders – technique
- Short steps – Take short, deliberate steps. Keep your weight centred over your feet.
- Test each rock – Before committing your weight, tap the rock with your pole or your foot to check for wobble.
- Move slowly – Rushing on boulders increases the risk of a fall. Take your time.
- Look ahead – Plan your route two or three boulders ahead. This reduces the need for sudden decisions.
7. What to avoid
- Planting in crevices – The tip can get wedged and bend or snap the pole.
- Using poles as levers – Do not use the pole to pry or shift a boulder. This can damage the pole and destabilise you.
- Over‑reaching – Planting too far ahead forces you to lean forward, compromising your balance.
- Gripping too tightly – A death grip on the handle fatigues your forearms and reduces your ability to adjust quickly.
8. Equipment considerations for boulder hopping
- Aluminium poles – 7075 aluminium is more durable than carbon for boulder hopping. Carbon can splinter if the pole gets wedged or hit against a rock.
- Lever locks – Lever locks are more reliable than twist locks in gritty, boulder‑field conditions.
- Replaceable tips – Gritstone is abrasive; tips will wear down. Carry spares.
- Mud baskets – Remove baskets on boulder fields to prevent them from catching on rocks.
9. Practice on easier sections
If you are new to boulder hopping, practice on a small, low‑risk boulder field before tackling the larger areas on Kinder Scout or Stanage Edge. Get used to the feel of moving across rocks with poles, and experiment with one‑pole vs. two‑pole technique.
10. Final verdict
Boulder hopping in the Peak District requires a careful, deliberate approach. Shorten your poles by 5 cm, use them for balance and testing, and plant on flat, stable rock. Use two poles on moderate terrain, one pole on more challenging sections, and stow them on steep scrambling. Move slowly, test each rock, and avoid planting in crevices. With the right technique, your poles will improve your stability and confidence, making boulder hopping a manageable and even enjoyable part of your Peak District walk.


