




How to store trekking poles on your backpack when not in use?
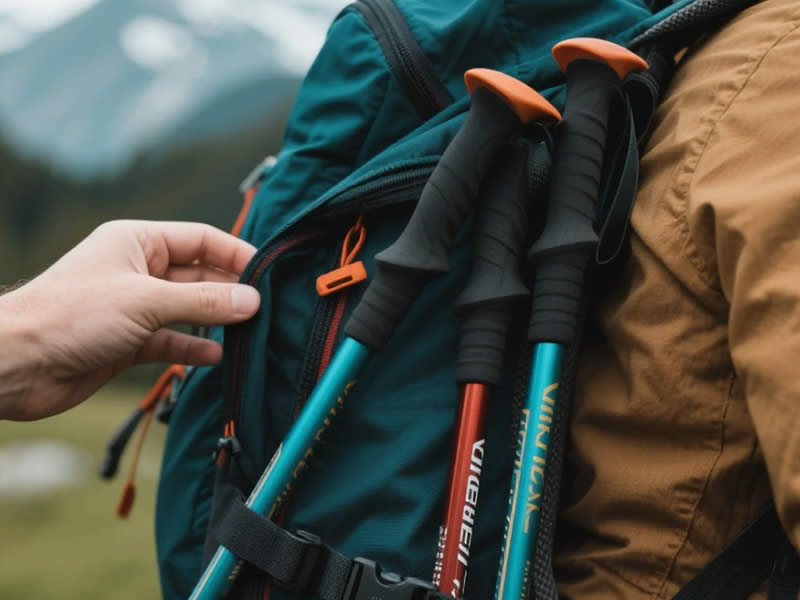
Storing trekking poles on your backpack when not in use is a fundamental skill for any walker—whether you are on a long, flat section where poles are unnecessary, scrambling on a rocky ridge, or simply want to free your hands for a photograph. A good stowage system keeps your poles secure, protects your pack fabric, and allows quick redeployment when you need them again. Here is a comprehensive guide to the most effective ways to store your trekking poles on your backpack.
1. General principles
Before you stow your poles, there are a few universal rules to follow:
- Secure the poles – Ensure they are firmly attached. A loose pole can fall out, get caught on vegetation, or snag on rocks. This is especially important on scrambles where a falling pole could be a hazard.
- Protect the tips – Always cover the carbide tips with rubber tip protectors to prevent them from puncturing or abrading your pack fabric. Without protectors, the sharp tips can cause significant damage to your pack and clothing.
- Keep them accessible – Stow them where you can reach them easily. The last thing you want on a steep ascent is to have to take off your pack to retrieve your poles.
2. Methods for storing poles
a. Side pocket – the classic method
Most backpacks have stretchy side pockets (or bottle pockets) that are ideal for storing collapsed poles.
- Collapse the poles – Fully collapse your poles (if folding) or shorten them to their minimum length (if telescoping).
- Insert into the pocket – Slide the poles into the side pocket, tip first, handle up, so you can grab them quickly when you need them.
- Secure the top – Use the pack's compression strap (often found above the side pocket) to fasten the poles in place, preventing them from bouncing out.
- Choose the right side – Store them on the side you prefer to reach with your dominant hand. Many walkers store them on the non‑dominant side, leaving the dominant hand free for other tasks.
b. Daisy chain or webbing loops
Many backpacks have daisy chain webbing or small loops on the front or back panel.
- Slide the poles through – Collapse your poles and slide them through two or three loops of the daisy chain.
- Secure with a bungee – Use a small bungee cord or the pack's shock cord to hold the poles in place. The daisy chain method is particularly useful for walking poles that are too long for the side pocket.
- Tip up or down – You can store them tip‑up or handle‑up, depending on your preference. Tip‑down keeps the handles accessible; tip‑up protects the tips from hitting the ground.
c. Ice axe loop
Some packs have a dedicated ice axe loop (a small loop of webbing on the lower side of the pack, often with a strap at the top).
- Place the handle through the loop – Slide the handle of one pole through the ice axe loop.
- Secure the shaft – Use the pack's top strap (often a bungee or velcro strap) to fasten the shaft to the pack. This method is best for a single pole; for two poles, use one on each side.
d. Dedicated pole holders
Many modern backpacks come with dedicated pole holders—usually elastic toggles or clips on the shoulder straps or the front of the pack.
- Front‑mounted holders – These are common on running vests and lightweight packs. You can slide the poles into the holders without removing your pack.
- Shoulder strap holders – Some packs have small elastic loops on the shoulder straps. These are ideal for quick, temporary stowage on flat sections, but they are not secure enough for rugged terrain or scrambles.
e. Horizontal storage across the back panel
For very long poles or when you need to keep the side pockets free, you can store the poles horizontally across the back panel.
- Collapse the poles – Fold or collapse them to their minimum length.
- Place across the back – Lay the poles horizontally across the back of the pack, just below the top of the pack.
- Use compression straps – Use the side compression straps to secure them in place. Ensure the straps are tight enough to prevent the poles from slipping out.
3. Quick deployment – how to grab them
When you are walking, you will often need to stow and deploy your poles quickly. Practice these transitions:
- From side pocket – Reach down, grasp the handle, and pull the pole out in one smooth motion.
- From front holder – Unclip the toggle, and slide the pole out.
- From horizontal storage – Unclip the compression straps and slide the pole out from the back.
The goal is to be able to stow or deploy your poles in 5–10 seconds without having to stop and fumble.
4. What not to do
- Don't leave tips exposed – Uncovered carbide tips can damage your pack, clothing, or tent. Always use tip protectors.
- Don't over‑tighten – Over‑tightening compression straps can deform the pole shaft or damage the locks.
- Don't stow them on top of a heavy load – If your pack is full, stowing poles on top can make them unstable and harder to access.
- Don't ignore the weight distribution – Stowing both poles on one side of the pack can make it unbalanced. Distribute the weight evenly by stowing one on each side.
5. How to secure poles on different types of packs
- Daypack – Side pocket with compression strap is the easiest and most secure method.
- Backpacking pack (50L+) – Use the side pocket plus the compression strap. If the poles are too long for the side pocket, use the daisy chain or horizontal method.
- Running vest – Use the front‑mounted pole holders or shoulder strap loops.
6. Practice at home
Before your next walk, practice stowing and deploying your poles with your pack on. Get comfortable with the motions so you don't have to think about it on the trail. A few minutes of practice at home can save you time and frustration on the trail.
7. Final verdict
Storing your trekking poles on your backpack when not in use is a simple skill that makes a big difference to the comfort and safety of your walk. Choose a method that suits your pack: side pocket with compression strap is the most common; daisy chain or horizontal storage works for longer poles; and dedicated front holders are ideal for quick transitions. Always protect your tips, ensure the poles are secure, and practice deployment so it becomes automatic. With the right stowage, you can keep your poles accessible, safe, and ready for the next section of trail.




