




How to clean trekking poles after hiking in UK mud and peat?
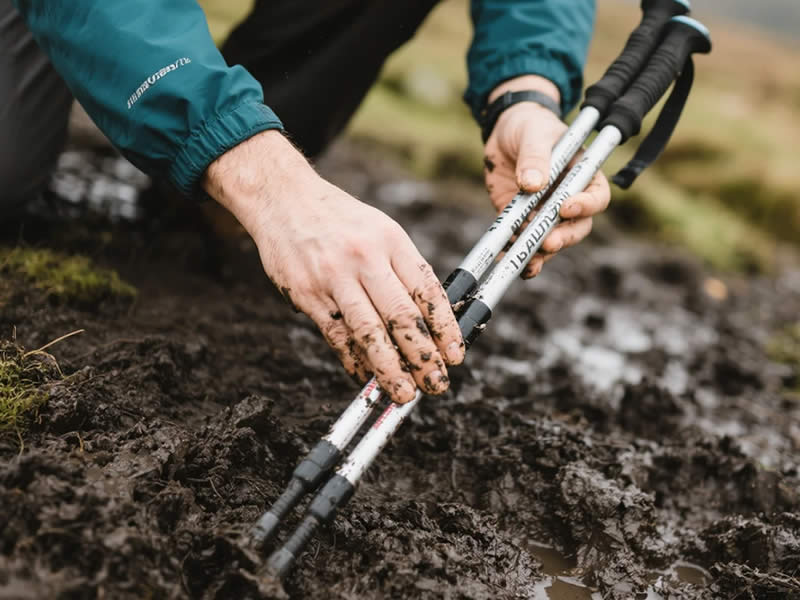
British trails—whether on the Pennine Way, Dartmoor, or the Flow Country—offer some of the finest walking in the world, but they also dish out some of the worst mud and peat. This sticky, often acidic, black or red gloop can clog your pole locks, abrade your shaft, and accelerate wear on your tips. Cleaning your trekking poles properly after a muddy hike is not just about aesthetics; it's about preserving their function, extending their life, and ensuring they remain safe and reliable for your next outing. Here is a comprehensive, step‑by‑step guide to cleaning trekking poles after a day in the UK's finest mud and peat.
Why UK mud and peat are particularly challenging
UK mud is often a mix of clay, grit, and organic matter. It is sticky, acidic (peat can have a pH as low as 3.5–4), and full of fine abrasive particles. When it dries, it becomes rock‑hard and can lock up twist mechanisms or jam lever lock pivots. The acidity, if left on aluminium or steel components, can cause pitting and corrosion over time. Furthermore, the fine grit acts like sandpaper, wearing down carbide tips and the lower shaft coatings. Cleaning is not optional if you want your poles to last.
The cleaning process – step by step
1. Let the mud dry (slightly) and tap off loose debris
If your poles are caked in thick, wet mud, do not attempt to scrape it off with a knife or a hard object—you will scratch the anodised finish. Instead, let the mud dry slightly so it becomes brittle. Then, gently tap the poles against a rock or the heel of your boot to knock off large clumps. For the lower sections, you can roll them gently on the ground to crack the dried mud. Do not use excessive force.
2. Rinse with cold water – never hot
Use a garden hose, a tap, or a bucket of cold water to rinse the poles thoroughly. Cold water is essential: hot water can expand the internal mechanisms, especially on twist‑locks, and may damage seals or lubrication. Direct the water into the locking joints to flush out any loose grit. For lever‑locks, open the cams and rinse inside the clamp to remove mud from the pivot points. For twist‑locks, twist the sections while rinsing to help dislodge grit from the threads.
3. Scrub stubborn mud with a soft brush
For persistent mud, especially around the tip ferrule and the locking grooves, use a soft‑bristled brush—an old toothbrush works perfectly. Dip the brush in clean water and gently scrub the affected areas. Pay particular attention to the area just above the carbide tip, where mud tends to compact and harden. If you have a small nylon bristle brush, it is ideal for cleaning the lever lock cams without scratching them.
4. Clean the tip and basket
Remove the baskets (if fitted) and rinse them separately. Use a pointed tool (like a cocktail stick) to clear the groove where the basket clips onto the shaft. For the carbide tip itself, wipe it with a cloth; if it is caked, use a toothbrush. Do not use metal tools to scrape the tip—they can dull the carbide.
5. Dry thoroughly – extended and separated
After rinsing, it is critical to dry your poles completely. Extend each pole to its full length and leave them in a well‑ventilated area. Do not store them collapsed—moisture trapped inside the sections can cause corrosion and damage the lock mechanisms. If you have lever locks, leave them open to allow the internal surfaces to dry. For twist‑locks, extend them fully and leave them to air‑dry for several hours.
6. Lubricate the moving parts
Once dry, apply a tiny drop of silicone‑based lubricant (e.g., silicone spray or a PTFE‑based dry lube) to the lever lock cams and pivots. Wipe off any excess with a cloth. For twist‑lock poles, you can apply a small amount of silicone grease to the threads, but be sparing—excess grease attracts dirt. Never use WD‑40 on locks, as it is a solvent, not a lubricant, and will leave a sticky residue that attracts more grit.
7. Inspect and replace worn parts
After cleaning, inspect your poles carefully. Check the carbide tips: if they are rounded or chipped, replace them. Examine the lower shaft for scratches or deep gouges—if the anodised coating is worn through, the aluminium is exposed to corrosion. Test the lever locks: they should close with a firm snap and hold securely. If a lock feels loose, tighten the screw with a hex key (often 2.5 or 3 mm). Check the wrist straps for fraying.
What to avoid
- Do not soak your poles in water for extended periods. Water can seep into internal shock cords (on folding poles) or cause rust on steel components.
- Do not use abrasive pads or wire brushes—they will scratch the anodised finish and weaken the shaft.
- Do not use hot water or steam cleaners—they can damage seals, lubricants, and adhesives.
- Do not use petroleum‑based cleaners on the shaft—they can damage the anodised coating.
Peat stains – a special case
Peat is notorious for leaving stubborn black or brown stains on aluminium shafts. A mild solution of washing‑up liquid (dish soap) and water, applied with a soft cloth, will usually remove surface stains. For more persistent marks, a small amount of white vinegar (diluted) can help neutralise the acidity and lift the stain, but rinse thoroughly afterwards. Never use bleach or strong acids.
Storage after cleaning
Once your poles are completely dry and lubricated, store them collapsed but with the locks slightly loosened. This relieves pressure on the internal components and prevents the locks from seizing over time. If you have folding (Z‑pole) poles, store them in their collapsed state, but ensure they are dry before folding.
Final thoughts
Cleaning your trekking poles after a UK mud and peat hike is not a chore; it is essential maintenance. A few minutes of careful cleaning and drying can add years to the life of your poles, ensuring that the next time you step onto the moors, your poles lock securely, your tips grip, and your wrists straps hold. Remember: the mud may be part of the adventure, but it doesn't have to stay on your gear.




