




How to train a senior to use trekking poles safely for the first time?
Start slow and focus on confidence. The goal is not speed or technique—it's building a comfortable, safe walking habit. A senior using poles for the first time needs patience, clear instructions, and a supportive environment. Here is a step‑by‑step guide to introducing trekking poles to a senior for the first time.
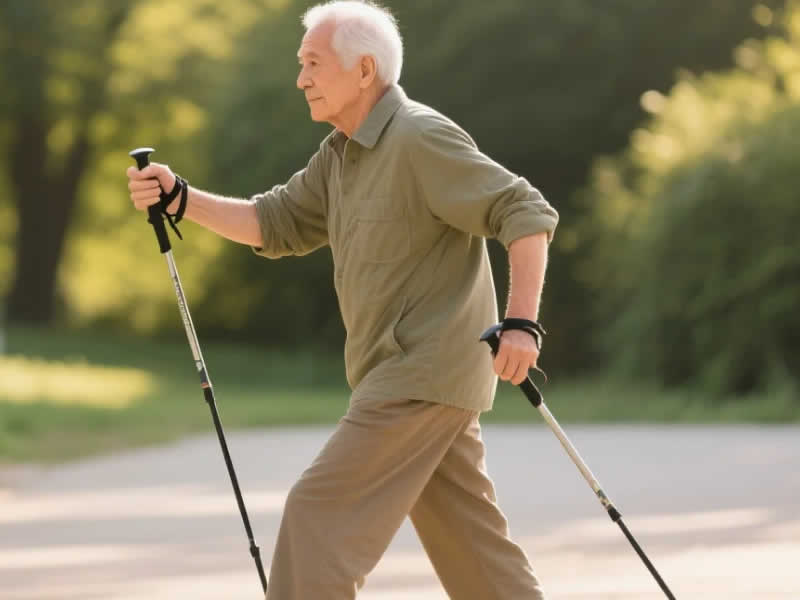
1. Preparation – setting up the poles
Before any walking, ensure the poles are correctly adjusted:
- Fit rubber tips – For indoor or hard‑surface practice, fit rubber ferrules to protect floors and reduce slipping.
- Adjust the length – With the tip on the ground and the senior standing upright, the elbow should be at a 90° angle. This is the correct flat‑ground length.
- Check the straps – The strap should sit across the base of the palm (not the wrist). Adjust the strap so it is snug but not tight.
2. The environment – where to start
- Indoors – A large, clear room with a non‑slip floor is ideal. A gym, a community hall, or a long corridor works well.
- Outdoors – A smooth, flat path (e.g., a park path) with no obstacles. Avoid grass or uneven ground for the first session.
- Safety – Ensure the area is free of tripping hazards. Have a chair nearby for rest breaks.
3. Step 1 – just holding the poles
Before walking, have the senior hold the poles in a relaxed grip. They should not be putting weight on them yet.
- Hold naturally – The poles should be held loosely, like holding a walking stick.
- Stand tall – Keep the back straight, shoulders relaxed, and look ahead.
- Get comfortable – Spend a few minutes just standing with the poles to get used to their weight and feel.
4. Step 2 – the alternating rhythm without weight
Now introduce the walking motion, but without putting weight on the poles.
- Walk naturally – Take a few steps, swinging the poles with an alternating rhythm (left pole with right foot, right pole with left foot).
- No pressure – The poles should just skim the ground. The goal is to get the rhythm.
- Watch the feet – Encourage looking ahead, not down at the feet.
5. Step 3 – adding light pressure
Once the rhythm is comfortable, start adding a little pressure.
- Light push – As you plant the pole, push down lightly through the strap. The goal is to feel a small amount of support.
- Short steps – Take short, steady steps. Avoid long strides.
- Focus on posture – Keep the back straight. The poles should support you, not pull you forward.
6. Step 4 – building confidence on a slope
Once confident on the flat, try a gentle slope.
- Ascents – Shorten the poles slightly for better leverage.
- Descents – Lengthen the poles slightly for braking.
- Take it slow – Short, deliberate steps are key.
7. Common mistakes to watch for
- Gripping too tightly – The strap should take the weight, not the grip.
- Leaning forward – The poles should support, not pull.
- Planting too far ahead – Overreaching reduces stability.
- Looking down – Keep eyes ahead.
- Rushing – Slow and steady is safer.
8. Safety – when to stop
- Pain or discomfort – Stop immediately if any pain occurs.
- Dizziness – Sit down and rest.
- Fatigue – Take regular breaks. The first session should be short—10–15 minutes is enough.
9. The role of a spotter
For the first few sessions, have a spotter (a family member or physiotherapist) walk alongside. The spotter can offer encouragement and catch any falls.
10. Final verdict
Training a senior to use trekking poles for the first time requires patience, clear instruction, and a safe environment. Start indoors on a flat surface, introduce the rhythm without weight, then gradually add pressure. Focus on posture and relaxed grip. Use a spotter for confidence. Keep sessions short and positive. With time and practice, the rhythm becomes natural, and the senior gains confidence to walk further and more safely. Poles are a tool for independence – and learning to use them is a skill worth mastering.




