




How to use trekking poles to reduce knee pain descending Pico da Bandeira?
To reduce knee pain descending Pico da Bandeira, lengthen poles by 5–10 cm and use them as brakes. Plant the tip ahead of your feet, push down through the wrist straps, and take short, controlled steps. This simple adjustment can dramatically reduce the impact on your knees. Pico da Bandeira, the third highest peak in Brazil at 2,892 metres, has a long, punishing descent. The trail is steep, rocky, and often wet—ideal for a knee‑saving technique.
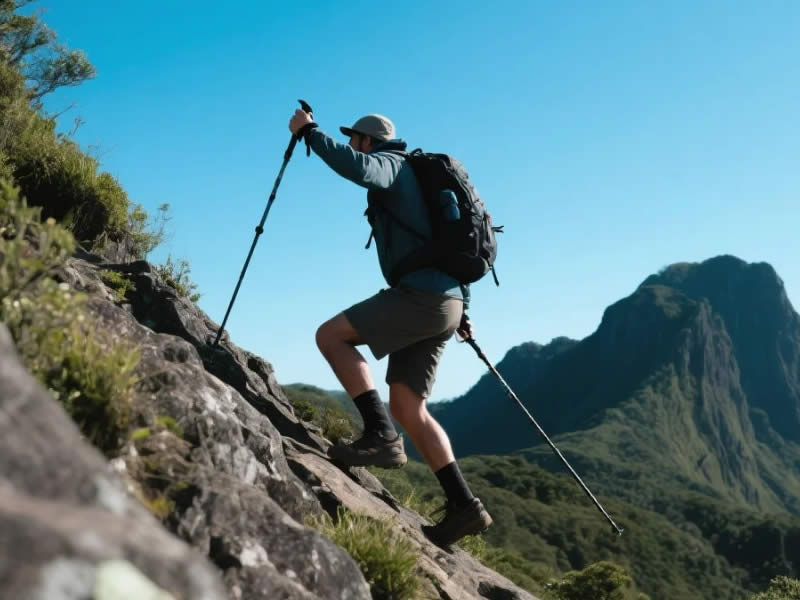
Key techniques:
- Lengthen poles – adds 5–10 cm for braking effect.
- Plant ahead – place tip 20–30 cm in front of your foot.
- Push down – use wrist straps, not your grip.
- Keep weight back – lean slightly into the slope.
- Double-plant – on steep sections, plant both poles together.
Avoid:
- Gripping too tightly – let the straps do the work.
- Rushing – take short, deliberate steps.
- Ignoring your knees – if it hurts, slow down.
Pro tips for Pico da Bandeira:
- Carbide tips – grip on rock; remove rubber tips.
- Spare tips – the abrasive rock wears them down.
- Mud baskets – useful on wet sections.
- Rest – take breaks; use poles for support.
Verdict: Lengthening your poles and using them as brakes is the most effective way to protect your knees on the long descent from Pico da Bandeira. Practice on gentle slopes first. Happy hiking.
1. Why Pico da Bandeira's descent is hard on knees
Pico da Bandeira is a challenging hike, with a long, steep descent that can punish your knees. The trail is rocky, with sections of loose scree and uneven ground. The descent is often done after a tiring ascent, when your legs are already fatigued. Without proper technique, the impact on your knees can be significant.
2. The braking technique – how it works
When you lengthen your poles, you can plant the tip ahead of your feet, creating a braking effect. As you step forward, you push down on the pole, transferring some of your body weight from your legs to your arms. This reduces the impact on your knees and gives you more control on the descent.
3. Step-by-step guide
- Lengthen poles – Before starting the descent, extend your poles by 5–10 cm.
- Plant ahead – On each step, plant the pole tip 20–30 cm ahead of your front foot.
- Push down – Apply firm downward pressure through the wrist strap, not your grip.
- Step down – Take a short, controlled step, keeping your weight centred.
- Double plant – On very steep sections, plant both poles together and push down as you step.
4. Additional tips for knee health
- Short steps – Short steps reduce the impact on your knees.
- Keep weight centred – Avoid leaning back or forward excessively.
- Rest your knees – Take breaks and use your poles for support.
- Strengthen your quads – Strong quads protect the knee joint.
- Listen to your body – If you feel sharp pain, stop and rest.
5. Equipment for the descent
- Carbide tips – Grip on rock; remove rubber tips.
- Spare tips – The abrasive rock wears them down.
- Mud baskets – Useful on wet sections.
- Lever locks – Reliable in muddy and rocky conditions; twist locks slip.
6. Final verdict
The descent from Pico da Bandeira can be tough on your knees, but with the right technique and equipment, you can protect your joints and enjoy the hike. Lengthen your poles, plant ahead, and push down through the straps. Practice on gentle slopes before tackling the descent. Happy hiking.




