




Can trekking poles be used as a monopod for nature photography in Pantanal?
Yes – your trekking pole works as a lightweight monopod for nature photography in the Pantanal. Attach a universal 1/4″‑20 clamp adapter just below the grip, plant the tip firmly in mud or grass, and use a remote shutter or self‑timer to avoid shake. A simple clamp‑on adapter costs R$30‑50 and turns your pole into a versatile photo tool.
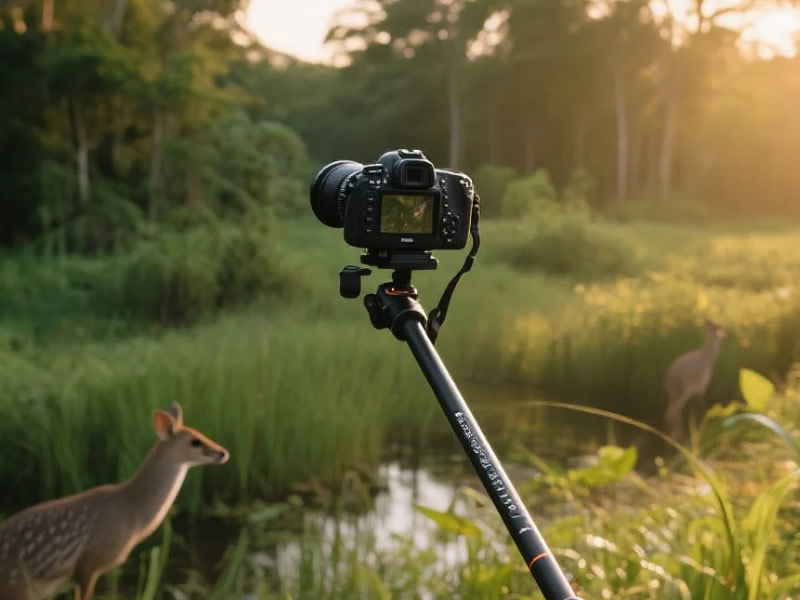
Key tips:
- Use rubber tip – on firm ground to protect carbide; remove in soft mud.
- Keep wrist strap on – as a safety tether for your camera.
- Avoid heavy lenses – the pole is stable for compact and mirrorless cameras, not heavy DSLR kits.
- Stow quickly – detach the adapter when you need both poles for walking.
Pro tip for the Pantanal: The terrain is flat and wet – a monopod is ideal for low‑angle shots of capybaras, birds, or jaguars from a boat or boardwalk. For wildlife, a Bluetooth remote triggers the shutter without touching the camera.
1. Why the Pantanal is perfect for pole photography
The Pantanal is the world's largest tropical wetland, a flat, open landscape with abundant wildlife. It is a photographer's dream – but it is also hot, humid, and often muddy. Carrying a full tripod is heavy and cumbersome. A trekking pole with a camera adapter gives you a stable, lightweight support that you already have in your hand.
2. How to set up your pole as a monopod
- Attach the adapter – A universal 1/4″‑20 clamp adapter attaches to the pole shaft, just below the grip.
- Screw on the camera – Attach your camera, action cam, or phone holder.
- Plant the tip – On firm ground, use a rubber tip to protect the carbide. In soft mud, remove the rubber tip and use the bare tip.
- Shoot – Use a remote shutter or self‑timer to avoid camera shake.
3. What you need
- Universal camera adapter – A small clamp that attaches to the pole shaft and provides a 1/4″‑20 screw for your camera. Cost: R$30–50.
- Your camera – Compact cameras, mirrorless systems, and action cams work best. Heavy DSLR kits are too much for the pole.
- Remote shutter – A Bluetooth remote or cable release eliminates vibration.
4. Techniques for the Pantanal
- Low‑angle shots – Shorten the pole to get down to eye level with capybaras or birds.
- From a boat – Plant the pole on the floor of the boat to stabilise your camera.
- From a boardwalk – The pole gives you extra stability on the wooden walkways.
5. Safety and practicality
- Keep your wrist strap on – As a safety tether for your camera.
- Stow the adapter – When you're not using it, store the adapter in your pocket or pack.
- Avoid heavy lenses – A pole is stable for a compact camera, but a heavy telephoto lens will be too much.
6. Wildlife photography tips
- Be patient – Wildlife photography requires waiting. Use your pole as a support while you wait.
- Use a remote – A Bluetooth remote lets you trigger the shutter without touching the camera.
- Stay quiet – The Pantanal is a noisy place – but sudden movements can scare animals.
7. Final verdict
Yes – your trekking pole is a versatile, lightweight monopod for nature photography in the Pantanal. With a simple adapter, you can capture stable, sharp images of the region's incredible wildlife. It saves you from carrying a separate tripod and gives you a steady base in the wetlands. Happy shooting!




