




How to stop squeaking trekking pole joints during use in wet conditions?
If you’ve ever hiked through rain, mud, or melting snow, you know the drill: every step is accompanied by an irritating, high‑pitched squeak from your trekking pole joints. That noise isn’t just annoying—it’s a warning sign that dirt, moisture, and friction are slowly degrading your gear. Ignoring it can lead to stuck sections, stripped locking mechanisms, or even pole failure on a steep descent. Fortunately, you can eliminate that squeak and keep your poles performing flawlessly in any weather. This guide dives deep into the science behind the squeak, offers proven fixes, and shares preventive habits that will extend the life of your poles.
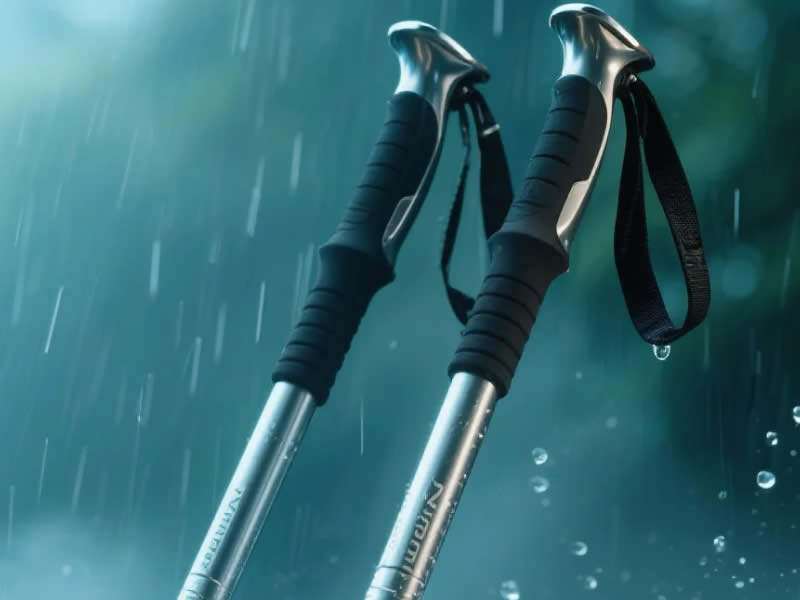
Why do trekking pole joints squeak in wet conditions?
The squeak is caused by stick‑slip friction—a rapid cycle of gripping and slipping between the overlapping tube sections. In dry conditions, dust and normal wear create a similar effect, but water acts as a catalyst. Rain washes fine particles (sand, silt, metal flakes) into the joint, where they mix with moisture to form a gritty slurry. As you compress the pole, the internal surfaces slide against each other; the abrasive paste increases static friction, then breaks free repeatedly, producing the squeal.
Three factors amplify the noise:
- Contaminants – Even invisible dust becomes abrasive when wet.
- Material mismatch – Aluminium against aluminium, or carbon against alloy, have different coefficients of friction.
- Over‑tightening – Excessive clamping force increases pressure on the grit, making the stick‑slip effect worse.
Understanding these causes helps you choose the right remedy—not a temporary mask, but a lasting solution.
Immediate fixes you can apply on the trail
When you’re miles from home and the squeak is driving you crazy, try these field‑proven methods:
1. Rinse with clean water
Find a stream or use your drinking water to flush the joint thoroughly. Extend the pole fully, pour water over the overlapping area, and twist the sections while rinsing. This washes out loose grit. Dry with a bandana or microfiber cloth before reassembling.
2. Use a rubber band as a damper
Wrap a thick rubber band around the male (inner) section just below the joint, then slide the female (outer) section over it. The rubber adds a compliant layer that absorbs micro‑vibrations, stopping the squeak instantly. This is a temporary hack—perfect for finishing your hike.
3. Apply a dry lubricant (if you have it)
Graphite powder or a PTFE‑based dry spray can be carried in a tiny vial. Apply a pinch to the cleaned joint; it reduces friction without attracting dirt. Never use oil or grease—they turn into glue when mixed with mud.
The permanent solution: clean, wax, and adjust
To stop squeaking for good, you need a thorough home‑maintenance routine. Follow these steps after every wet hike—or at least once a month.
Step 1 – Deep‑clean the joints
- Disassemble the poles completely (if your model allows).
- Soak a soft cloth in warm, soapy water (mild dish soap) and wipe both the inner and outer surfaces.
- Use a soft‑bristled toothbrush to scrub the locking mechanism and any grooves.
- Rinse with fresh water and dry every part with a lint‑free towel. Let them air‑dry for 30 minutes—moisture trapped inside will cause corrosion.
Step 2 – Apply a thin wax layer
- Choose a hard wax: candle wax, ski wax, or surfboard wax. Beeswax works too, but it’s stickier.
- Rub the wax lightly over the male section (the part that slides inside). You only need a film thinner than a sheet of paper.
- Assemble the pole and twist it several times to spread the wax evenly. Wipe off any excess.
Why wax? It fills microscopic pores on the metal surface, reducing the coefficient of friction. It also repels water, preventing the slurry from forming. Unlike oils, wax stays put and doesn’t attract grit.
Step 3 – Adjust the tension correctly
Most poles have a twist‑lock or lever‑lock. Over‑tightening is a common mistake—it compresses the joint too hard, increasing friction and wear. Turn the locking collar just until the pole holds your weight without slipping; then back it off a quarter‑turn. A properly adjusted joint will feel smooth, silent, and secure.
Preventative habits for long‑term silence
An ounce of prevention is worth a pound of cure. Adopt these habits and your poles will stay squeak‑free even in the wettest conditions.
- Store poles disassembled – Leaving them locked together traps moisture and grit, accelerating corrosion.
- Clean after every wet hike – A quick rinse and wipe at the trailhead takes two minutes and saves hours of repair later.
- Use anti‑seize tape – Plumber’s Teflon tape wrapped around the male joint provides a low‑friction barrier that also seals out water.
- Rotate your poles – If you have multiple pairs, alternate use to give each set time to dry fully.
- Inspect for burrs – Feel the inner surface for rough spots. Lightly sand with 1000‑grit wet/dry paper, then wipe clean.
When squeaking signals a deeper problem
Not every squeak is harmless. If you’ve cleaned and waxed but the noise persists, check for:
- Worn locking inserts – Plastic or rubber grips inside the joint may be degraded; replace them.
- Ovalised tubes – Dropping the pole can deform the tube, causing uneven contact. This requires professional straightening or replacement.
- Cracked carbon fibre – A creaking sound that accompanies the squeak may indicate a hairline fracture. Stop using the pole immediately—it could shatter under load.
Final thought: embrace maintenance as part of your routine
Your trekking poles are your silent partners on every hike. They absorb shock, save your knees, and keep you balanced. A squeaking joint is their way of telling you they need care. By cleaning, waxing, and adjusting regularly, you’ll not only stop the noise but also extend the lifespan of your gear significantly.
Next time you step into a rainstorm, you’ll hear nothing but the rhythm of your feet and the sound of nature—because your poles will be working in perfect, quiet harmony. Happy trails!




