




How to replace cracked foam handles on old trekking poles?
That crumbly, black residue on your palms after a hike? It’s your trekking pole’s foam grip slowly disintegrating. Cracks, splits, and sticky deterioration aren’t just unsightly—they compromise grip security, cause blisters, and can even lead to the handle sliding off mid‑stride. But replacing foam handles is surprisingly straightforward, and you don’t need to buy a whole new pole. This guide walks you through every step, from removing the old grip to installing a new one, plus budget alternatives if you can’t find exact replacements.
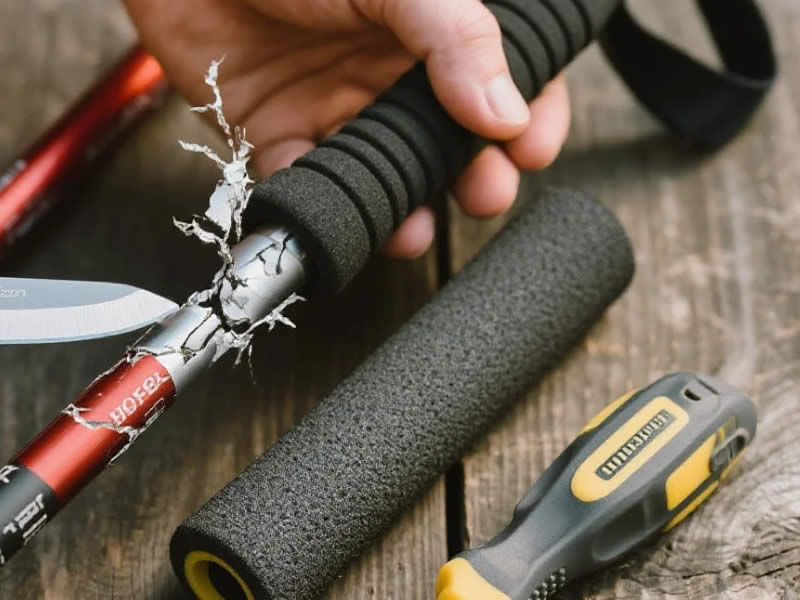
Why foam handles crack and degrade
Foam handles are typically made from EVA (ethylene‑vinyl acetate) or expanded rubber. Over years of UV exposure, sweat absorption, and temperature extremes, the material loses its elasticity. The surface becomes chalky, then develops hairline cracks that widen with each twist of your wrist. If you store poles in a hot car or damp garage, degradation accelerates. Eventually, the foam separates from the inner plastic core or the metal shaft, making the handle spin freely—a dangerous failure on steep terrain.
Replacing them restores your original grip diameter, cushioning, and confidence.
Tools and materials you’ll need
- Heat source – hair dryer or heat gun (low setting).
- Utility knife or razor blade.
- Rubbing alcohol (isopropyl) and clean rags.
- Strong adhesive – epoxy resin (24‑hour cure) or cyanoacrylate (super glue) for quick setting; contact cement also works.
- New foam grips – either original manufacturer replacements (e.g., Leki, Black Diamond spare grips) or universal replacement grips sold by aftermarket brands (Grip‑it, TrailGrip, etc.). Ensure the inner diameter matches your shaft (usually around 16‑18mm).
- Optional – masking tape, measuring tape.
If you can’t source dedicated trekking pole grips, consider these alternatives:
- Tennis racket overgrip tape – wrap it directly over the bare shaft; gives a cushioned, replaceable surface.
- Bicycle handlebar tape – thicker, durable, and comes in various colours.
- Self‑fusing silicone tape – provides a non‑slip rubbery feel.
Step‑by‑step replacement procedure
1. Remove the old foam handle
Most factory grips are glued onto the shaft with a strong adhesive. To soften it, heat the foam evenly with a hair dryer on medium heat for 2‑3 minutes—don’t overheat or you’ll melt the plastic core. Wearing heat‑resistant gloves, twist the foam back and forth while pulling upward. If it doesn’t budge, carefully slit the foam lengthwise with a utility knife (score it, then peel it off). This preserves the shaft but destroys the old grip—which you’re discarding anyway.
2. Clean the bare shaft
Once the old grip is off, you’ll see the aluminium or carbon shaft and often a plastic sleeve. Scrape off any residual glue with the knife. Wipe the surface thoroughly with rubbing alcohol to remove grease, sweat, and dust. This step is critical for proper adhesion.
3. Prepare the new grip
If you bought a replacement grip, it may come with a pre‑applied adhesive liner. Otherwise, you’ll need to apply your chosen glue. Before applying any adhesive, dry‑fit the new grip onto the shaft—mark the exact position where the wrist strap hole aligns with your preferred angle. Most poles have a small notch or groove for the strap; replicate that orientation.
4. Apply adhesive and slide on the grip
Coat the upper 5‑6 cm of the shaft with a thin, even layer of epoxy or contact cement (follow the glue’s instructions). If using super glue, apply it in a spiral. Quickly slide the new foam grip over the shaft, twisting gently to distribute the glue. Align the strap hole perfectly before the glue sets—you have about 30‑60 seconds with super glue, 5‑10 minutes with epoxy.
Push the grip all the way down until it meets the top of the shaft (usually flush with the pole’s end). Wipe off any excess glue immediately with a damp cloth.
5. Secure and cure
Hold the grip firmly in place for at least 5 minutes (for super glue) or clamp it with a rubber band. For epoxy, leave the pole upright for 24 hours to reach full strength. Do not use the pole during curing—premature load can twist the grip loose.
6. Reattach the wrist strap
If your strap was threaded through the grip, re‑feed it through the hole and adjust the length. Some grips have a screw‑on top cap; tighten that gently.
Alternative no‑glue method: tape wrapping
If you don’t want permanent replacement, or if your shaft is an odd diameter, wrap it with overgrip tape. Start at the bottom, overlap each layer by half, and finish with electrical tape at the top. This gives a custom thickness, absorbs sweat, and can be changed seasonally. It’s not as durable as a foam grip but costs under $5 and takes 10 minutes.
Signs you should replace the entire pole
- The plastic core inside the foam is also cracked or split—this requires a new upper section, not just a grip.
- The shaft is bent or twisted near the handle—straightening it is unsafe.
- The locking mechanism is failing—don’t invest time in grips if the pole itself is unreliable.
Preventive care to extend new grip life
- Wash grips with mild soap and water after muddy hikes—salt and dirt accelerate cracking.
- Store poles in a cool, dry place, away from direct sunlight.
- Apply a UV‑protective spray (like 303 Aerospace) to foam grips once a month.
- Rotate your poles if you have multiple pairs to spread wear.
Conclusion
Replacing cracked foam handles is a simple DIY task that can give your old trekking poles a new lease on life. With basic tools, a quality adhesive, and a compatible replacement grip, you’ll save money and reduce waste. If original parts are unavailable, tape wrapping offers a quick, effective workaround. Remember: a secure, comfortable grip is not a luxury—it’s essential for safe hiking. So give your poles the care they deserve, and they’ll support you mile after mile.




