




How to use trekking poles to increase ankle mobility on uneven trails?
Trekking poles do not directly increase ankle mobility, but they create a safe, controlled environment in which you can practice moving your ankles through their full range of motion on uneven terrain. By providing stability and reducing the fear of falling, poles allow you to deliberately place your feet on challenging surfaces—rocks, roots, slopes—and move your ankle through dorsiflexion, plantarflexion, inversion, and eversion. This article explains the specific techniques, the biomechanics involved, and how to integrate ankle mobility work into your trail walking.
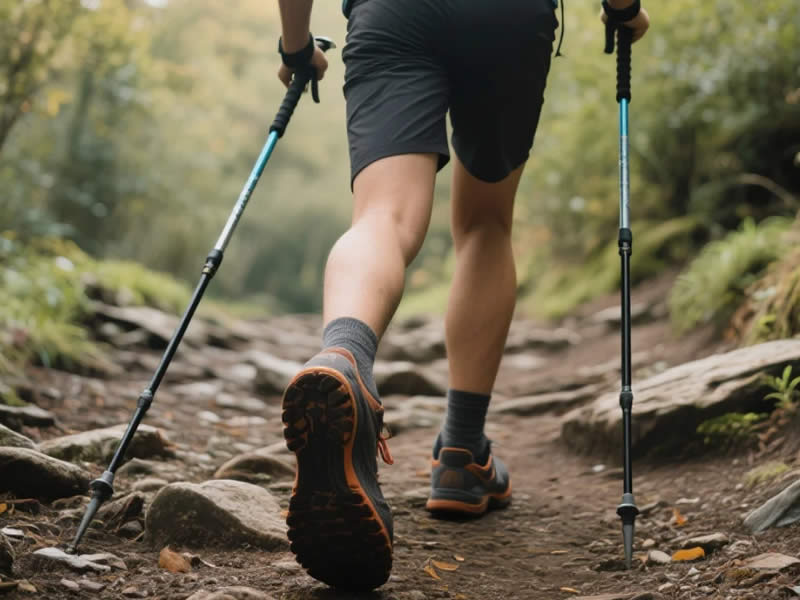
Why ankle mobility matters on trails
Ankle mobility is the ability of your ankle joint to move through its full range of motion. It is essential for:
- Absorbing impact: When you step down onto an uneven surface, your ankle needs to flex (dorsiflexion) to absorb the shock.
- Adapting to terrain: Walking on slopes, rocks, and roots requires your ankle to move in multiple planes (inversion, eversion).
- Preventing injury: A mobile ankle is less prone to sprains, as it can adapt to sudden changes in surface.
On uneven trails, your ankle is constantly challenged. However, the fear of rolling an ankle often causes walkers to "brace" their foot, limiting their range of motion. Trekking poles break this cycle.
The role of trekking poles: stability and confidence
Trekking poles provide two extra points of contact, creating a stable tripod or quadruped base. This stability has two effects:
- Reduced fear of falling: With poles, you can step onto a wobbly rock or a steep slope without the same level of anxiety. This allows you to move more deliberately.
- Controlled weight transfer: You can shift your weight to the poles, allowing you to place your foot in a challenging position without bearing your full weight.
The result is a safe environment to practice ankle mobility.
Specific techniques for ankle mobility
1. Probing and placing
Purpose: To consciously place your foot in positions that challenge your ankle's range of motion.
- Plant a pole ahead to test the ground's stability.
- Deliberately place your foot on the edge of a rock, on a sloping root, or on a tilted stone.
- As you place your foot, allow your ankle to move into the position required by the surface. For example, step onto the side of a rock to practice inversion (turning your foot inward) or eversion (turning it outward).
- Use the pole to support your weight as you hold the position for a few seconds.
Key: The pole gives you the confidence to place your foot in an unstable position without fear of falling.
2. Descending with a long stride
Purpose: To practice ankle dorsiflexion (lifting the toes) and plantarflexion (pointing the toes).
- Lengthen your poles by 5‑10 cm for a descent.
- Plant the poles ahead of your feet.
- Step down with your heel first, then roll through to your toes. This forces your ankle into full dorsiflexion (as your heel makes contact) and then full plantarflexion (as you push off).
- Perform this slowly, focusing on the full range of motion.
Key: The poles act as brakes, allowing you to control your speed and perform the motion deliberately.
3. Ascending on your toes
Purpose: To practice ankle plantarflexion and strengthen the calf muscles.
- Shorten your poles by 3‑5 cm for an ascent.
- As you step up, push off from the balls of your feet, lifting your heel and pointing your toes. This forces your ankle into a strong plantarflexion.
- The poles provide support as you lift your weight.
Key: This is particularly effective on steep, rocky ascents where you are lifting your body weight.
4. Lateral steps (side‑slopes)
Purpose: To practice ankle inversion and eversion.
- On a side‑slope, plant your poles on the downhill side.
- Step sideways across the slope, placing your foot on the outside edge (inversion) or the inside edge (eversion).
- The poles provide lateral stability, reducing the risk of a roll.
Key: The side‑slope challenges your ankle in a different plane, which is essential for trail walking.
5. Overhanging rock steps
Purpose: To practice ankle flexibility when stepping down over a protruding object.
- On a section with rocks protruding from the trail, plant your poles on the top of the rock.
- Step over the rock, allowing your ankle to flex as you place your foot on the far side.
Key: This is a classic mobility challenge, and the poles give you the confidence to step across without fear.
The biomechanics: what you are training
- Dorsiflexion: Lifting the toes (heel down). This is used when descending steep slopes.
- Plantarflexion: Pointing the toes (heel up). This is used when ascending.
- Inversion: Turning the sole of the foot inward. Used when walking on side‑slopes.
- Eversion: Turning the sole of the foot outward. Used when walking on the opposite side‑slope.
By deliberately placing your foot in positions that require these movements, you are training your ankle's range of motion and the strength of the muscles that control it.
Safety and progression
1. Start slowly
Begin by practicing these techniques on gentle terrain (a gentle slope or a path with a few small rocks). As you gain confidence, progress to more challenging ground.
2. Use a light touch
You do not need to lean heavily on the poles; they are there for balance, not support. The goal is to train your ankle, not to offload your body weight entirely.
3. Listen to your body
If you feel a sharp pain, stop. A mild stretch is fine; a sudden, sharp pain is not.
4. Combine with off‑trail stretches
These techniques are most effective when combined with specific ankle stretches and strengthening exercises (e.g., calf stretches, ankle circles, and resistance band exercises). Use the poles as a tool to challenge your ankle, not as a substitute for dedicated mobility work.
A practice drill
- Find a section of trail with varied terrain: A short section with rocks, roots, and a side‑slope is ideal.
- Walk the section once with poles, using the techniques above. Focus on the deliberate placement of your feet.
- Walk the section again without poles, but maintaining the same deliberate foot placement. The poles have given you the confidence to know what is safe.
- Progress: Over several weeks, increase the difficulty of the terrain.
Summary table
| Technique | Ankle Movement | Terrain | Purpose |
|---|---|---|---|
| Probing and placing | Inversion/Eversion | Uneven ground | Range of motion |
| Long stride descent | Dorsiflexion/Plantarflexion | Downhill | Full range of motion |
| Toe ascent | Plantarflexion | Uphill | Strength and flexibility |
| Lateral steps | Inversion/Eversion | Side‑slope | Balance and flexibility |
| Overhanging rock steps | Dorsiflexion | Rocky sections | Flexibility and control |
The verdict
Trekking poles are a powerful tool for increasing ankle mobility on uneven trails. By providing stability and reducing the fear of falling, they allow you to deliberately place your feet in positions that challenge your ankle's range of motion. Through specific techniques—probing and placing, descending with a long stride, ascending on your toes, and lateral steps—you can train your ankle's dorsiflexion, plantarflexion, inversion, and eversion. The result is a more mobile, resilient ankle that is less prone to injury and better able to handle the demands of uneven terrain. As with any training, start slowly, listen to your body, and combine these techniques with dedicated off‑trail stretching and strengthening exercises. With consistent practice, you will improve your ankle mobility and walk with greater confidence and stability on any trail.




