




How to Clean Internal Sections to Remove Grit That Causes Scratchy Noises?
That gritty, scratchy sound when you extend or collapse your telescopic pole—whether it’s a trekking staff, a fishing net handle, or a photography monopod—is one of the most irritating and worrying signs an owner can hear. Beyond the unpleasant audio feedback, that grinding sensation means microscopic abrasive particles are chewing into the anodized coating or bare aluminium of your pole’s internal mating surfaces. Left unchecked, this grit will permanently score the tubes, create loose tolerances, and eventually ruin the locking mechanism.
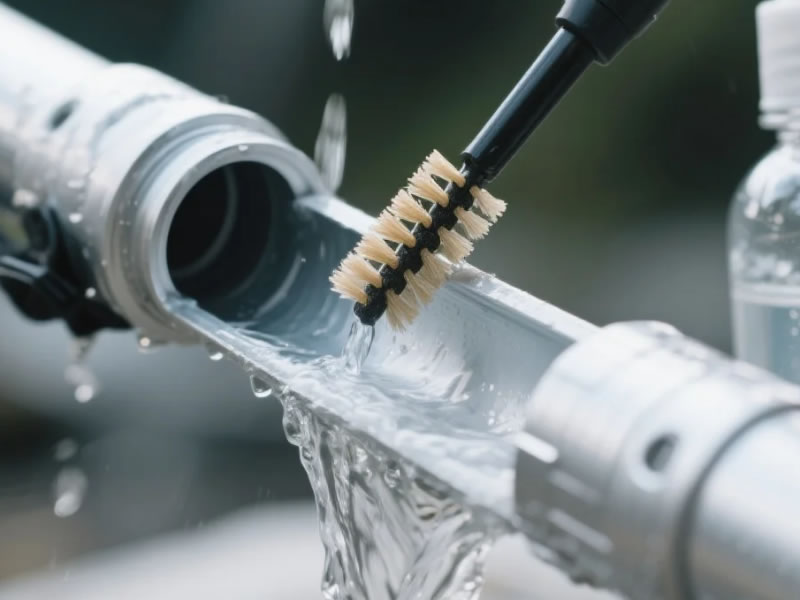
The good news? This is entirely preventable and fixable with a simple, five‑minute cleaning routine. However, doing it wrong—using water, petroleum oils, or abrasive tools—can make things infinitely worse. Here is the definitive, step‑by‑step guide to safely flushing out internal grit and restoring that silky‑smooth action, while extending the lifespan of your gear for years.
1. Understand Where the Grit Hides
Before you grab a cloth, you need to visualise the problem. Telescopic poles consist of an inner tube (male) that slides into an outer tube (female). The gap between these two surfaces is measured in fractions of a millimetre. When you plant the pole in mud, sand, or dusty trails, that debris gets carried into the overlap zone. The most dangerous area is the open end of the outer section—specifically the rim and the first 2–3 inches inside, where dirt accumulates like a trap.
Cleaning only the visible exterior is pointless. You have to target that hidden internal ring.
2. The Safe Cleaning Protocol (Step‑by‑Step)
Step 1: Disassemble and Isolate
Fully collapse the pole, then separate each section completely if your model allows it (many twist‑locks let you unscrew them entirely). This gives you unrestricted access to the entire male shaft and the female opening. If the sections are not removable, extend each joint to its maximum safe length to expose the dirty area.
Step 2: The Dry Knock‑Out (Crucial First Pass)
Do not introduce liquid immediately—wet grit turns into lapping paste that grinds deeper. Instead, hold the outer section vertically with the opening facing downward. Gently tap the side of the tube with a wooden or rubber mallet (or your hand) over a trash bin. This dislodges loose sand and large particles. Follow up with compressed air (or a camera blower) aimed directly into the female opening at a 45‑degree angle. Blow out every crevice. This step removes 70% of the abrasive material without any chemical reaction.
Step 3: Wipe with Isopropyl Alcohol (The Only Safe Liquid)
Take a long, narrow microfiber cloth (or attach a small piece to a dowel rod) and dampen it with 90%+ isopropyl alcohol. Never use water—water seeps into seams, promotes galvanic corrosion, and takes ages to dry inside tight tolerances. Alcohol dissolves sticky grime, evaporates instantly, and leaves zero residue. Slide this cloth into the female section and twist it thoroughly. For the male section, simply wrap the cloth around the tube and wipe from the base to the tip in one direction—never back‑and‑forth, as that drags grit across the surface.
Step 4: Inspect and De‑Burr (If Necessary)
After cleaning, run your fingernail along the internal rim of the outer tube. If you feel a sharp nick or burr (often caused by a previous drop), gently smooth it with extra‑fine (1000‑grit) wet/dry sandpaper—but use it dry and only with the lightest touch. Do not sand the main sliding surface; only the edge.
3. The Golden Rule: Lubricate Correctly
Once the internal sections are clinically clean and bone‑dry, you must re‑lubricate before reassembly. A dry aluminium‑on‑aluminium interface has high static friction, which leads to jerky movements and new scratch risks.
Apply a pea‑sized drop of pure silicone grease or a dedicated pole‑specific lubricant to the base of the male tube. Spread it into an even, invisible film using your fingers. Extend and collapse the pole 5–6 times to distribute this film evenly across the internal walls. Crucial warning: Absolutely avoid WD‑40, multi‑purpose oils, or petroleum‑based greases. These attract dust like a magnet, degrade rubber O‑rings, and turn into a sticky paste within two outings. Silicone is non‑sticky, waterproof, and friction‑neutral.
4. Common Mistakes That Ruin Poles
- Using dish soap or detergent: These contain salts that corrode aluminium over time.
- Over‑lubricating: Too much grease acts as a dust magnet. Wipe off all excess until the surface just feels slightly slick.
- Forcing a partially collapsed pole: If you feel resistance during cleaning, stop. Forcing bends the locking cam or warps the tube. Clean incrementally instead.
5. Preventive Maintenance Schedule
To avoid repeating this deep‑clean process too often, adopt a trail‑side habit: before collapsing your pole after use, wipe the exposed section with a dry cloth to remove surface dirt. Perform the full internal clean described above every 15–20 hours of heavy use, or immediately after any trip involving beach sand (silica is brutally abrasive) or fine desert dust.
Final Verdict
A scratchy, noisy pole is not a death sentence—it is a cry for maintenance. By mastering this dry‑then‑wet, alcohol‑based cleaning routine, and by using only silicone lubricant, you will not only eliminate the unpleasant noise but also preserve the structural integrity of the locking joints. Your pole will extend with a satisfying, whisper‑smooth glide every single time. Take 10 minutes this weekend to perform this service; your gear—and your ears—will thank you.




