




Can I insert a rubber o‑ring to stop a rattle in a 4‑section pole?
If you own a 4‑section telescopic pole—whether for trekking, photography, or as a boat hook—you’ve probably been annoyed by that loose, clattering sound every time you move. It’s not just an acoustic nuisance; that rattle indicates micro‑clearance between sections, which can accelerate wear and reduce locking strength. A common DIY fix circulating online is to slip a rubber O‑ring into the joint. The short answer: yes, you can—but only if you do it correctly. Done right, an O‑ring can eliminate rattle effectively and cheaply. Done wrong, it can jam your pole, damage the locking mechanism, or even cause a sudden collapse. This guide tells you everything you need to know.
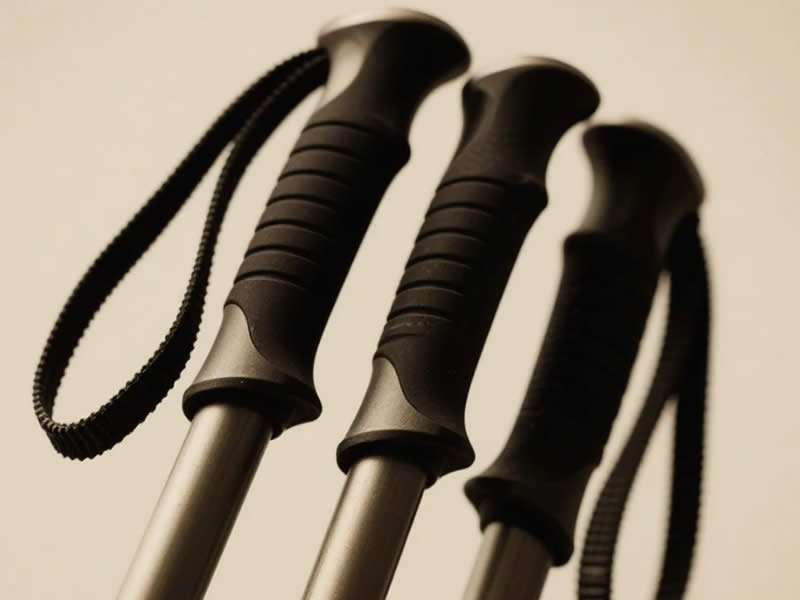
1. Why Does a 4‑Section Pole Rattle More Than a 2‑ or 3‑Section?
More sections mean more overlap points. Each joint has a small tolerance to allow smooth sliding. When these tolerances add up, the cumulative play creates a distinctive metallic chatter, especially when the pole is unloaded or carried horizontally. Unlike a single‑piece or two‑piece pole, a 4‑section design has three junctions—each a potential noise source. The rattle is usually worst when the pole is partially extended, because the sections aren’t firmly wedged against each other.
2. How an O‑Ring Stops the Rattle (The Physics)
The O‑ring acts as a compliant spacer. When placed between the inner and outer tubes, its slight compression fills the radial gap. This changes the contact from metal‑on‑metal to metal‑on‑rubber, which dampens vibration and prevents the sections from knocking. Additionally, the O‑ring adds a small amount of friction that holds the sections more firmly, reducing axial play. In essence, it mimics the effect of a worn‑out bushing—restoring the snug fit without expensive replacements.
3. Choosing the Right O‑Ring: Size, Material, and Profile
This is the most critical step. An O‑ring that is too thick will prevent the pole from collapsing fully; too thin and it won't touch both surfaces.
- Diameter – Measure the outer diameter of the inner tube (at the base of the section). The O‑ring’s inner diameter should be 10–15% smaller than that tube’s outer diameter, so it stretches slightly and stays in place. For example, if your tube is 12 mm, choose an O‑ring with ~10 mm inner diameter.
- Cross‑section (thickness) – This depends on the gap between the inner and outer tubes. Typically, a 1.5 mm to 2 mm thickness works for most trekking poles. Start small; you can always add a second ring if needed.
- Material – Always choose silicone or EPDM rubber. Avoid natural rubber (perishes) or Buna‑N (hardens in cold weather). Silicone stays flexible from -40°C to +200°C and resists sweat, water, and UV.
- Shape – Standard round O‑rings are fine, but some users prefer X‑profile (quad‑ring) for better grip and less rolling.
4. Where Exactly Do You Insert It?
The placement matters enormously. You want the O‑ring to sit on the male end of the inner section, just behind the flare or stop. More precisely:
- Extend the pole fully and identify the top end of the section that slides into the next larger one.
- Slide the O‑ring over that end and roll it down until it rests about 5 mm from the rim.
- Now collapse the pole – the O‑ring will be squeezed between the inner and outer walls as it enters the larger tube.
Do not place the O‑ring on the outside of the larger tube – it won't contact anything. Also avoid putting it on the locking collar area, as that can interfere with the twist mechanism.
For a 4‑section pole, you may need rings on two or three joints – usually the loosest ones. Add one ring at a time and test.
5. Step‑by‑Step Installation Guide
- Clean both tube surfaces with isopropyl alcohol to remove grease and grit.
- Stretch the O‑ring gently over the tube end – use a blunt plastic tool to avoid nicks.
- Roll it into position, ensuring it sits evenly around the circumference.
- Test collapse: if the pole won't close fully, remove the ring and try a thinner one.
- Test extension: extend the pole and shake it. If the rattle is gone but the sections still slide smoothly, you’ve succeeded.
- Apply a tiny dab of silicone grease on the O‑ring to reduce friction during extension – this prevents it from rolling out of position.
6. Potential Pitfalls (and How to Avoid Them)
- Over‑tightening – If the O‑ring is too thick, it can create excessive friction, making the pole hard to extend or collapse. Worse, it may stress the locking cam, causing premature failure.
- O‑ring migration – Without a retaining groove, the ring can shift during use and bunch up, leading to a lumpy feel. To prevent this, many poles have a small indentation or a step where the ring can nest; if yours lacks this, wrap a thin layer of self‑amalgamating tape just below the ring to create a tiny shoulder.
- Dirt attraction – Rubber can pick up grit. Clean and re‑grease the ring regularly, especially after muddy outings.
- Incompatible materials – Never use an O‑ring made of neoprene or polyurethane – they swell in contact with some lubricants.
7. When an O‑Ring Won’t Help
If your rattle is caused by:
- A bent or ovalised tube – the ring cannot compensate for non‑circular geometry.
- A worn‑out locking mechanism – the ring addresses radial play, not axial slippage under load.
- A missing or broken internal bushing – you need a replacement part, not a band‑aid.
In these cases, an O‑ring is a temporary fix at best. Inspect your pole thoroughly; if you see scoring or visible gaps larger than 1 mm, contact the manufacturer for genuine parts.
8. Alternative Solutions Worth Considering
- Self‑amalgamating silicone tape – Wrap a layer around the tube; it fuses into a solid rubber sleeve that stays put and dampens noise better than an O‑ring.
- PTFE thread seal tape – For very small gaps, a few wraps of plumber’s tape can reduce chatter, though it wears out faster.
- Replace the inner tube – Some poles offer replacement sections with tighter tolerances.
9. Maintenance and Long‑Term Care
Once installed, check the O‑ring every 10–15 outings. Rotate it slightly to avoid flat spots. Reapply silicone grease sparingly. If the ring shows cracks or hardening, replace it immediately – a broken O‑ring can jam the joint.
Final Verdict
Yes, you can insert a rubber O‑ring to stop rattle in a 4‑section pole – and it’s one of the most cost‑effective fixes, costing pennies and taking under 5 minutes. The key is selecting the right size and material, placing it correctly, and testing thoroughly. When done properly, your pole will feel like new, with a silent, solid extension every time. Just remember: this is a maintenance hack, not a cure for structural damage. Use your judgment, and enjoy the peace and quiet.




