


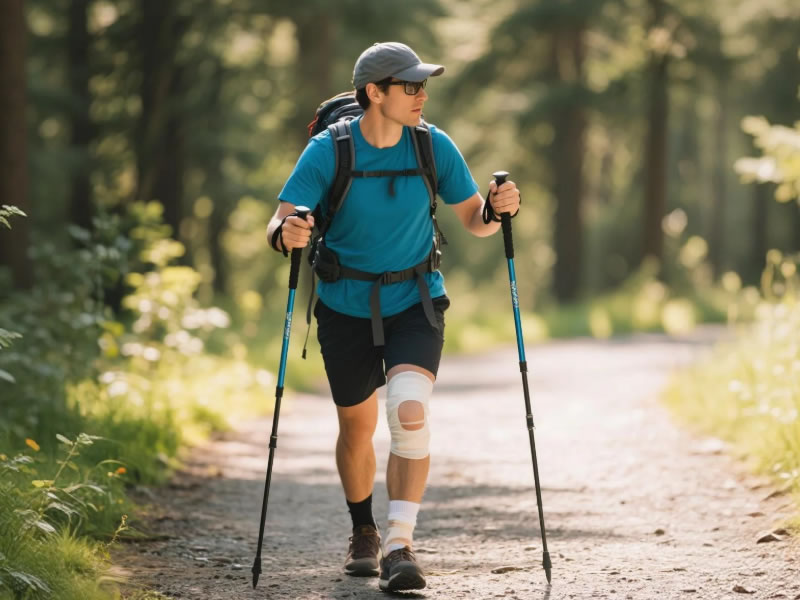
Hiking Poles for Post-Injury Recovery (e.g., Ankle, Knee Surgery)?
Returning to the trail after a significant injury like an ankle reconstruction or knee surgery is a journey that requires patience, smart training, and the right support tools. Hiking poles can be one of the most valuable allies in this process, but their use must be deliberate, correct, and integrated into a medically-supervised recovery plan. When used appropriately, they are not a sign of weakness but a tool for intelligent, progressive rehabilitation.
Recommended trekking pole purchase link: https://s.click.aliexpress.com/e/_c4M7OWaN
The Critical First Step: Medical Clearance and Guidance
Never begin using poles for post-injury hiking without explicit guidance from your physical therapist or surgeon. They will determine:
- When you are ready to bear weight and attempt uneven terrain.
- What your specific gait and weight-bearing limitations are.
- How to integrate poles into your prescribed exercises.
How Poles Facilitate Recovery: The Key Benefits
- Load Reduction and Impact Absorption: This is the primary benefit. On level ground, poles can reduce the load on your lower limbs by approximately 15-25%. On descents—where stress on healing knees and ankles peaks—properly used poles can reduce joint forces by up to 30%. This allows you to rebuild strength and mobility with significantly less pain and risk.
- Enhanced Stability and Confidence: Post-injury, proprioception (your body's sense of position) is often impaired. Poles provide critical feedback and two additional points of contact, dramatically improving balance on unstable surfaces. This rebuilt confidence is essential for psychological recovery.
- Gait Retraining and Symmetry: Injuries can lead to compensatory, asymmetrical walking patterns (limping). Using two poles encourages a symmetrical, rhythmic gait (right pole with left foot). They help you re-establish a normal stride length and timing, preventing bad habits from setting in.
- Controlled, Progressive Challenge: Poles allow you to titrate the difficulty of a walk. You can lean on them heavily at first, then gradually reduce your reliance as strength and confidence return, turning a single trail into weeks of progressive therapy.
Choosing the Right Poles for Recovery
- Two Poles are Non-Negotiable: You must use a pair. A single pole encourages asymmetry and imbalance.
- Adjustability is Essential: Look for three-section poles with easy, reliable external lever locks (e.g., Black Diamond FlickLock). You will need to fine-tune length constantly.
- Comfort is Paramount: Prioritize poles with cork or soft foam grips and wide, padded straps. You may be gripping them for extended periods with potentially reduced hand strength.
- Weight: Lightweight carbon fiber can be beneficial to avoid straining upper body muscles that may also be deconditioned.
Essential Techniques for Safe Recovery Hiking
- Perfect Your Setup:Flat Ground: Adjust so your elbow is at a 90-degree angle.Uphill: Shorten poles by 5-10 cm to assist with propulsion without overreaching.Downhill: Lengthen poles by 5-15 cm. This is most critical for protecting healing joints. It keeps your torso upright and lets your arms absorb shock.
- Master the Strap (The Weight-Transfer Secret):Always use the wrist straps correctly. Thread your hand from below and let the strap cradle your wrist. This allows you to push down through your arm bones without a tight grip, transferring weight efficiently and reducing hand fatigue.
- Focus on Rhythm and Light Touch:Aim for a quiet pole plant. The goal is steadying, not stabbing. Develop a smooth, opposite arm/leg rhythm. Let the poles swing naturally from your wrists.
The Recovery Progression Plan
Phase 1: Rehabilitation (Under PT Guidance)
- Terrain: Flawlessly flat, even surfaces (track, paved path).
- Goal: Re-establish a normal gait pattern with pole assistance.
- Focus: Technique over distance.
Phase 2: Reconditioning
- Terrain: Well-maintained, flat dirt trails.
- Goal: Build endurance and slight proprioceptive challenge.
- Focus: Gradually increasing distance while maintaining good form.
Phase 3: Reintegration
- Terrain: Gentle trails with minor, predictable elevation change.
- Goal: Adapt to variable terrain with controlled load.
- Focus: Practicing uphill/downhill pole adjustments and trusting the recovering joint.
Final Verdict: A Bridge Back to the Trail
Hiking poles, when prescribed and used correctly, are a powerful bridge between clinical rehabilitation and a return to independent trail life. They are a tool for safe loading, confidence building, and movement re-education.
Key Takeaway: Your recovery hike is not about mileage or elevation. It is about quality of movement. Use your poles to facilitate perfect steps, not just more steps. Partner with your healthcare provider, invest in a comfortable, adjustable pair, and let them support you on every deliberate, victorious stride back to the mountains.


