


Hiking Poles for River Crossings: Tips and Techniques
A river crossing is one of the most hazardous moments on any trail. Slippery, uneven rocks, powerful currents, and limited visibility of the riverbed can turn a scenic waterway into a significant obstacle. In this scenario, your trekking poles cease to be just walking aids and become critical safety tools—essential probes, stabilizers, and a potential lifeline. Using them correctly can mean the difference between a confident crossing and a dangerous fall. This guide outlines the vital techniques and preparations for employing your poles effectively in moving water.
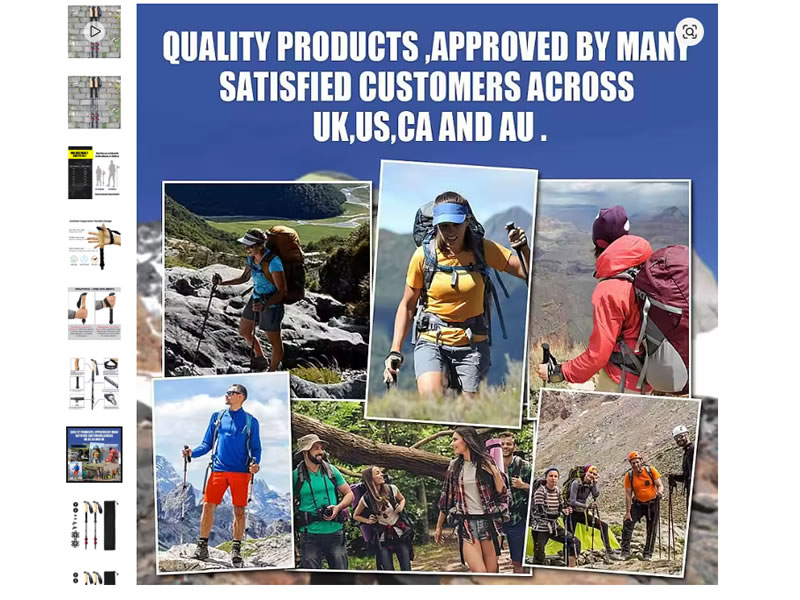
Recommended trekking pole purchase link: https://s.click.aliexpress.com/e/_c4M7OWaN
Phase 1: Preparation and Assessment (Before You Get Wet)
- Scout the Best Crossing Point: Never just walk to the first spot you see. Look for:Wide, shallow areas: Water is often slower and shallower where the river widens.Straight sections: Avoid bends where currents are stronger on the outside.Downstream hazards: Ensure there are no waterfalls, logjams, or deep pools immediately downstream if you were to fall.A visible route: Look for rock bars or sandbanks that might indicate a shallower path.
- Prepare Your Poles and Gear:Lengthen Your Poles: Extend them 5-10 cm longer than your normal flat-ground setting. This gives you greater reach to probe ahead and brace against the current while keeping your torso more upright.Check the Locks: Ensure all flip locks or twist locks are fully secured. A collapsing pole mid-crossing is a major hazard.Prepare Your Pack: Unbuckle your backpack's waist belt and sternum strap. In the event of a fall, you must be able to shed your pack quickly to avoid being pinned underwater by its weight.Consider Footwear: Decide whether to cross in your hiking boots (for ankle support and protection) or in water shoes/crossing sandals. Never cross barefoot.
Phase 2: Crossing Techniques (The Art of the Three Points of Contact)
The core principle is to always maintain at least three points of solid contact with the riverbed—either two poles and one foot, or two feet and one pole.
- The Two-Pole Technique (Most Stable):Stand sideways to the current, usually facing slightly upstream. This minimizes the water's force against your legs.Plant both poles securely on the upstream side, forming a stable triangular base.Move one foot to a new position, probing with your foot for stability.Once your foot is firmly planted, move your poles forward again. Move one point of contact at a time.
- The Pole as a Probe:Use the pole tip to feel the bottom ahead of you. Test for depth, stability, and whether the bottom is slick algae, gravel, or solid rock. A soft, sinking feeling indicates silt or deep mud—avoid it.
- The Pole as a Brace:In current, angle your poles upstream and lean into them slightly. The current will push against the shaft, helping to stabilize you. Plant them firmly between rocks or in the gravel.
- Body Positioning:Shuffle sideways; don't cross your feet. Keep a wide, stable stance.Look at the exit point on the far bank, not at the rushing water at your feet. This helps with balance.If in a group, the strongest person should cross first, upstream of others, to break the current. Consider linking arms or using a pole as a handrail for less stable members.
Phase 3: Common Mistakes and Critical Safety Warnings
- Never Trust a Single Pole: They are aids, not anchors. A pole can slip or get jammed in rocks.
- Avoid Deep Water: If water reaches above mid-thigh, the force becomes immense. Turn back and find another spot.
- Respect the Power of Water: A current knee-high can knock an adult over. Fast-moving water is deceptively powerful.
- Have a Contingency Plan: Know what you'll do if you fall—swim on your back, feet-first downstream, toward an eddy.
Choosing the Right Poles for Water Crossings
While any sturdy pole is better than none, ideal features include:
- Flip Locks over Twist Locks: They are less likely to fail when wet or full of grit.
- Durable, Non-Corroding Materials: Aluminum poles (like the Black Diamond Trail Pro) are excellent for their strength and reliability in harsh conditions.
- Good Grips when Wet: Cork performs better than foam or rubber when soaking wet, as it remains tacky.
Post-Crossing Care
Grit and water are the enemies of pole mechanisms. After crossing:
- Retract and rinse the lower sections with clean water if possible to remove sand and silt.
- Dry the locks and shafts thoroughly to prevent corrosion and freezing if you're in a cold environment.
- Check for debris in the locking mechanisms.
Final Verdict: Your Primary Safety Tool
In river crossings, hiking poles transform from convenience to necessity. They extend your senses, widen your base of support, and provide crucial stability against an unpredictable force. By meticulously scouting your route, employing the three-point-contact technique, and using your poles as proactive probes and braces, you turn a hazardous element of wilderness travel into a manageable—and even rewarding—challenge. Remember: there is no shame in turning back. Your poles, combined with sound judgment, are there to ensure you live to hike another day.


