


How to Pack Hiking Poles for Travel?
Traveling with hiking poles unlocks incredible trails abroad, but improper packing can lead to damaged gear, frustrating delays, or confiscation at security. Whether you're flying to a national park or embarking on an international trekking adventure, this definitive guide will show you how to pack your poles safely, efficiently, and in full compliance with travel regulations.
Recommended trekking pole purchase link: https://s.click.aliexpress.com/e/_c4M7OWaN
Rule #1: Understand Airline and Security Regulations
This is the most critical step. Misunderstanding the rules can result in having to surrender your poles at security.
- The General Rule: Hiking poles are almost never allowed in carry-on luggage. The Transportation Security Administration (TSA) and most international security agencies classify them as potential weapons or blunt objects due to their sharp tips. They must be placed in your checked baggage.
- Always Verify: While the above is standard, airline policies can vary. Always check your specific airline's "sporting equipment" or "restricted items" policy at least 48 hours before your flight. A quick call or website visit can prevent a major headache.
- Exception for "Travel" or "Z-Poles": Some ultra-compact folding poles (Z-poles) that collapse very short might be allowed in carry-on if they are stored completely within a rigid tube or case, obscuring their form. However, this is a gamble, and security has the final say. When in doubt, check them.
Step-by-Step Packing Guide
Follow this process to ensure your poles arrive at your destination ready for the trail.
1. Preparation is Key:
- Clean Them: Wipe down the shafts and, most importantly, scrub all dirt and debris from the tips and baskets. This prevents soil from contaminating your luggage and shows security you're a responsible traveler.
- Collapse Fully: Adjustable telescoping poles should be shortened to their minimum length. For Z-poles, fold them down completely.
- Secure Mechanisms: For adjustable poles, ensure all locking mechanisms (FlickLocks or twist locks) are fully tightened. This prevents them from loosening and rattling or extending inside your bag.
2. Protect the Poles (and Your Other Gear):
The sharp carbide tips and metal components are the primary concerns. They can puncture luggage, clothes, or the poles themselves.
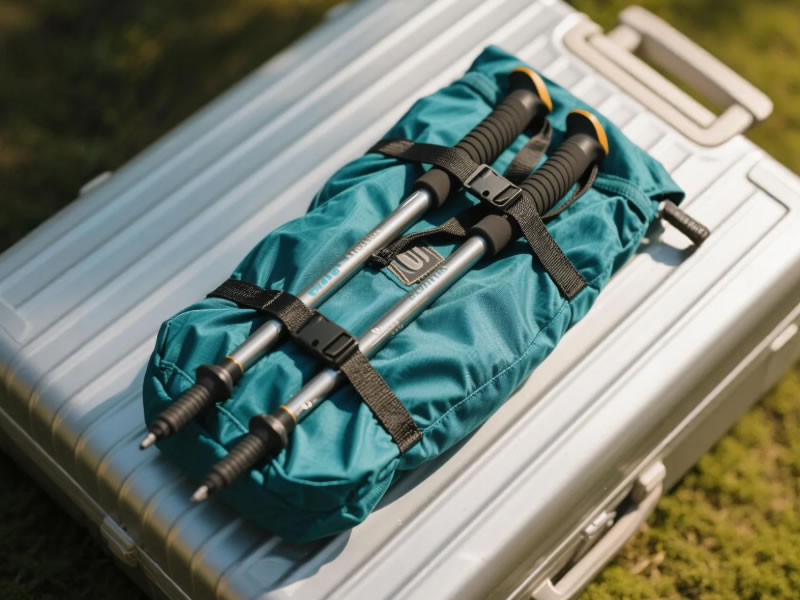
- Use the Manufacturer's Bag: Most poles come with a thin nylon sleeve. This is a great first layer for keeping pairs together.
- Protect the Tips: This is mandatory. Use dedicated rubber tip protectors (sold separately). If you don't have them, get creative:Wrap the tips in several layers of duct tape or athletic tape.Use a wine cork or a section of a foam pool noodle.Secure an old, thick sock over the ends with a rubber band.
- Add Rigidity (Optional but Recommended): For maximum protection, especially for carbon fiber poles, place them inside a sturdy cardboard tube (from wrapping paper or posters) or a length of PVC pipe with end caps. This creates a crush-proof shell.
3. Strategic Placement in Your Luggage:
- Along the Perimeter: The best place is secured along the length of your checked suitcase or duffel bag, running parallel to the wheeled side or frame. This utilizes dead space.
- In a Backpack: If using a backpack as checked luggage, strap them vertically to the outside using the compression straps (with tips protected!), or place them inside against the frame sheet.
- Prevent Movement: Use clothing or other soft gear to pad the poles and prevent them from shifting. Secure them with compression straps or bungee cords inside your suitcase.
Special Considerations for Different Pole Types
- Telescoping Poles (with Lever Locks): Ensure levers are flush and won't snag on anything. A wrap of tape over the levers can provide extra security.
- Twist-Lock Poles: Double-check that all sections are fully locked. Vibration during travel can sometimes loosen them.
- Folding "Z-Poles": Their compact nature is an advantage. Once folded and tip-protected, they can easily fit diagonally in a suitcase or in a dedicated compartment of a travel backpack.
Pro Travel Tips & Final Checklist
- Carry-On Alternative: Consider purchasing a cheap, collapsible walking stick at your destination if you only need minimal support. This avoids the hassle entirely.
- Renting: Many popular trekking destinations near trailheads offer pole rentals—a viable option to save packing space.
- The Return Trip: Remember to clean your poles again before the journey home! Different countries may have agricultural or biosecurity checks.
✅ Pre-Flight Checklist:
- Airline policy verified for checked baggage.
- Poles cleaned, fully collapsed, and locks secured.
- Sharp tips covered with protectors, cork, or tape.
- Poles placed in a protective sleeve or rigid tube.
- Poles secured along the frame/edge of checked luggage to prevent movement.
- Basket sizes checked if switching between summer/winter trips.
By following this guide, you transform your hiking poles from a potential travel nuisance into a seamlessly packed piece of essential gear. Proper preparation ensures you land with your trusty poles intact, ready to hit the trail and explore with confidence and stability from day one. Safe travels and happy hiking


