


How to test trekking pole technique effectiveness?
Trekking poles offer undeniable benefits, but only when used correctly. Many hikers unknowingly compromise their efficiency with subtle technical errors. How can you determine if your technique is truly working for you or against you? By applying simple, actionable tests, you can evaluate your pole usage, identify areas for improvement, and ensure you’re maximizing stability, conserving energy, and minimizing injury risk.
Recommended trekking pole purchase link: https://s.click.aliexpress.com/e/_c4M7OWaN
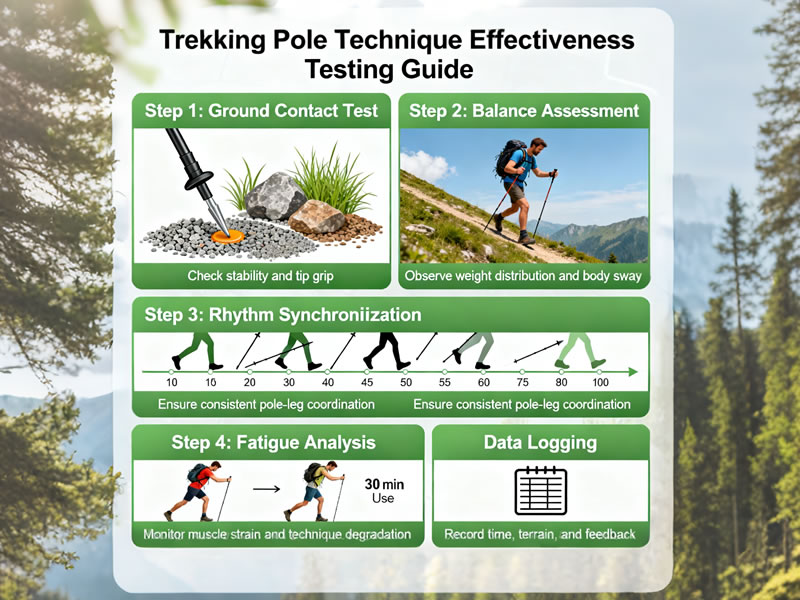
1. The Self-Assessment: Key Indicators of Effective Technique
Start by tuning into your body and your poles during your next hike. Ask yourself these questions:
- Does it Feel Effortless? Proper technique should create a smooth, rhythmic flow where the poles feel like natural extensions of your arms. If using poles feels awkward, forced, or adds to your fatigue, it’s a sign your technique needs adjustment.
- Where Do You Feel Fatigue? After a hike, take note of your muscle soreness. Good soreness should be in your triceps, shoulders, lats, and core—indicating you’re effectively using your upper body. Bad soreness includes wrist pain (from gripping too tightly), elbow strain (from overreaching or incorrect angle), or increased leg fatigue (from failing to transfer load).
- Is Your Rhythm Consistent? Can you maintain a steady, alternating rhythm (left pole with right foot) without constant mental effort? A consistent, subconscious rhythm is a hallmark of mastery.
2. The "Silent Pole" Test: Precision Over Power
This is one of the most effective real-time tests for precision and control.
- How to Perform It: On a smooth section of trail, focus on planting your pole tips as quietly as possible. Avoid loud, jarring clacks.
- What It Reveals: Loud, noisy plants indicate you are stabbing the ground, often from too far away or at an inefficient angle. Quiet, precise plants mean you are placing the tip gently but firmly exactly where it needs to be, demonstrating superior control and timing. This smoothness translates directly to energy efficiency.
3. The Uphill Efficiency Test: Propulsion Check
The true power of poles is most evident on ascents.
- How to Perform It: Find a steady incline. Hike it once without poles, noting your heart rate, breathing, and leg burn. Then, hike it again using your poles correctly (shortened length, powerful push-down through the strap).
- What It Reveals: Effective pole technique should make the climb feel easier. You should be able to maintain the same pace with a lower perceived exertion, or a faster pace with the same exertion. If there’s no noticeable difference, you’re likely not engaging your upper body effectively to propel yourself upward.
4. The Downhill Impact Test: Joint Protection Validation
Poles should significantly reduce the impact forces on your knees and joints during descents.
- How to Perform It: Descend a steep, technical section. Focus on planting your pole before your foot lands and allowing your arm to bend to absorb the shock.
- What It Reveals: If your knees and quads feel significantly less sore than on descents without poles, your technique is working. You should feel the impact in your arm muscles (which are acting as shock absorbers) rather than your joints.
5. The Terrain Adaptation Test: Versatility Evaluation
A proficient pole user adapts their technique to the trail.
- How to Perform It: Seek out a hike with varied terrain: flat, uphill, downhill, and technical rocky sections.
- What It Reveals: Can you seamlessly adjust your technique for each?Flats: Long, rhythmic strides for propulsion.Uphill: Powerful plants for leverage.Downhill: Pre-planting for braking and stability.Technical: Precise, independent plants for balance.If you use the same rigid technique everywhere, you’re missing out on major benefits.
6. Equipment Wear Patterns: What Your Poles Tell You
Your gear can reveal flaws in your technique.
- Tip Wear: Even, gradual wear on the carbide tip indicates straight, efficient plants. Uneven, exaggerated wear on one side suggests you are planting at an angle or dragging the poles.
- Basket Wear: Baskets should show wear on the bottom. Excessive wear on one side indicates consistent off-angle planting.
- Grip Wear: Wear should be on the top of the grip from the heel of your hand pushing down. Wear on the sides suggests you are gripping too tightly instead of pushing through the strap.
7. Video Analysis: The Ultimate Feedback Tool
Sometimes, you need to see yourself from the outside.
- How to Perform It: Have a hiking partner take a short video of you from the side and from behind on different types of terrain.
- What to Look For:Posture: Are you standing tall or hunched over?Plant Angle: Is the pole planted vertically or at a helpful forward angle?Arm Position: Are your elbows tucked in and bent at a 90-degree angle, or are they straight and locked?Strap Use: Is your hand properly positioned in the strap to transfer weight?
Conclusion
Testing your trekking pole technique is not about achieving perfection but about pursuing constant, incremental improvement. By conducting these simple assessments—listening to your body, analyzing your gear, and occasionally filming your form—you transform from a passive user into an active technician. You’ll quickly identify inefficiencies, correct them, and unlock the full potential of your poles: as tools for propulsion, protection, and performance. Remember, the most effective technique is the one that allows you to hike farther, faster, and with more joy.


