


How to Measure Your Perfect Hiking Pole Length at Home?
Finding the correct trekking pole length is crucial for reaping their full benefits: optimal joint protection, efficient propulsion, and reduced fatigue. An improperly sized pole can strain your shoulders, wrists, or back. Fortunately, you can accurately determine your ideal length with a simple, reliable method using equipment you already have at home.
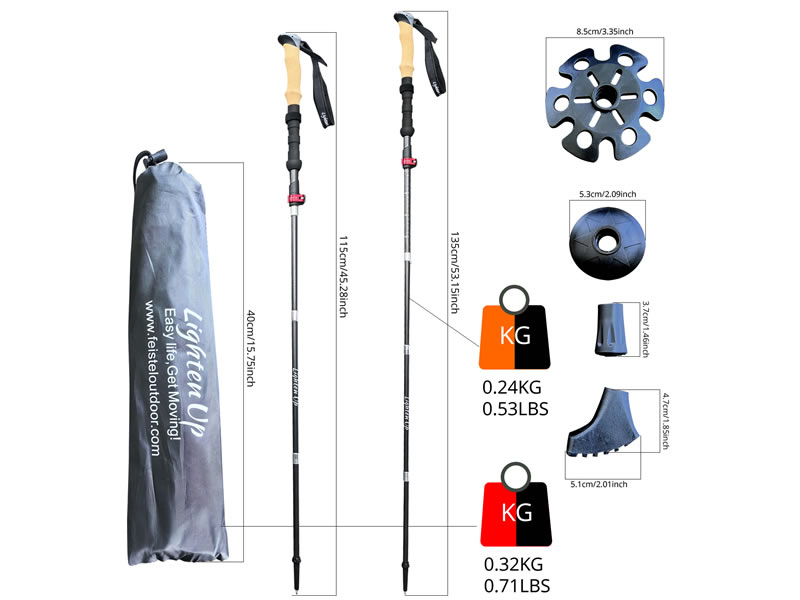
Recommended trekking pole purchase link: https://s.click.aliexpress.com/e/_c4M7OWaN
The Gold Standard Method: The 90-Degree Elbow Rule
This is the most widely recommended and biomechanically sound technique for establishing your baseline flat-ground length.
What You’ll Need:
- Your hiking shoes (or shoes with similar sole height).
- A helper (optional, but useful for verification).
- A tape measure.
- If you already own adjustable poles, you can use them to find and mark the setting.
Step-by-Step Process:
- Prepare: Put on your hiking shoes and stand upright on a hard, flat surface (not carpet). Relax your shoulders and let your arms hang naturally by your sides.
- The Grip (Key Step): If you have a trekking pole, hold it upside down so that the grip is touching the floor and your hand is on the pole's shaft, just above the basket. This mimics the pole being planted on the ground. If you don't have a pole, proceed to step 3.
- Create the 90-Degree Angle: Bend your elbow until it forms a clean 90-degree angle (a right angle). Your forearm should be parallel to the floor, pointing straight ahead. Your upper arm should remain vertical, close to your torso.
- Measure or Adjust:With a Pole: If holding an adjustable pole upside down, have your helper adjust its length until the tip of the grip rests squarely on the floor while you maintain the 90-degree angle. Lock the pole. This is your baseline length.Without a Pole: In the 90-degree position, have your helper measure the distance from the floor to the top of your fist (where you would naturally grip a pole). This measurement in centimeters or inches is your target pole length.
Important Variables and Adjustments
Your perfect length isn't a single number; it's a range based on terrain.
- For Flat Ground & Gentle Rolling Terrain: Use the 90-degree baseline length you just calculated.
- For Steep Uphills: Shorten your poles by 5-10 cm (2-4 inches). This prevents overreaching, keeps you in an efficient forward-leaning posture, and allows for a powerful push-off.
- For Steep Descents: Lengthen your poles by 5-10 cm (2-4 inches). This is critical. Longer poles help you maintain a more upright torso, reduce the forward pitch from a backpack, and allow your arms to absorb more impact before it reaches your knees.
A Quick Reference Chart (Starting Point Only)
Height is a rough guide, but arm length and torso height cause variation. Always use the 90-degree method to confirm.
| Hiker's Height | Suggested Starting Length (cm) | Suggested Starting Length (in) |
|---|---|---|
| 5' 0" (152 cm) | 100 - 110 cm | 39 - 43 in |
| 5' 6" (168 cm) | 110 - 120 cm | 43 - 47 in |
| 6' 0" (183 cm) | 120 - 130 cm | 47 - 51 in |
| 6' 6" (198 cm) | 130 - 140 cm | 51 - 55 in |
Factors That Can Refine Your Measurement
- Backpack Weight: If you frequently carry a heavy load (>30 lbs), consider adding 1-2 cm to your baseline. The pack shifts your center of gravity and a slightly longer pole can help maintain posture on descents.
- Personal Preference: Some experienced hikers prefer a slightly shorter pole for agility, or a slightly longer one for maximum leverage. Your baseline is a starting point; fine-tune based on comfort over a few hikes.
- Pole Design: Ensure the poles you buy have an adjustable range that includes your baseline measurement. If you are very tall or very short, check the maximum/minimum lengths carefully.
Final Verification and Next Steps
Once you have your measurement:
- Test Before You Buy: If possible, visit an outdoor retailer, set adjustable demo poles to your calculated length, and walk around the store to feel the fit.
- Mark Your Poles: If you own adjustable poles, mark your baseline, uphill, and downhill settings with a tiny dot of colored tape or a permanent marker on the shaft. This allows for quick, precise adjustments on the trail.
- Listen to Your Body: On your first few hikes, make minor adjustments. Discomfort in your shoulders or wrists often indicates poles that are too long; lower back strain on descents can mean they're too short.
Conclusion:
Measuring your perfect hiking pole length at home is a simple yet essential task that takes only minutes. By anchoring your fit to the biomechanically sound 90-degree elbow rule, you create a personalized foundation for efficiency, comfort, and safety. Remember to dynamically adjust for terrain—shorter for uphill power, longer for downhill protection. This small investment in proper sizing will pay dividends in reduced fatigue and increased enjoyment on every trail.


