


How to identify a locking vs. non-locking carabiner?
In the world of climbing, the distinction between a locking and a non-locking carabiner is fundamental to safety. Using the wrong type in a critical situation can have dire consequences. While they may look similar at a glance, a closer examination reveals clear and consistent differences. This guide will equip you with the knowledge to instantly and confidently identify which type of carabiner you are holding, ensuring you use the right tool for the job every time.
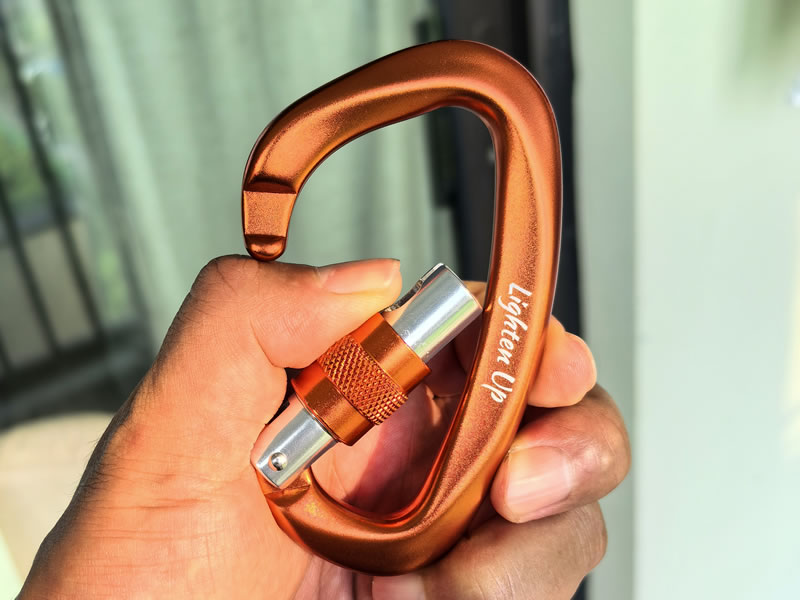
Buy Link: https://www.aliexpress.com/item/1005009247748751.html
The Fundamental Difference: A Matter of Security
The core distinction lies in the presence or absence of a secondary security mechanism.
- A Non-Locking Carabiner relies solely on its spring to keep the gate closed. It is designed for speed and ease of use in controlled situations.
- A Locking Carabiner features a mechanism that physically locks the gate in the closed position, providing a redundant layer of safety to prevent accidental opening.
Here’s how to tell them apart through a step-by-step inspection.
Step 1: The Visual Inspection – Look for the Lock
The quickest way to identify a carabiner is to visually scan the gate.
Identifying a Non-Locking Carabiner:
- The "Naked" Gate: You will see a simple, unadorned gate. There is no additional sleeve, collar, or mechanism surrounding the gate's pivot point.
- The Pin Hinge: At the base of the gate, you will typically see a small, exposed pin or rivet that acts as the hinge.
- Common Use: These are most often found on quickdraws—the two carabiners connected by a sewn sling used for clipping into bolts on a sport climb.
Identifying a Locking Carabiner:
- The "Dressed" Gate: You will immediately notice an additional component surrounding the gate's pivot. This is the locking mechanism.
- Look for the Sleeve or Collar: This is the tell-tale sign. It might be a metal sleeve with grooves for grip or a larger plastic or metal collar.
Step 2: The Functional Test – Feel the Mechanism
Once you've identified the potential for a lock, test its function.
Types of Locking Mechanisms:
- Screw-Gate (Manual Locking):What to Do: Look for a metal sleeve with grooves (like a tiny screw) around the gate's hinge.How it Works: You must manually rotate this sleeve so that it travels down the gate's arm, covering the nose and physically blocking the gate from opening. To unlock it, you screw the sleeve back up.Pro-Tip: Always perform a "touch check" to ensure the sleeve is fully screwed down and the gate cannot be pushed open.
- Auto-Locking / Triple-Action (Automatic Locking):What to Do: Look for a larger, often color-coded (e.g., red) collar.How it Works: These mechanisms (e.g., Petzl Ball-Lock, Black Diamond Magnetron) lock automatically when the gate closes. To open them, you must perform a two- or three-step action, such as pushing the collar in and then twisting it, or pulling and twisting the gate itself.Pro-Tip: These eliminate human error but always verify the lock is engaged by trying to gently push the gate open after it closes.
Step 3: Context and Markings
Often, the carabiner's shape and markings offer clues.
- Shape: While not a hard rule, many locking carabiners are asymmetric D-shape (HMS/Pearabiner) to better accommodate a belay device or Munter hitch. Non-locking carabiners are more commonly standard D-shape or bent-gate.
- Markings: All certified carabiners will have their strength (kN) and certification (UIAA/CE) stamped on the spine. The presence of a lock does not change this, but it's a good reminder to always check these marks to ensure you're using legitimate safety gear.
Why This Distinction is a Matter of Life and Death
Understanding the difference is not an academic exercise; it is the bedrock of safe practice.
- Use Non-Locking Carabiners for:Constructing quickdraws (clipping the rope and clipping into protection bolts).Gear organization on your harness (where a failure is an inconvenience, not a catastrophe).
- Use Locking Carabiners for:Belaying: Connecting your belay device to your harness.Anchors: Connecting yourself or the rope to an anchor point.Rappelling: Attaching your rappel device to your harness.Any critical connection where accidental gate opening could lead to a complete system failure.
Final Checklist and Golden Rule
Before you load a carabiner, run through this mental list:
- Look: Does it have a movable sleeve or a large auto-locking collar?
- Feel: If it's a screw-gate, is it fully locked? If it's auto-locking, does it require a complex action to open?
- Confirm: Visually and physically check that the gate is secured and cannot be pushed open.
The Golden Rule of Thumb: If a carabiner's failure would result in a fall or a dropped load, it must be a locking carabiner. When in doubt, default to the safer option. By mastering this simple identification process, you take a fundamental step towards ensuring your safety and the safety of your partners on the rock.


