


What Are the Different Parts of a Carabiner Hook?
A carabiner is a deceptively simple piece of equipment. While it may look like just a metal loop with a gate, its design is the result of extensive engineering focused on strength, safety, and functionality. Whether you're a climber, a rigger, or an outdoor enthusiast, understanding the different parts of a carabiner is not just academic—it's fundamental to using it safely and effectively.
Buy Link: https://www.aliexpress.com/item/1005009247748751.html
Knowing the correct terminology allows you to better inspect your gear, communicate with others, and understand how force is managed through the device. Let's break down the anatomy of a standard carabiner.
1. The Spine
The spine is the solid, non-moving back of the carabiner. It is consistently the strongest part of the entire component. When loaded correctly, the rope or sling should run against the spine. The carabiner's primary strength rating (e.g., 22 kN, 24 kN) is measured along the major axis with the load on the spine and the gate closed. You will often find the manufacturer's logo and kN ratings stamped here.
2. The Gate
This is the moving part that allows the carabiner to be opened and closed. It's a spring-loaded mechanism that automatically snaps back into the closed position. The gate is crucial for the carabiner's functionality but is also its primary point of weakness, which is why strength ratings are significantly lower when the gate is open. Gates can be straight or bent-gate (designed to aid in rope clipping).
3. The Latch
The latch is the part of the gate that physically closes the opening. It is the small, often protruding, piece on the end of the gate that engages with the nose. A smooth, well-functioning latch is essential for easy operation and secure closure. A damaged latch can prevent the gate from closing properly, compromising safety.
4. The Nose
The nose is the hooked end of the carabiner where the gate latches shut. Its design is critical for a secure closure. On non-locking carabiners, the nose is typically a simple hook. On many locking carabiners, the nose may have a more robust shape to interface with the locking sleeve. A key safety point is that the nose should be closed, with no gap between it and the gate when latched.
5. The Basket (or Major Axis)
This isn't a separate physical part, but a critical zone. The basket refers to the large, rounded area of the carabiner opposite the spine. This is the intended area for a rope or sling to sit during use. When we talk about "loading a carabiner on its major axis," we mean having the load rest in the basket, against the spine. This ensures the force is applied in the carabiner's strongest configuration.
6. The Gate Opening
This is the gap created when the gate is open, allowing you to insert a rope, sling, or other object. A wider gate opening facilitates easier and faster clipping, which is a key feature in quickdraw carabiners designed for sport climbing.
7. The Hinge Pin
This is the small, often rivet-like component that connects the gate to the spine, allowing it to pivot. The hinge pin must be robust and corrosion-resistant to ensure the gate continues to operate smoothly under all conditions, including in cold weather or when dirty.
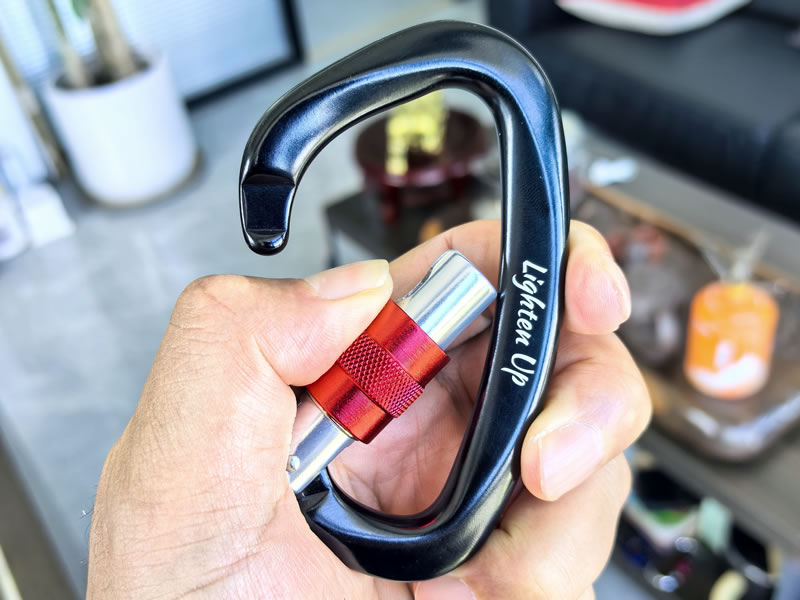
8. The Locking Sleeve (on Locking Carabiners)
Found only on locking carabiners, this is a secondary sleeve that rotates over the nose and gate to prevent it from opening accidentally. Locking mechanisms can be:
- Screw-Gate: Manually twisted closed.
- Twist-Lock / Auto-Lock: Spring-loaded to lock automatically, requiring two motions to open.
- Tri-Act / Ball-Lock: Uses a button mechanism for quick operation.
Why This Knowledge Matters for Safety
Understanding these parts transforms how you use and inspect your gear.
- Proper Loading: You now know that the load must always be in the basket, against the spine. Loading a carabiner across its gate or spine (known as cross-loading) drastically reduces its strength.
- Effective Inspection: Before every use, you can perform a targeted inspection:Check the spine for cracks or deep grooves.Test the gate for smooth, spring-loaded action.Ensure the latch and nose connect securely with no play or damage.Verify the locking sleeve on a locker moves freely and completely.
- Informed Communication: You can accurately describe an issue, such as, "The hinge pin on this carabiner is sticky," allowing for clear and effective communication with other climbers or gear technicians.
Conclusion
A carabiner is a masterclass in minimalist engineering. Every curve, every component, has a specific purpose rooted in strength and safety. By moving beyond seeing it as a simple "hook" and understanding its true anatomy—the Spine, Gate, Latch, Nose, and Basket—you elevate your practice from simply using gear to truly understanding it. This knowledge is the foundation of a safe and long-lasting relationship with your equipment.


