


How to use trekking poles for river crossings?
River crossings represent one of the most unpredictable and potentially hazardous obstacles a hiker can face. Slippery rocks, powerful currents, and limited visibility can turn a peaceful stream into a dangerous challenge. In these situations, your trekking poles transform from simple walking aids into essential safety tools. Mastering their use for water crossings can significantly increase your stability, confidence, and safety, turning a nerve-wracking experience into a manageable one.
Recommended trekking pole purchase link: https://s.click.aliexpress.com/e/_c4M7OWaN
This comprehensive guide will walk you through the techniques and preparations that make trekking poles your most valuable ally in moving water.
Preparation: Before You Step In
Proper setup begins before your first boot touches the water.
- Adjust Your Poles: Lengthen your trekking poles by 10-20 cm (4-8 inches) compared to your normal hiking length. A longer pole allows you to probe for deeper holes while maintaining an upright, stable posture. It also provides better leverage against the current.
- Secure Your Gear: Unbuckle your backpack's hip belt and sternum strap. In the event of a fall, you need to be able to shed your pack quickly to avoid being dragged down by its weight.
- Loosen the Wrist Straps: This is a critical safety step. Do not put your hands through the straps. Instead, rest your palm on top of the strap. This allows you to instantly drop the pole if you fall without the risk of it becoming entangled and pulling you under.
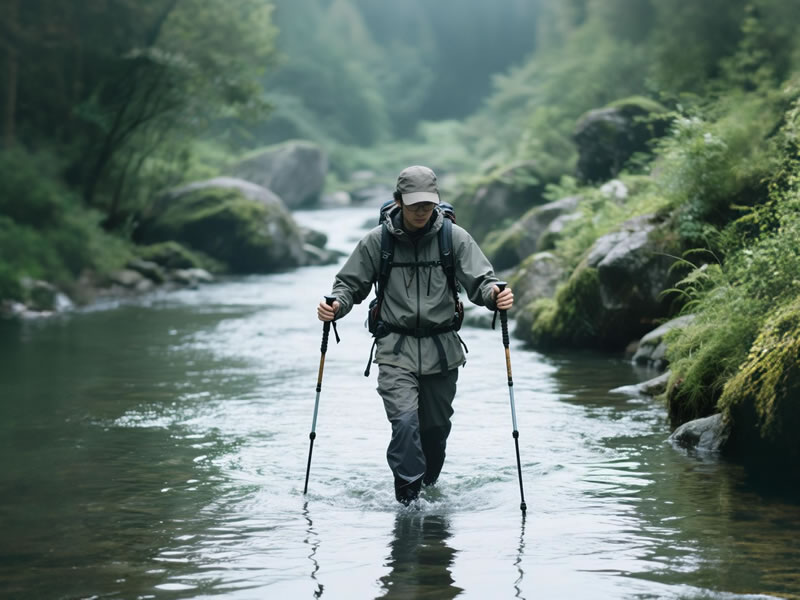
The Crossing Technique: A Step-by-Step Method
The key is deliberate, stable movement. Rushing is your enemy.
- Face Upstream: Position yourself at a slight angle, facing against the current. This allows the water to flow against your side rather than directly at your back, providing better stability.
- Establish a Three-Point Foundation: Before moving a foot, plant both poles firmly on the riverbed ahead of you. You now have three solid points of contact (two poles and one foot).
- The "Tripod" Movement: Move one foot forward to a new, secure position. Once that foot is stable, reposition your poles further ahead. The sequence is: Poles -> One Foot -> Poles -> Other Foot. Always maintain at least two, and ideally three, points of contact with the riverbed. Never lift both feet at the same time.
- Probe and Test: Use your poles as advanced scouts. Before committing your weight to a foot placement, use a pole to test the firmness and slipperiness of the rock. Probe the area in front of you to check for unexpected drop-offs.
- Shuffle Sideways: For the most stability, consider a sideways shuffle. This keeps your center of gravity lower and allows you to brace directly against the current with your stronger leg muscles.
Pro Tips and Common Mistakes to Avoid
- Scout First: Always take a moment to walk along the bank and find the safest crossing point. Look for wider, shallower areas where the current is typically slower.
- Never Cross Alone: If possible, cross with a partner. Link arms with each other while gripping your own poles, forming a more stable unit facing upstream.
- Wear Your Boots: While it may be tempting to cross in sandals or barefoot, your hiking boots provide crucial ankle support and protection from sharp rocks.
- Know When to Turn Back: If the water is moving faster than you can walk, is deeper than your thighs, or is carrying large debris, it is too dangerous. There is no shame in turning back to find a safer route.
By practicing these techniques, your trekking poles become an extension of your own balance and confidence, empowering you to approach river crossings with the respect and preparation they demand.


