


How to Adjust Hiking Poles: Your Complete Guide to Proper Setup
Properly adjusted hiking poles can mean the difference between a comfortable, efficient hike and one plagued by fatigue and strain. While modern poles are simple to use, many hikers never learn the nuances of correct adjustment for different terrain and body mechanics. This comprehensive guide will walk you through everything from basic setup to advanced techniques for optimizing your poles' performance.
Recommended trekking pole purchase link: https://s.click.aliexpress.com/e/_c4M7OWaN
The Fundamentals: Getting Your Baseline Length
Before tackling specialized adjustments, you need to establish your correct starting length for flat terrain.
The 90-Degree Rule:
- Stand upright on level ground wearing your hiking shoes
- Hold the poles with tips touching the ground
- Adjust the length until your elbows form a 90-degree angle
- Your forearms should be parallel to the ground when gripping the handles
Alternative Method:
- Multiply your height (in centimeters) by 0.68
- For example: 175 cm height × 0.68 = 119 cm pole length
- Use this as your starting point and fine-tune using the 90-degree rule
Understanding Your Pole's Adjustment System
Most hiking poles use one of two main locking mechanisms:
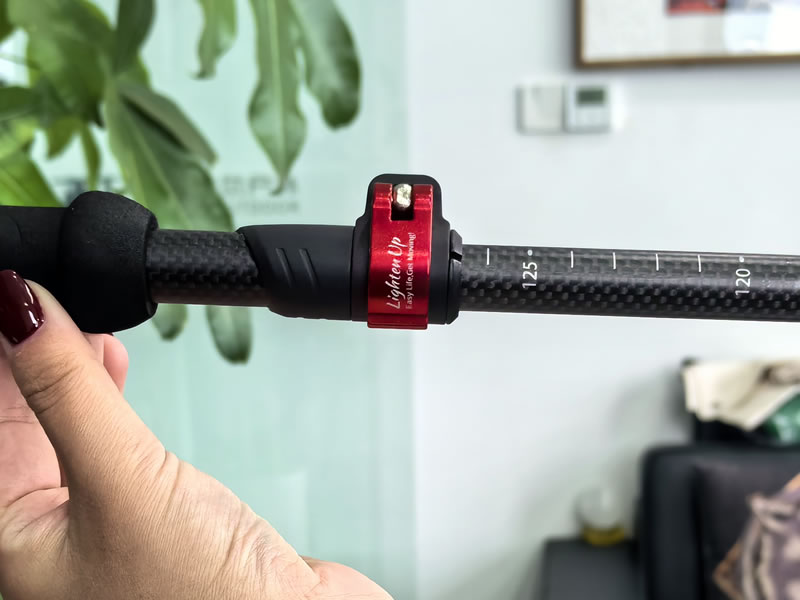
Lever Lock Systems:
- Feature an external clamp that tightens around the pole sections
- Generally easier to adjust with cold or gloved hands
- Provide visible feedback about how secure the lock is
- More reliable for heavy loads and rough terrain
Twist Lock Systems:
- Require rotating a collar to tighten an internal expansion sleeve
- Can be more streamlined and less likely to snag
- May become slippery when wet or muddy
- Sometimes require extra tightening after initial setup
Terrain-Specific Adjustments
The true power of adjustable poles reveals itself when you modify length for different trail conditions.
Uphill Technique:
- Shorten poles by 5-10 cm (2-4 inches) from your flat-ground length
- Shorter poles help maintain an upright posture rather than leaning forward
- Allow for more efficient push-off during steep sections
- Reduce strain on shoulder and arm muscles
Downhill Technique:
- Lengthen poles by 5-10 cm (2-4 inches)
- Longer poles provide better support and balance on descents
- Help control speed and reduce impact on knees
- Allow you to plant poles further ahead for stability
Sidehill/Cross-Slope Adjustment:
- Shorten the uphill pole by 5-7 cm
- Lengthen the downhill pole by 5-7 cm
- Creates a more stable platform on angled terrain
- Helps maintain proper body alignment
Advanced Adjustment Considerations
Accounting for Load:
- When carrying a heavy backpack, consider lengthening poles by 2-3 cm
- The added weight changes your center of gravity and posture
- Heavier loads require more support on descents
Pacing and Fatigue:
- As you tire, you might benefit from slightly shorter poles
- Fatigue often leads to poorer posture and reduced arm lift
- Listen to your body and make micro-adjustments throughout your hike
Shock Absorber Settings:
If your poles feature adjustable shock absorption:
- Enable for downhill sections to reduce joint impact
- Disable for uphill climbs where energy transfer is crucial
- Consider disabling on technical terrain where predictable pole placement matters
Common Adjustment Mistakes to Avoid
- Inconsistent Lengths: Always ensure both poles are set to the same length unless on sidehill terrain
- Over-extension: Never extend poles beyond the "stop" or "max" line marked on the shaft
- Loose Locks: Test your adjustments before putting weight on the poles
- Ignoring Conditions: Failing to readjust for changing terrain defeats the purpose of adjustable poles
- Poor Maintenance: Dirty or damaged locking mechanisms compromise safety and performance
Quick Reference Chart
| Situation | Adjustment | Benefit |
|---|---|---|
| Flat Terrain | Elbows at 90° | Optimal efficiency and comfort |
| Uphill | Shorten 5-10 cm | Better posture, reduced strain |
| Downhill | Lengthen 5-10 cm | Knee protection, better control |
| Sidehill | Uphill shorter, downhill longer | Improved stability |
| Heavy Pack | Lengthen 2-3 cm | Compensation for changed posture |
Maintenance for Reliable Adjustments
Regular care ensures your poles adjust smoothly and securely:
- Clean locking mechanisms after muddy hikes
- Check for wear on locking components
- Ensure sections are dry before storage to prevent corrosion
- Periodically verify that length markings remain visible
Putting It All Together
Mastering pole adjustment transforms them from simple sticks to sophisticated tools that actively enhance your hiking experience. The few seconds spent fine-tuning your poles for changing conditions pays dividends in reduced fatigue, improved safety, and greater enjoyment on the trail.
Remember that these guidelines are starting points—every hiker's body and style is different. Experiment with micro-adjustments to discover what feels most natural and supportive for your unique needs. With practice, making terrain-specific adjustments will become second nature, allowing you to focus on the beauty of the trail rather than the mechanics of your gear.


