


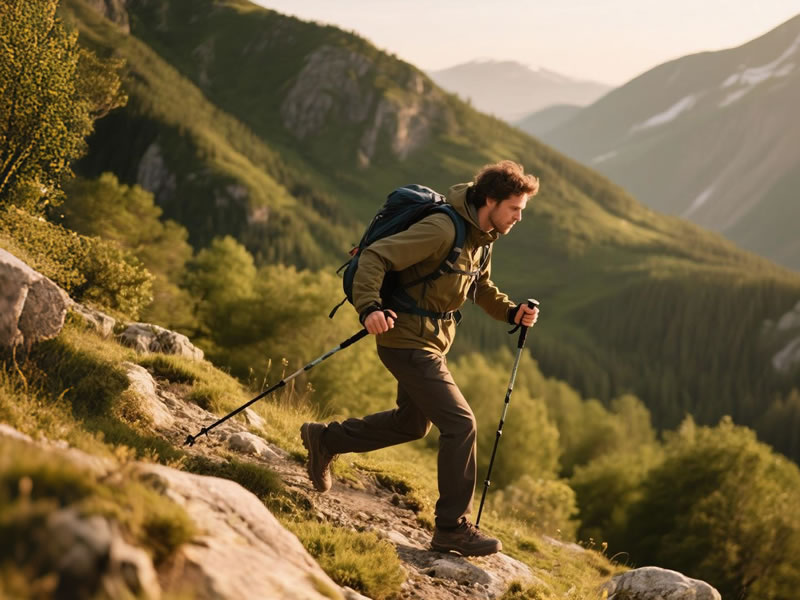
How to go downhill with hiking poles
For many hikers, the descent is the most challenging part of any trek. While uphill sections test your endurance, downhill hiking puts immense strain on your knees, quadriceps, and joints. This is where your hiking poles transform from helpful accessories into essential safety equipment. Knowing how to go downhill with hiking poles correctly is a skill that can prevent injury, reduce fatigue, and give you the confidence to tackle steep, technical terrain. This guide will walk you through the techniques to master your next descent.
Recommended trekking pole purchase link: https://s.click.aliexpress.com/e/_c4M7OWaN
Step 1: The Crucial Pre-Descent Setup
Before you take your first step down, proper preparation is key. An incorrect setup will undermine your technique before you even begin.
- Lengthen Your Poles: On a descent, you need to reach the ground without bending over. Extend your poles so that when you hold them with tips on the ground in front of you, your elbows form an angle slightly greater than 90 degrees. This extra length allows you to plant the poles ahead of you while maintaining an upright, balanced posture.
- Check the Locks: Always double-check that the locking mechanisms on your poles are fully secure. A collapsing pole during a steep descent can lead to a dangerous fall.
Step 2: Mastering the Downhill Technique and Grip
The way you move and hold your poles on a descent is different from flat-ground hiking.
The Correct Grip and Strap Use:
Revisit the fundamental grip technique for maximum control. Slide your hand up through the strap from the bottom, then rest the strap across your palm and grip the handle. This is non-negotiable for downhill travel. It allows you to push down forcefully through your palm into the strap, bracing your weight without needing to clench the grip tightly. This prevents forearm fatigue and gives you far more leverage.
The Planting and Bracing Motion:
- Plant Ahead: As you prepare to take a step, plant both pole tips firmly on the ground slightly ahead of you and to the sides, creating a stable, wide tripod with your two poles and your upcoming footfall.
- Test and Transfer Weight: Briefly apply light pressure to ensure the poles are planted on stable ground, especially on loose scree or gravel.
- Step and Brace: As you step forward, simultaneously push down through the poles, using your arms and upper body to control your descent and "brake." This movement transfers a significant amount of weight and impact force from your knees and legs to your poles and upper body.
- Repeat Rhythmically: Establish a slow, controlled rhythm: plant, step, brace. The poles should always be ahead of you, preparing a secure anchor for your next step.
Step 3: Posture and Advanced Tips for Steep Terrain
Your body position is just as important as your pole work.
- Lean Back Slightly (From the Ankles): Resist the urge to lean back from your waist, which can strain your back. Instead, keep your torso upright and lean back slightly from your ankles. This keeps your center of gravity over your feet for better balance.
- Take Small, Controlled Steps: Avoid large, lunging steps that can cause you to slip. Shuffle down with small, deliberate steps, using your poles for support with each movement.
- For Very Steep or Loose Terrain: In extreme cases, you can plant both poles together for a double-brace before taking a step down. This "double-plant" technique provides maximum stability when navigating the most challenging sections.
Common Downhill Mistakes to Avoid
- Planting Poles Beside You: This offers no braking power and minimal stability. Always plant ahead.
- Leaning Too Far Forward: This shifts your center of gravity forward, increasing the risk of a head-over-heels tumble.
- Skipping the Strap: Without using the straps correctly, you lose about 50% of the pole's effectiveness and will fatigue your hands quickly.
Conclusion: Descend with Confidence
Learning how to go downhill with hiking poles is about proactively managing gravity's pull. It turns a jarring, knee-pounding ordeal into a controlled, confident movement. By lengthening your poles, using the correct grip and planting technique, and maintaining a proper posture, you will protect your body from unnecessary wear and tear. On your next hike, approach the descent not with dread, but with the knowledge that you have the tools and technique to handle it safely. Your knees will thank you for miles to come.


