


How to set the length of hiking poles
Properly adjusting your hiking poles is one of the most crucial yet frequently overlooked aspects of trekking gear setup. Many hakers simply extend their poles to a random length and head out on the trail, unknowingly sacrificing stability, efficiency, and joint protection. Learning how to set the length of hiking poles correctly can transform your hiking experience, reducing fatigue and preventing injury. This comprehensive guide will walk you through the fundamental principles and nuanced adjustments for different terrains.
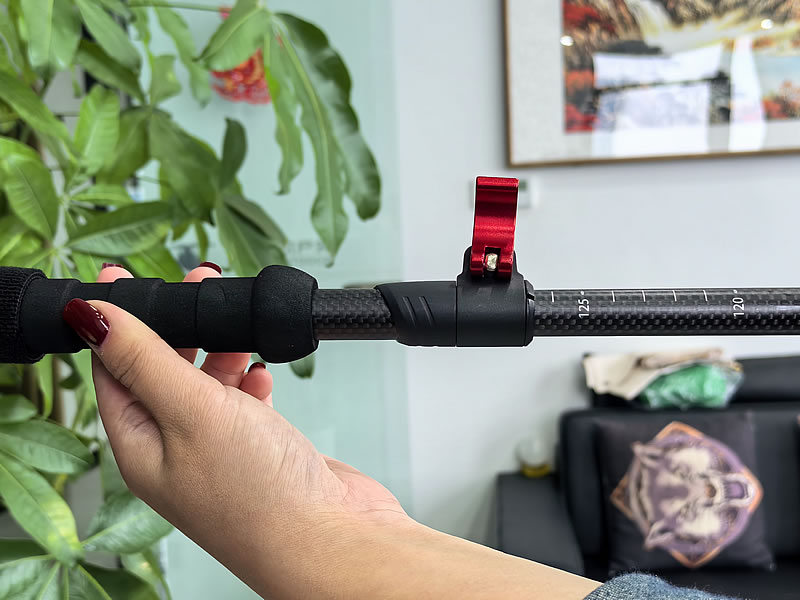
Recommended trekking pole purchase link: https://s.click.aliexpress.com/e/_c4M7OWaN
The Golden Rule: The 90-Degree Elbow Angle
The foundational principle for setting hiking pole length on flat or gently rolling terrain is achieving the correct arm position. Here's how to get it right every time:
- Stand in Your Hiking Shoes: Wear the footwear you'll be using on the trail to ensure accurate measurements.
- Grip the Handle: Hold the pole in a natural grip, with your hand through the strap correctly.
- Place the Tip on the Ground: Position the tip vertically on a level surface next to your feet.
- Check Your Elbow: Your elbow should form a perfect 90-degree angle, with your forearm parallel to the ground.
When this angle is achieved, your poles are at the ideal length for efficient power transfer on standard terrain. This position allows you to plant the pole naturally and push off without overextending your shoulder or bending your wrist awkwardly.
Dynamic Adjustments for Changing Terrain
The true power of adjustable hiking poles lies in their ability to adapt to the trail's demands. A single, fixed length is insufficient for a varied hike.
Uphill Adjustments:
When you start climbing, shorten your poles. A shorter pole prevents you from overreaching and straining your shoulders and back. For a long, steady incline, shorten them by 5-10 cm (2-4 inches). The steeper the slope, the shorter they should be. This adjustment allows you to maintain an efficient posture, leaning into the climb and using your poles to powerfully propel yourself upward.
Downhill Adjustments:
For descents, lengthen your poles. Longer poles provide crucial support and control ahead of you, helping to absorb impact and reduce the tremendous strain on your knees and quadriceps. They allow you to maintain a more upright posture while reaching the ground comfortably. Extend them by 5-10 cm (2-4 inches) from your flat-ground setting, depending on the steepness. This gives you the leverage to "brake" effectively and maintain stability on loose or technical descents.
Fine-Tuning and Pro Tips
- The Wrist Test: An alternative quick-check method is to hold the pole with the tip on the ground. If your wrist is level with your elbow when your arm is relaxed at your side, you're in the right ballpark.
- Telescopic vs. Z-Poles: If you use folding "Z-poles," you may not have infinite adjustability. In this case, set them for the predominant terrain of your hike. If it's mostly uphill, err on the shorter side; if it's a long descent, set them slightly longer.
- Double-Check Your Locks: After any adjustment, always firmly secure the locking mechanisms (twist locks or lever locks) and give the poles a gentle test pull to ensure they won't collapse under pressure.
- Listen to Your Body: These guidelines are a starting point. Personal preference, arm length, and hiking style play a role. Fine-tune the length until it feels natural and supportive.
Conclusion: Master Your Adjustments, Master the Trail
Knowing how to set the length of your hiking poles is a simple skill with profound benefits. It elevates your poles from mere accessories to powerful tools for propulsion, stability, and joint preservation. By starting with the 90-degree rule and dynamically adapting to uphills and downhills, you will hike more efficiently, confidently, and comfortably. Make these adjustments a habit before every significant terrain change, and you'll unlock the full potential of your hiking poles, empowering you to go further and enjoy the journey more.


