


DIY Hiking Poles: A Complete Guide to Crafting Your Own Trail Companions
Hiking poles are fantastic for stability, reducing joint impact, and improving endurance on the trail. While high-end models offer advanced features, you can create a functional and personally customized pair with a simple DIY project. Building your own hiking poles is not just about saving money; it's about the satisfaction of using gear you built with your own hands. This guide will walk you through the process, from materials to a finished product.
Recommended trekking pole purchase link: https://s.click.aliexpress.com/e/_c4M7OWaN
Why Consider DIY Hiking Poles?
The benefits go beyond cost:
- Ultra-Low Cost: The primary advantage. You can create a pair for a fraction of the price of commercial poles.
- Customization: Tailor the height, grip shape, and weight to your exact preferences.
- Satisfaction & Skill-Building: There's a unique pride and connection to your gear when you make it yourself.
- Repairability: Understand how your poles are built, making them easy to fix on the go with basic materials.
Materials and Tools You'll Need
The core of DIY poles is simplicity. Here are the most common components:
- Shaft Material:Hardwood Dowels (1" diameter): A popular choice for their strength, straight grain, and availability at hardware stores.Bamboo Garden Stakes: Naturally strong, lightweight, and shock-absorbent. Ensure they are thick-walled and durable.PVC or Conduit Pipes: Less common, but very durable and weather-resistant. Can be heavier than wood.
- Grips:Pre-made: Old bike grips are perfect and often free.Hand-carved: Whittle your own from a softer wood block and sand it smooth.Wrapped: Paracord or tennis racket grip tape can create a comfortable, customizable handle.
- Wrist Straps: Use wide, soft webbing, an old duffel bag strap, or even a well-padded dog leash.
- Tips:Rubber Tips: Crutch tips or large furniture leg caps from a hardware store work well.Metal Tips: For a more aggressive tip, you can use large bolts or pegs, though this is more advanced.
- Essential Tools: Saw, sandpaper, strong wood glue or epoxy, a drill, and a measuring tape.
Step-by-Step Assembly Guide
- Determine the Correct Length: A standard rule is that your elbow should form a 90-degree angle when the tip is on the ground. Measure a commercial pole or use this formula: Your Height (in inches) x 0.68 = Pole Length (in inches). Cut your shaft material to this length.
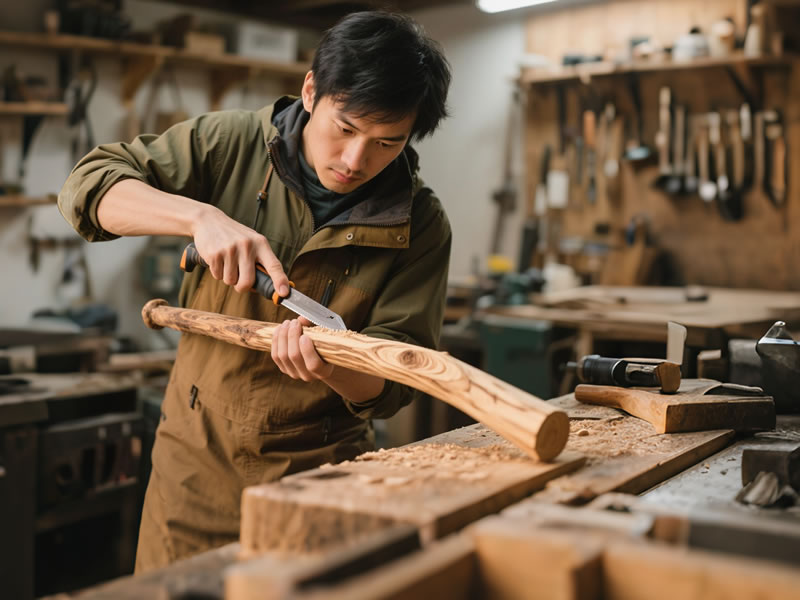
- Create and Attach the Grip: This is the most important step for comfort.If using a pre-made bike grip, simply secure it to the top of the pole with strong glue.For a hand-carved grip, shape the top of the pole into a comfortable form. Round off all edges and sand it meticulously until it's silky smooth.For a paracord wrap, start at the top and wrap tightly down, then back up, sealing the end with a knot or a dab of glue.
- Install the Wrist Strap:Drill a hole horizontally through the pole, about 1-2 inches below the top of the grip.Thread your strap material through the hole and tie a secure, non-slip knot (like a double fisherman's knot). Ensure the loop is large enough for your hand to slide through comfortably.
- Attach the Tip:For a simple rubber tip, fill the cap with epoxy or strong glue and press it firmly onto the bottom of the pole. Let it cure completely.You can add a small cross-shaped notch to the tip of the pole before gluing to help the rubber tip grip better and prevent twisting.
The Pros, Cons, and Crucial Safety Note
Pros: As listed above—affordable, customizable, and deeply satisfying.
Cons:
- Weight: DIY poles, especially wooden ones, are almost always heavier than carbon fiber or aluminum models.
- Lack of Features: No shock absorption, quick-adjust mechanisms, or foldable design.
- Durability Concerns: They may not withstand the same extreme forces as engineered commercial poles.
Safety First: Your DIY poles are not certified or stress-tested like professional gear. They are best suited for moderate day hiking on established trails. Always inspect them thoroughly for cracks, splinters, or loose components before every use. Do not rely on them for critical weight-bearing in high-risk situations like technical mountaineering or heavy backpacking.
Conclusion
Building your own DIY hiking poles is a rewarding project that bridges the gap between craftsman and hiker. It’s an excellent solution for the budget-conscious, the crafty adventurer, or anyone who wants a deeper connection to their equipment. By carefully selecting your materials and following these steps, you can create a unique and functional pair of poles ready to explore the trails you love.


