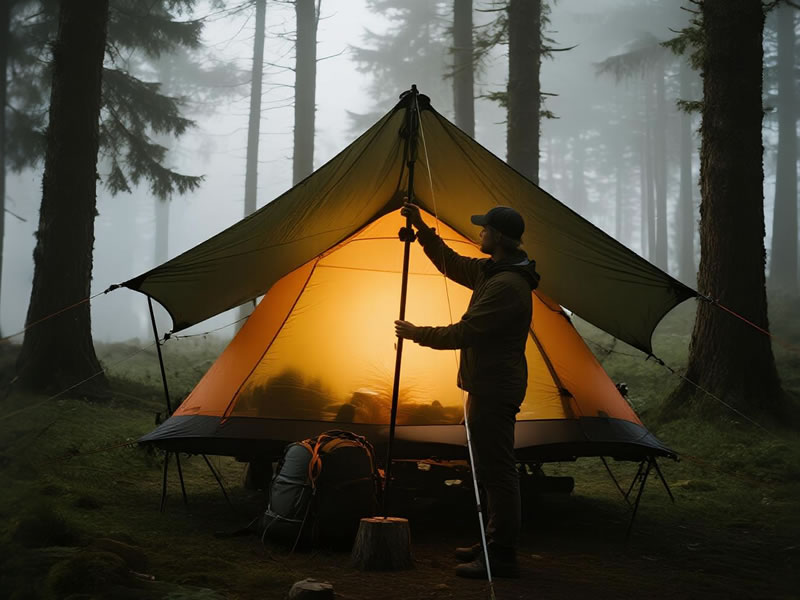
Setting Up a Tarp Shelter with Hiking Poles: The Ultimate Ultralight Guide
Embracing a tarp shelter is a rite of passage for ultralight hikers and minimalist adventurers. By leveraging a piece of gear you already carry—your hiking poles—you can create a versatile, lightweight shelter that offers unparalleled freedom and connection to the outdoors. Moving beyond a tent isn't just about saving weight; it's about gaining adaptability, increasing your living space, and mastering a crucial backcountry skill.

Buy Link: https://www.aliexpress.com/item/1005008897419715.html
This guide will walk you through the fundamentals of pitching a reliable tarp shelter using your trekking poles as the primary support structure.
The Foundation: Choosing Your Gear
Before you pitch, you need the right components.
- The Tarp: For a two-pole setup like an A-frame, a rectangular or cat-cut tarp around 8' x 10' is ideal. It provides ample coverage, multiple pitching options, and enough space to weather a storm. Look for durable, lightweight silnylon or Dyneema Composite Fabric (DCF).
- The Poles: Adjustable trekking poles are essential. Flick-lock mechanisms are generally more reliable for holding tension than twist-locks. Ensure your poles can extend to at least 120-130 cm for sufficient headroom.
- The Rest of Your Kit: You'll need a ridge line (~50 feet of paracord or Dyneema cord), 6-8 tent stakes, and extra guylines.
Step-by-Step: The Classic A-Frame Pitch
The A-frame is the most versatile and storm-worthy configuration for beginners and experts alike.
Step 1: Select and Prepare Your Site
Choose a flat, clear area free of overhead deadfall (widowmakers) and natural drainage channels. Lay your tarp on the ground to visualize the footprint.
Step 2: Establish the Ridge Line
This is the backbone of your shelter. Tie a taught-line hitch or a trucker's hitch to one end of your ridgeline. Secure it to a sturdy anchor point like a tree. If no trees are available, you will use a stake or one of your poles as an anchor in a "free-standing" setup.
Step 3: Set Your Poles and Raise the Tarp
Extend both poles to your desired height (about 115-125cm is a good start).
- Method A (External): Place the tip of each pole into the trekking pole loop or grommet at the apex of the tarp. Lift the tarp, and position the poles vertically under the ridgeline. This method is simple and keeps the poles outside the living space.
- Method B (Internal): Lay the tarp over the ridgeline. From inside, push the pole's handle up into the apex, letting the tip rest on the ground. This creates a tighter pitch and better wind shedding.
Step 4: Stake Out and Tension
Start by staking out the four corners at a 45-degree angle away from the tarp. Pull them taut but not fully tight. Then, attach and stake out the side panel guylines. The key to a weather-resistant pitch is gradual, even tension. Go around and tighten all points, ensuring the fabric is smooth without any saggy pockets.
Alternative Configurations for Different Conditions
The true power of a tarp is its adaptability.
- The Lean-To (One-Pole): Perfect for starry nights or cooking in the rain. Use one pole to lift the "head" end of the tarp, stake out the two corners, and then peg the opposite side low to the ground. This creates an open, airy shelter with a great view.
- The Storm Mode (Low A-Frame): In high winds or rain, lower your poles significantly. Stake the sides down much closer to the ground, creating a lower, more aerodynamic profile that sheds wind and reduces exposure to blowing rain.
- The Half Pyramid: A fantastically simple one-pole pitch. Stake out one corner of the tarp, then use a single pole at the opposite corner to lift it, creating a large, triangular sheltered space.
Pro Tips for a Storm-Worthy Pitch
- Pitch the Door into the Wind: Always orient the smallest, lowest end of your tarp into the prevailing wind to minimize drafts and rain ingress.
- Mind the Gap: In buggy conditions, a groundsheet (tyvek or polycryo) is essential. For full protection, pair your tarp with a lightweight inner bug net.
- Tension is Everything: A loose tarp will flap in the wind and transfer rainwater along its seams. A tight, drum-like pitch is silent, stable, and dry.
- Practice at Home: Don't let your first pitch be in a downpour at dusk. Practice in your backyard or a local park to build muscle memory.
Mastering the tarp shelter transforms your hiking poles from simple walking aids into the foundation of your backcountry home. It’s a skill that empowers you to adapt to any terrain or condition, lightens your load, and deepens your connection to the art of camping.


