


How to Replace Trekking Pole Tips: A Step-by-Step Maintenance Guide
Trekking pole carbide tips are remarkably durable, but after hundreds of miles on rocky terrain, even the toughest ones wear down. A smooth, rounded tip can't grip the trail effectively, compromising your stability and safety. Fortunately, replacing them is one of the easiest and most cost-effective forms of gear maintenance you can perform. This comprehensive guide will walk you through the entire process, from identifying when it's time for a replacement to installing new tips with a secure, professional-grade finish.
Recommended trekking pole purchase link: https://s.click.aliexpress.com/e/_c4M7OWaN
Part 1: Diagnosis - When Is It Time for a Replacement?
Don't wait for a slip on a crucial descent to realize your tips are shot. Here’s how to know when it's time for a change:
- The Visual Test: Compare your tip to a new one. A fresh carbide tip has sharp, defined edges. If yours is rounded, smooth, and significantly shorter, it's time for a replacement.
- The Scratch Test: Gently try to scratch a rock with the tip. A good tip will leave a clear mark. A worn tip will slide without biting.
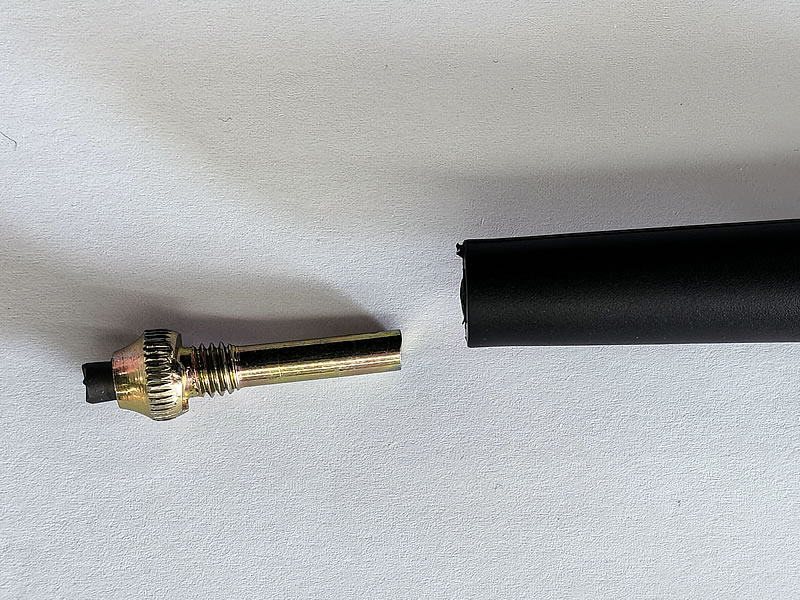
- The Core is Exposed: The carbide tip is a small insert pressed into a metal (usually steel) casing. If the steel casing is visibly worn down and the carbide core is flush or recessed, the pole is no longer safe to use.
Part 2: Gathering Your Tools and Materials
You don't need a full workshop for this job. Here’s what you’ll need:
- Replacement Tips: Ensure you buy the correct thread size for your pole brand (e.g., Leki, Black Diamond, Komperdell often have specific sizes). Universal tips are available but check compatibility.
- Vise or Locking Pliers (e.g., Vise-Grips): This is the ideal tool to hold the pole shaft securely without damaging it.
- Adjustable Wrench or a Second Set of Pliers: To grip and turn the old tip.
- Soft Jaws or a Rag: To pad the vise or plier jaws and prevent scratching the carbon fiber or aluminum shaft.
- Pocket Knife or Small Wire Brush: For cleaning old threadlocker residue.
- Threadlocker (e.g., Loctite 243): Essential for preventing the new tip from vibrating loose. Note: Use blue (removable) threadlocker, not red (permanent).
Part 3: The Step-by-Step Replacement Process
Follow these steps for a flawless installation:
Step 1: Secure the Pole Shaft
Pad the jaws of your vise or locking pliers with a rag or soft jaws. Firmly clamp down on the pole shaft just below the old tip. For carbon fiber poles, be especially careful not to overtighten and crush the shaft.
Step 2: Remove the Old Tip
Grip the old, worn tip firmly with your adjustable wrench or second set of pliers. Turn counter-clockwise to unscrew it. It may require significant force, especially if factory threadlocker was used. If it's stuck, applying a small amount of heat from a hairdryer to the metal collar for 20-30 seconds can help break the threadlocker's bond.
Step 3: Clean the Threads
Once the old tip is off, you'll see the internal threads on the pole shaft. Use the tip of your knife or a small wire brush to carefully scrape out any dirt, old rock dust, and dried threadlocker. Clean threads are crucial for a tight fit with the new tip.
Step 4: Apply Threadlocker (The Pro Secret)
This is the step that ensures a long-lasting repair. Apply a small drop of blue (removable) threadlocker to the clean internal threads of the pole shaft. A little goes a long way.
Step 5: Install the New Tip
Screw the new replacement tip onto the pole clockwise. Hand-tighten it as much as you can. Then, use your wrench or pliers to give it one final, firm tightening. Be careful not to overtighten, as this can strip the threads.
Step 6: Curing Time
Allow the threadlocker to cure for the time specified on the package (usually 2-24 hours for full strength) before using the poles. This ensures the bond is fully set.
Part 4: Troubleshooting Common Issues
- Stripped Threads: If you feel the threads "give way" during installation, you've likely stripped them. The best fix is to use a stronger, non-removable thread adhesive like a gel epoxy, understanding that future replacements will be very difficult.
- The Tip Won't Budge: If heat doesn't work, you may need to carefully cut the old tip's metal casing with a hacksaw and break it off. This is a last resort.
Conclusion: An Essential Skill for Every Hiker
Knowing how to replace your trekking pole tips is a fundamental skill that extends the life of your gear and ensures your safety on the trail. With a small investment in tools and a few minutes of your time, you can restore the aggressive grip and reliable performance of your poles. By following this guide—especially the critical steps of cleaning threads and using threadlocker—you can tackle this simple repair with confidence, saving money and getting the most out of your trusted hiking companions for years to come.


