


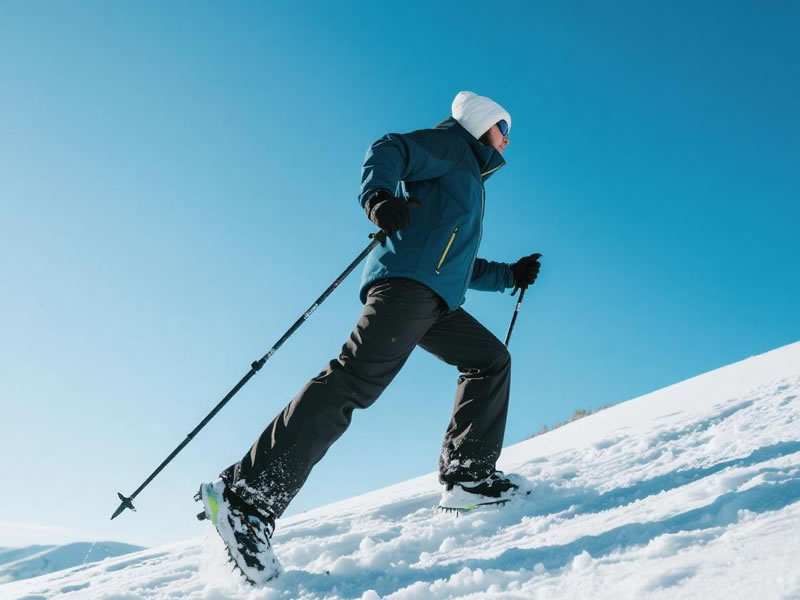
How to Use Walking Poles in Winter Conditions
Winter transforms familiar trails into breathtaking but challenging landscapes. In these conditions, your walking poles become more than just stability aids; they are critical tools for safety, propulsion, and balance on snow and ice. However, using them effectively requires specific techniques and equipment adjustments to ensure they perform when you need them most.
Recommended trekking pole purchase link: https://s.click.aliexpress.com/e/_c4M7OWaN
Essential Gear Upgrades for Winter
- Snow Baskets are Non-Negotiable: The small, standard trekking baskets will plunge deep into soft snow, offering zero support. You must install large, circular snow baskets (typically 5+ inches in diameter). These function like snowshoes for your poles, distributing your downward force over a wider area to provide crucial flotation on top of the snowpack.
- Trust Your Carbide Tips: On icy or hard-packed trails, the tungsten carbide tips of your poles are your best asset. They are designed to bite into frozen surfaces for reliable grip. Remove the rubber paw tips for winter use, as they will slip and offer no purchase on ice.
- Consider Ice Attachments (For Advanced Users): If you frequently traverse steep, icy terrain, some trekking pole models offer ice axe attachments that convert them into a more secure, pick-based tool. For less extreme conditions, removable spike attachments that fit over the tip can provide extra biting power.
Mastering Winter-Specific Techniques
- The Deliberate Plant: In winter, a casual pole plant is ineffective. Use a firm, deliberate stabbing motion, driving the carbide tip through any crust or into the ice. This creates a secure anchor point before you commit your weight.
- Adjust Your Grip and Strap Use: This is a critical safety point. Do not put your hand up through the strap and then grip the pole. Instead, place the strap over your wrist and then grip the pole on top of the strap. In a fall, this allows you to instantly release the pole without it becoming entangled and causing a wrist or thumb injury. On long ascents, using the straps correctly can also reduce hand fatigue.
- Test Before You Trust: Snow can hide voids, weak layers, and running water. Before putting your full weight on a pole, give it a testing push. If it sinks unexpectedly or feels unstable, find a new placement.
- Widen Your Stance for Stability: On slippery terrain, plant your poles slightly wider than you normally would. This creates a more stable, triangular base of support to counteract slips and slides.
Proactive Pole Maintenance in the Cold
- Prevent Lock Freeze: If you use telescopic poles with twist or lever locks, condensation can freeze and seize the mechanisms. Before heading out, ensure the locks and shafts are completely dry. During your hike, avoid plunging the locks directly into deep snow. If a lock freezes, do not force it; warm it gently with your hands or body heat.
- Check for Ice Buildup: Regularly tap your poles together to dislodge snow and ice that can accumulate on the baskets and shafts, adding unnecessary weight and affecting balance.
A Final Word on Battery Life
A lesser-known tip: the cold saps battery life from electronics. If you use camera mounts that rely on your pole's integrated thread, ensure your camera batteries are kept warm in an inner pocket until needed.
By equipping your poles correctly and adapting your technique, you transform them into powerful allies against winter's challenges. They will provide the confidence to ascend icy inclines, the stability to traverse uneven snowfields, and the security to enjoy the serene beauty of a winter landscape safely.


