


Proper Technique for Lighten Up Trekking Poles on Downhill
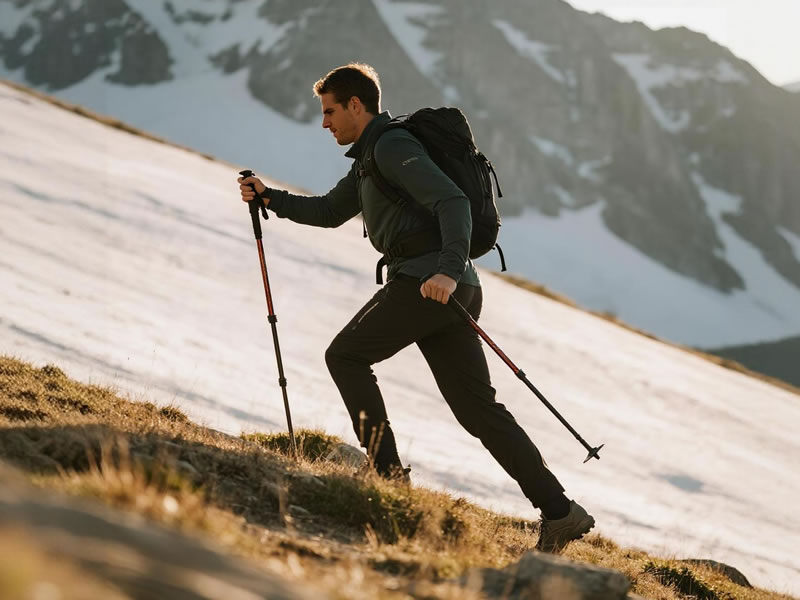
Descending steep, rugged trails presents the greatest challenge to a hiker's knees, balance, and confidence. While trekking poles are beneficial on any terrain, their true value becomes undeniable on the downhill. Lighten Up trekking poles, with their reliable construction and adjustable design, are perfectly suited to mitigate the punishing impact of descent. However, simply having them in your hands isn't enough. Using the correct downhill technique transforms them from simple stabilizers into essential tools for joint preservation and controlled, confident movement.
Recommended trekking pole purchase link: https://s.click.aliexpress.com/e/_c4M7OWaN
Mastering the downhill involves a combination of precise gear adjustment, intentional body mechanics, and a rhythmic planting strategy. This guide will walk you through the process step-by-step.
Step 1: The Critical Adjustment - Lengthen Your Poles
Before you begin your descent, this is your most important action.
- Why Adjust? On flat ground, your poles are set for optimal propulsion. On a descent, your primary goal shifts to braking and stability. Shorter poles would force you to lean back and reach forward, compromising your balance. Longer poles allow you to plant the tip well ahead of you while maintaining a more upright, stable torso.
- How Much to Lengthen: A good rule of thumb is to increase each pole's length by 2 to 5 inches (5 to 13 cm) from your standard flat-ground setting. The steeper the slope, the more you may need to lengthen them. Lighten Up's precise flick-lock mechanisms make this adjustment quick and secure.
Step 2: Body Positioning - The Athletic Stance
Your pole technique is ineffective without the correct body position.
- Resist the Lean Back: The natural instinct is to lean backward to counter the slope. This is counterproductive, as it shifts your center of gravity away from your feet, increasing the risk of slipping.
- Adopt a Forward Lean: Instead, keep your torso centered over your feet, with a slight forward lean from the ankles. Think of an athletic, ready stance—knees bent, core engaged. This position keeps you balanced and allows your legs and poles to work together as shock absorbers.
Step 3: The Planting Technique - Creating a Stable Tripod
The rhythm and placement of your poles are what create control.
- Plant Ahead, Not Beside: The key is to plant your pole tips ahead of your body and at a slight angle away from you. Imagine you are creating a "tripod" with your two poles and your two feet. This forward placement acts as a braking anchor and prevents you from gaining too much momentum.
- Stagger Your Plants: Don't plant both poles simultaneously in a "double plant" for every step, except on the very steepest, most technical sections. Instead, return to the fundamental opposite arm/leg rhythm. As your right foot steps forward, plant your left pole ahead, and vice versa. This creates a continuous, stable rhythm of support.
- Transfer Weight and Trust the Strap: As you step forward onto the foot opposite your planted pole, allow a small amount of your body weight to transfer down through your arm and onto the pole. Remember the correct strap technique—pushing down through the palm while the strap takes the load—to maximize efficiency and minimize grip fatigue.
Step 4: Advanced Tips for Steep and Technical Terrain
- The "Double Plant": On extremely steep or loose terrain, use a double plant for maximum security. Plant both poles firmly ahead of you, then carefully step both feet down to meet them. Repeat this process for controlled, deliberate movement.
- Sidehill Traverses: When crossing a slope, shorten the pole on the downhill side for better balance and to prevent leaning into the hill.
Common Downhill Mistakes to Avoid
- Pole Vaulting: Planting the poles too far ahead and then swinging your body past them is inefficient and can throw you off balance.
- Dragging the Poles: Letting the poles drag behind you provides no benefit and can be a tripping hazard.
- Stiff Arms: Keep a slight bend in your elbows to absorb shock. Locked elbows transmit all the impact to your shoulders.
Conclusion: Descend with Confidence and Control
Using your Lighten Up trekking poles correctly on downhill sections is a game-changer. It transforms a jarring, knee-pounding ordeal into a controlled, confident, and far more enjoyable experience. The slight effort of adjusting your poles and focusing on technique pays enormous dividends in reduced fatigue and long-term joint health. By lengthening your poles, adopting an athletic stance, and planting ahead in a steady rhythm, you harness the full potential of your gear. This allows you to descend not with trepidation, but with the assurance that you have the tools and the knowledge to handle the slope, preserving your energy and your body for the many miles and beautiful vistas that still lie ahead.


