


DIY Gear Sling or Organizer for a Lighten Up Hammock
A custom DIY gear sling or organizer is one of the most rewarding and functional projects for a hammock camper. It elevates your comfort by keeping essentials within arm's reach, off the damp ground, and organized in your suspended sanctuary. For a Lighten Up Hammock, which prioritizes minimal weight, a well-designed DIY solution can be perfectly tailored to add maximum utility with negligible weight penalty.
Core Concept: Utilizing the Structural Ridgeline
The key to most hammock organizers is the structural ridgeline—the fixed-length cord that runs from end to end above the hammock, defining its sag. This becomes your primary support beam. If your hammock doesn't have one, adding a simple cord (using a knot like a taut-line hitch or whoopie sling for adjustability) is the first step. Most DIY organizers attach here.
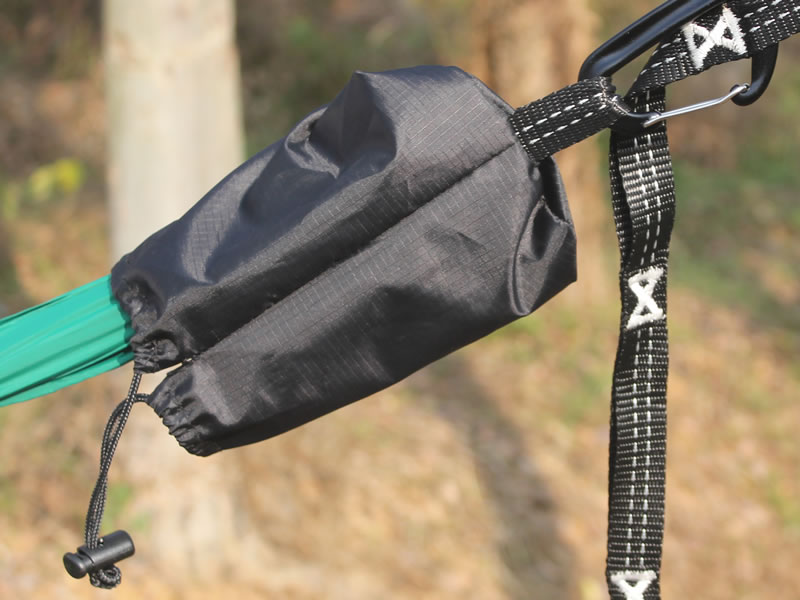
Project 1: The Simple Mesh Gear Sling (Beginner-Friendly)
This is a quick, no-sew or minimal-sew project with high functionality.
- Materials: A length of lightweight mosquito netting or nylon mesh (about 18" wide x 36" long), two small cord locks, and about 6 feet of paracord or lightweight cord.
- Instructions:Fold the mesh in half lengthwise. If sewing, stitch the long side closed to form a tube. For a no-sew version, simply roll the material into a loose tube.At each end of the tube, gather the fabric and tie it securely with a piece of your cord, creating a gathered, closed end. Leave long tails on the cords.Attach one end cord to your hammock's ridgeline using a Prusik knot or a simple toggle system (a small stick through a loop). The beauty of a Prusik knot is that it grips under tension but slides easily when loose, allowing you to position the sling anywhere.Attach the other end the same way, letting the sling drape in a gentle "U" shape. Use the cord locks on the attachment lines to fine-tune the height.
- Function: This creates a hanging pocket perfect for a jacket, gloves, a water bottle, or a book. Items are visible and accessible.
Project 2: The Multi-Pocket Organizer (Intermediate Sewing)
This creates a dedicated panel with pockets for small items.
- Materials: Scraps of lightweight ripstop nylon or pack cloth, grosgrain ribbon, and hook-and-loop (Velcro) tabs or plastic snaps.
- Design & Instructions:Cut a main panel roughly 12" x 18". Hem the edges.Sew smaller rectangles onto the main panel to create pockets of various sizes—one tall for a water bottle, one wide for a headlamp and phone, a zippered one for keys.At the top two corners of the main panel, create reinforced attachment points using grosgrain ribbon loops.Attach these loops to the ridgeline with mini carabiners or mitten hooks. The panel will hang vertically along the side of your hammock, just below the ridgeline.
- Function: Ideal for keeping critical small gear organized and impossible to lose in the hammock's fabric: glasses, phone, snacks, map, lighter.
Project 3: The Integrated "Sock" Stuff Sack
Modify the stuff sack your hammock came in.
- Materials: The original stuff sack and about 2 feet of shock cord.
- Instructions:At the center of the closed bottom of the stuff sack, sew or create a small reinforced grommet hole.Feed a length of shock cord through the hole and tie a large stopper knot inside.At the mouth of the stuff sack, add two small side loops if not present.
- Function: Once your hammock is deployed, re-attach the sack to the ridgeline by threading the shock cord around the ridgeline and securing it with a cord lock (for the bottom), and clip the top loops to the ridgeline. The open sack now hangs as a ready-to-use catch-all bag.
Pro-Tips for Design and Use
- Weight Distribution: Keep heavier items (water bottle) closer to the ends of the hammock where the ridgeline is anchored, and lighter items (phone) in the center to prevent sagging.
- Material Choice: Use mesh for wet items (rain jacket, socks) to allow airflow and drying. Use solid fabric for dry, small items you don't want to fall out.
- Secure Attachment: Ensure all attachment methods are robust. Test your organizer with gear while the hammock is at a safe, low height before relying on it in camp.
- Leave No Trace: Your DIY organizer makes it easier to keep all small items contained and never accidentally left behind.
Conclusion: Personalizing Your Hang
Building your own gear sling is more than a craft project; it's an exercise in optimizing your unique outdoor experience. It allows you to solve the specific problem of "where do I put my stuff?" in a way that commercial products sometimes can't. By leveraging the existing structure of your Lighten Up Hammock with simple materials, you add a layer of convenience that makes relaxing even easier. Start with the simple mesh sling to enjoy immediate benefits, and let your on-trail experiences guide you toward more complex, customized solutions for future trips.


