


How to Inspect a Carabiner: A Comprehensive Safety Guide
Your carabiner is a critical, load-bearing piece of equipment, whether you're climbing, working at height, or engaging in any rope-based activity. A single failure can have catastrophic consequences. Therefore, a thorough inspection before every use is non-negotiable. This guide will walk you through a professional, three-step inspection process: Look, Feel, and Function Test.
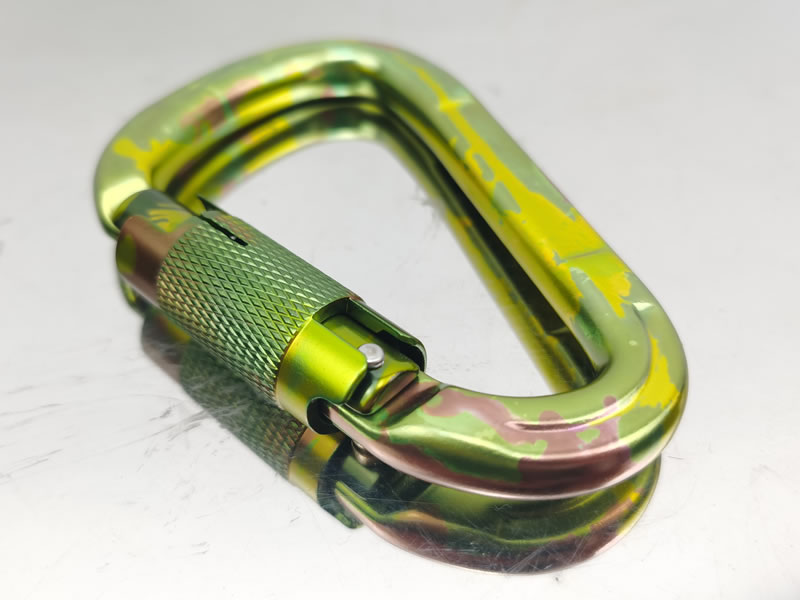
Step 1: Visual Inspection (Look)
Under good light, carefully examine the entire carabiner.
- Cracks & Deformations: Look for hairline cracks, especially around the nose, spine, and gate hinge. Any bending, twisting, or deformation of the "O," "D," or asymmetric shape is an immediate failure. The gate should align perfectly with the nose.
- Deep Gouges & Sharp Edges: Minor surface scratches from normal use are often acceptable. However, any deep gouge, particularly across the spine (the major axis where the load is greatest), compromises strength. Run your eye along all edges; sharp burrs caused by impact can cut ropes or slings.
- Corrosion & Pitting: Check for rust, chemical corrosion (which can appear as white or greenish powder), or pitting. Corrosion weakens the metal and can hide developing cracks.
- Gate Damage: Inspect the gate for any gaps when closed, and ensure the gate itself isn't bent or misshapen.
Step 2: Tactile Inspection (Feel)
Run your fingers lightly over the entire surface. Often, your sense of touch can detect issues your eyes might miss.
- Cracks: You may feel a hairline crack as a sharp, raised line.
- Pitting & Roughness: Feel for the granular texture of corrosion or small pits in the metal.
- Gate Operation: Feel for any grating, grit, or notchiness in the gate's movement, which could indicate internal dirt or damage.
Step 3: Function Test (Listen)
This step checks the mechanical operation.
- Gate Action: Open and close the gate multiple times. It should move smoothly and freely without sticking. It must spring closed decisively every time.
- Locking Mechanism (for screwgate, autolock): For screwgates, ensure the sleeve rotates smoothly and completely locks the gate. It should not cross-thread or bind. For auto-locking carabiners (twist-lock, push-lock, etc.), verify the mechanism engages and disengages correctly without undue force and cannot be accidentally opened.
- Gate Play: When closed and unlocked, there should be a very slight side-to-side play in the gate. However, excessive play (a "floppy" gate) or no play at all indicates wear or damage. Listen for the distinct, solid "click" of the gate seating properly.
The Golden Rule: When in Doubt, Throw It Out
Carabiners are relatively inexpensive compared to the safety they provide. If you find any of the following critical flaws, retire the carabiner immediately:
- Any crack, no matter how small.
- Significant deformation or bending.
- A gate that doesn't close and lock securely.
- Deep gouges on the spine or major axis.
- Severe corrosion or wear that reduces cross-section.
- Stickiness or grinding in the mechanism that persists after cleaning.
Pro Tip: Keep a log for gear used in harsh conditions. Most manufacturers recommend retiring carabiners after 5-10 years of regular use, regardless of visible wear, due to metal fatigue.
A diligent inspection takes less than a minute but is your primary defense against equipment failure. Make this simple ritual a non-negotiable part of your routine, and always prioritize your safety over the lifespan of any piece of gear.


