


How to Adjust Hiking Poles for Your Height?
Properly adjusting your hiking poles is the foundational step to unlocking their full benefits—improved stability, energy efficiency, and joint protection. An incorrect length can lead to poor posture, wasted energy, and even strain. This guide will walk you through the precise methods to find your perfect fit for any terrain.
Recommended trekking pole purchase link: https://s.click.aliexpress.com/e/_c4M7OWaN
The Golden Rule: The 90-Degree Angle
The standard starting point for adjustment is based on your body's biomechanics on flat ground.
- Loosen the locking mechanism (usually a twist lock or lever lock) on your adjustable poles.
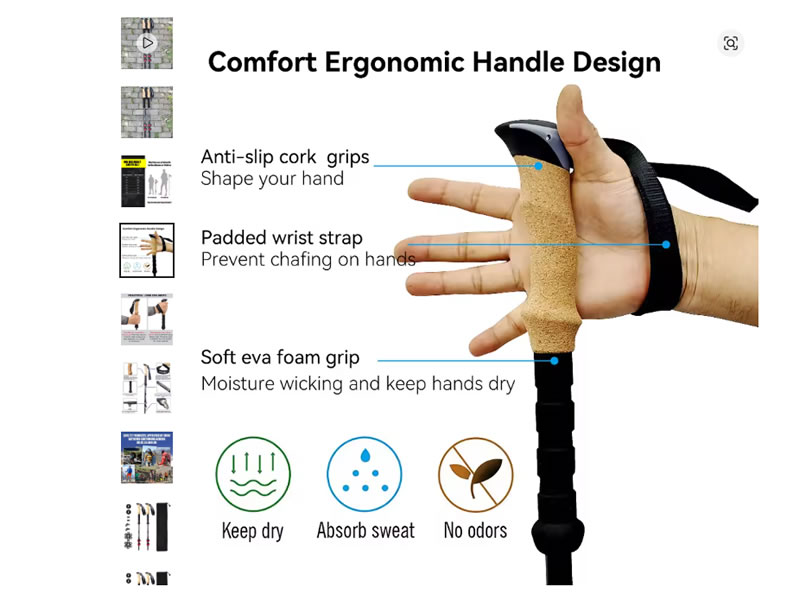
- Grip the handle as you would while hiking, with your hand through the strap from below, so the strap supports your wrist.
- Stand upright on a level surface with the pole tip placed on the ground directly by your foot.
- Adjust the length until your elbow forms a 90-degree angle, with your forearm parallel to the ground. This is your neutral, flat-terrain length.
Why This Works: This angle allows for a natural arm swing and optimal power transfer when pushing off, ensuring your shoulders aren't hunched or your reach over-extended.
Dynamic Adjustment for Different Terrain
A fixed pole length is insufficient for varied trails. Mastering these adjustments is key:
- For Uphill Climbs: Shorten Your PolesAs the ground rises, your point of contact gets closer to your body. Shorten each pole by 5-10 cm (2-4 inches) from your flat-ground setting. This allows you to maintain an upright torso and a powerful, efficient push behind you without overreaching, which strains the shoulders.
- For Downhill Descents: Lengthen Your PolesOn declines, your contact point moves farther ahead. Lengthen your poles by 5-10 cm (2-4 inches). This brings your body into a more neutral, upright position, preventing you from leaning forward too far. It also ensures the pole can contact the ground ahead of you, providing crucial braking and stability to reduce knee impact.
Pro Tips and Common Mistakes to Avoid:
- Use the Strap Correctly: Your grip should be relaxed, with downward force transferred through the strap, not a tight fist. This prevents fatigue.
- Check Before Each Major Section: Get in the habit of quickly adjusting as trail conditions change.
- Measure Against Your Body: A quick field check: with the tip on the ground, the handle should be at waist level for flat ground, hip level for uphill, and chest level for a steep downhill.
- Consider Your Torso Angle: The 90-degree rule assumes standing upright. If you carry a heavy pack that tilts you forward, you may need a slightly longer pole to compensate.
- Don't Forget Fixed-Length Poles: If using non-adjustable poles, the general rule is that the top should reach to the midpoint of your palm when your arm is down by your side.
Conclusion: Precision Leads to Performance
Taking a few moments to correctly adjust your hiking poles is not a minor detail—it's essential for transforming them from simple sticks into effective biomechanical tools. By establishing your correct baseline length with the 90-degree rule and then dynamically adapting for ascents and descents, you promote better posture, distribute effort efficiently, and significantly enhance control and safety on every hike. Remember, a well-adjusted pole becomes a natural extension of your body, working with you, not against you.


